

Mama Sue’s Spicy Salsa
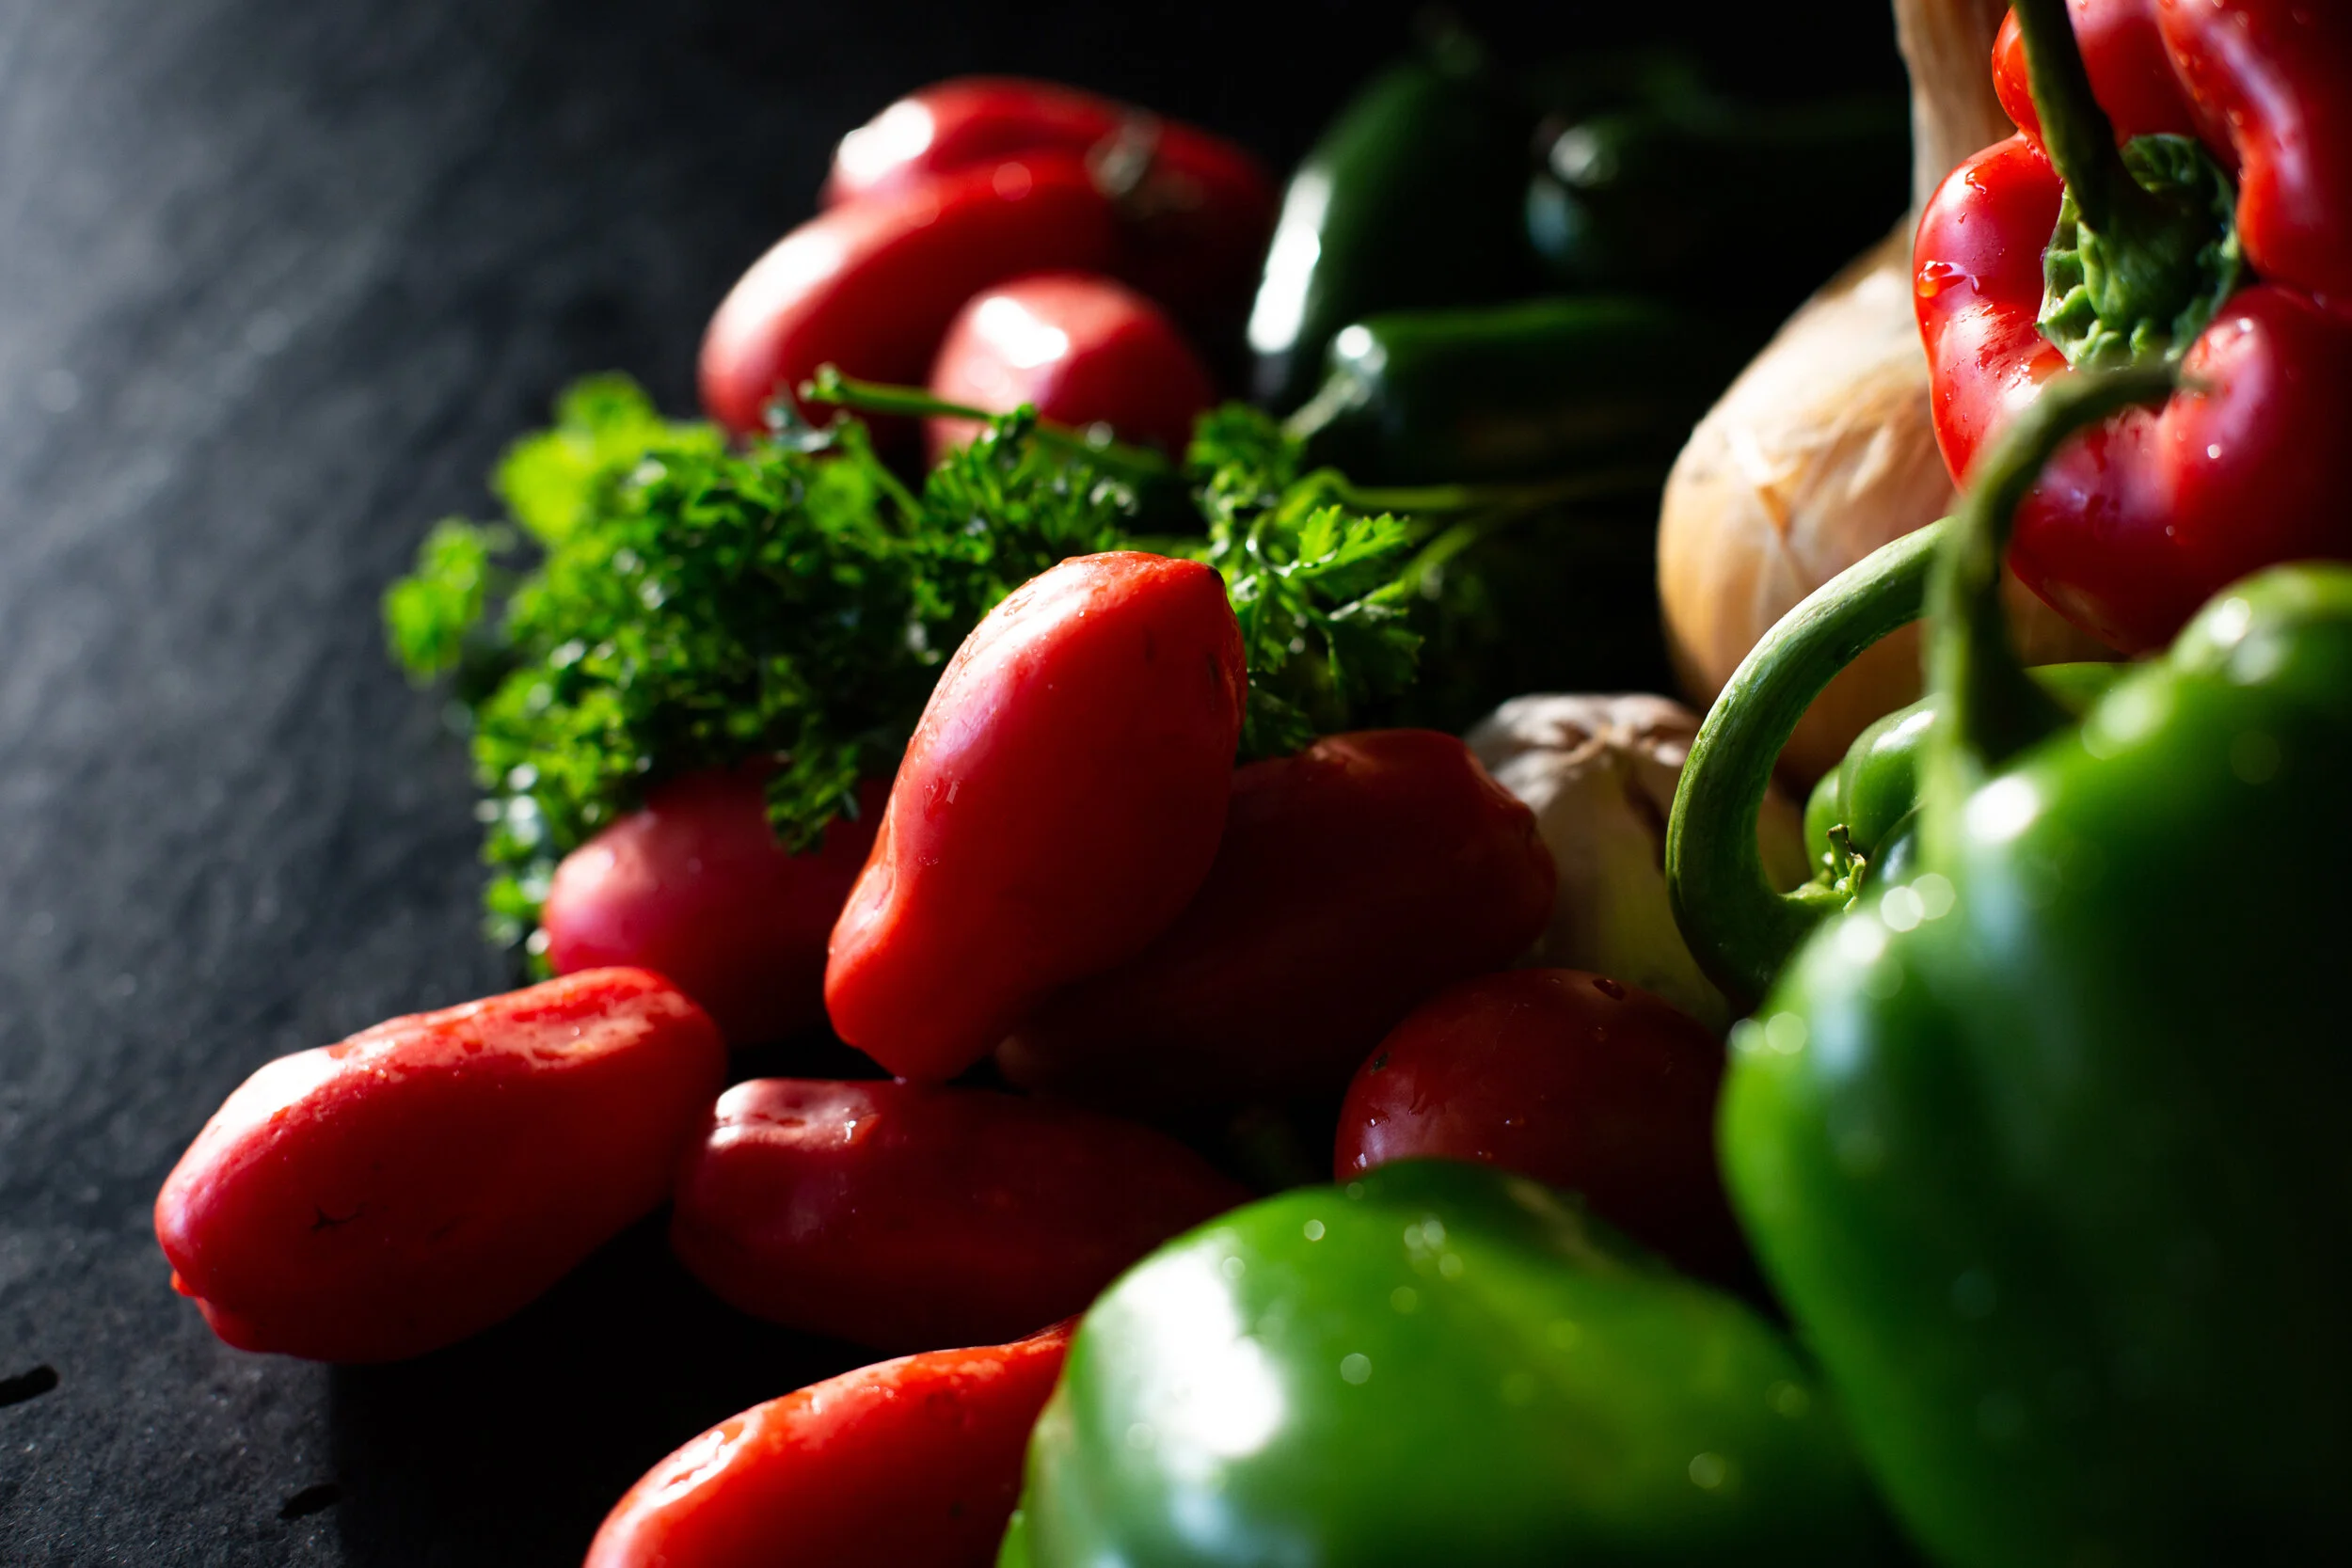
Packed full of fresh garden veggies and with juuuuust enough spice to give you a gentle punch in the mouth. A perfect pairing with your favourite chips or nachos!
Now I know homemade salsa may not be the first recipe that comes to mind when you think camp food BUT I am extra excited about this post because
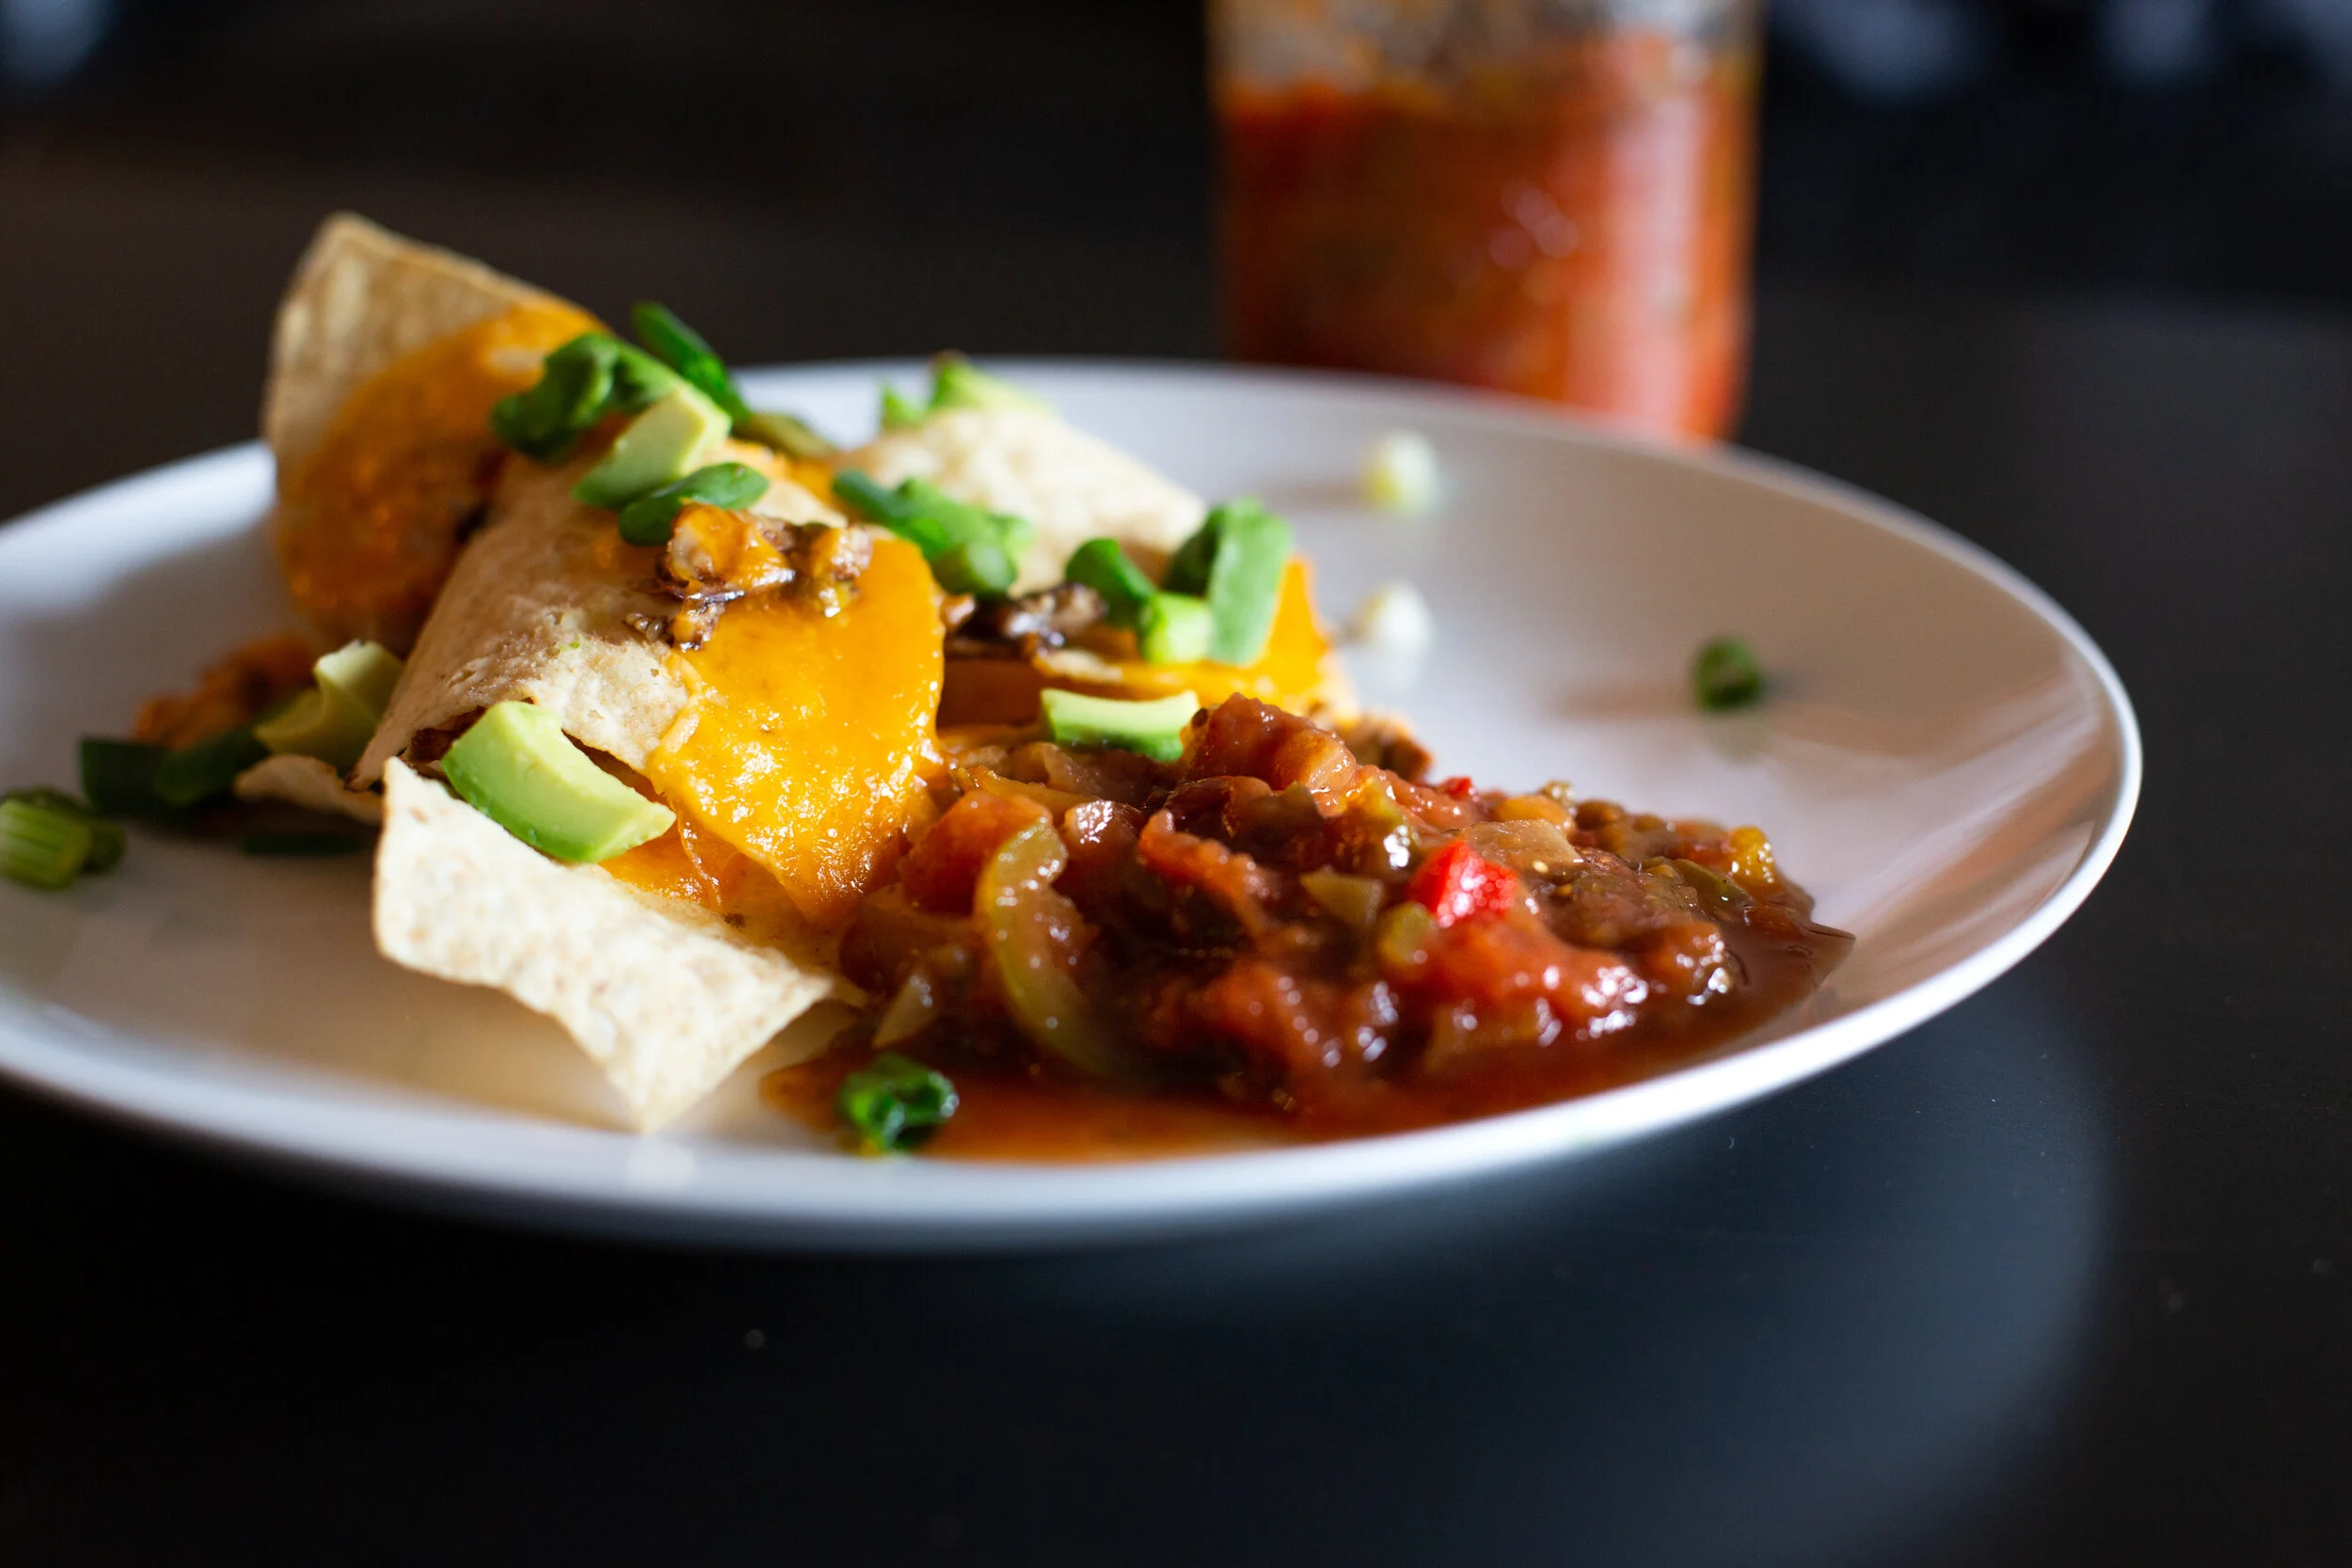
1) salsa pairs with SO many yummy foods that you can take camping (chips, nachos, tacos, burritos, rice bowls, eggs, etc..)
and 2) a dream I have for this blog is to share other peoples recipes too, not just my own! We all have different food preferences, cooking styles, knowledge, skills, cultural backgrounds, and I think it’s an amazing opportunity to learn and grow together by sharing these with others. SO this is the first post sharing someone else’s recipe, and who better to start with than my #1 fan, my mom! If you, or someone you know, is interested in sharing a recipe on here, please leave a comment below or send me a message, here!
My mom has been making this recipe for nearly 20 years now and it has quickly become a family favourite. I hope you can enjoy it just as much as we do! I will be integrating some “Pro Tips” from my mom, because honestly, we could all use some mom advice here.
Sue’s Pro Tip #1: It’s easier than you think! Don’t be intimidated by a 2 hour cooking time or the amount of ingredients, it’s really not as complicated or difficult as you may think!
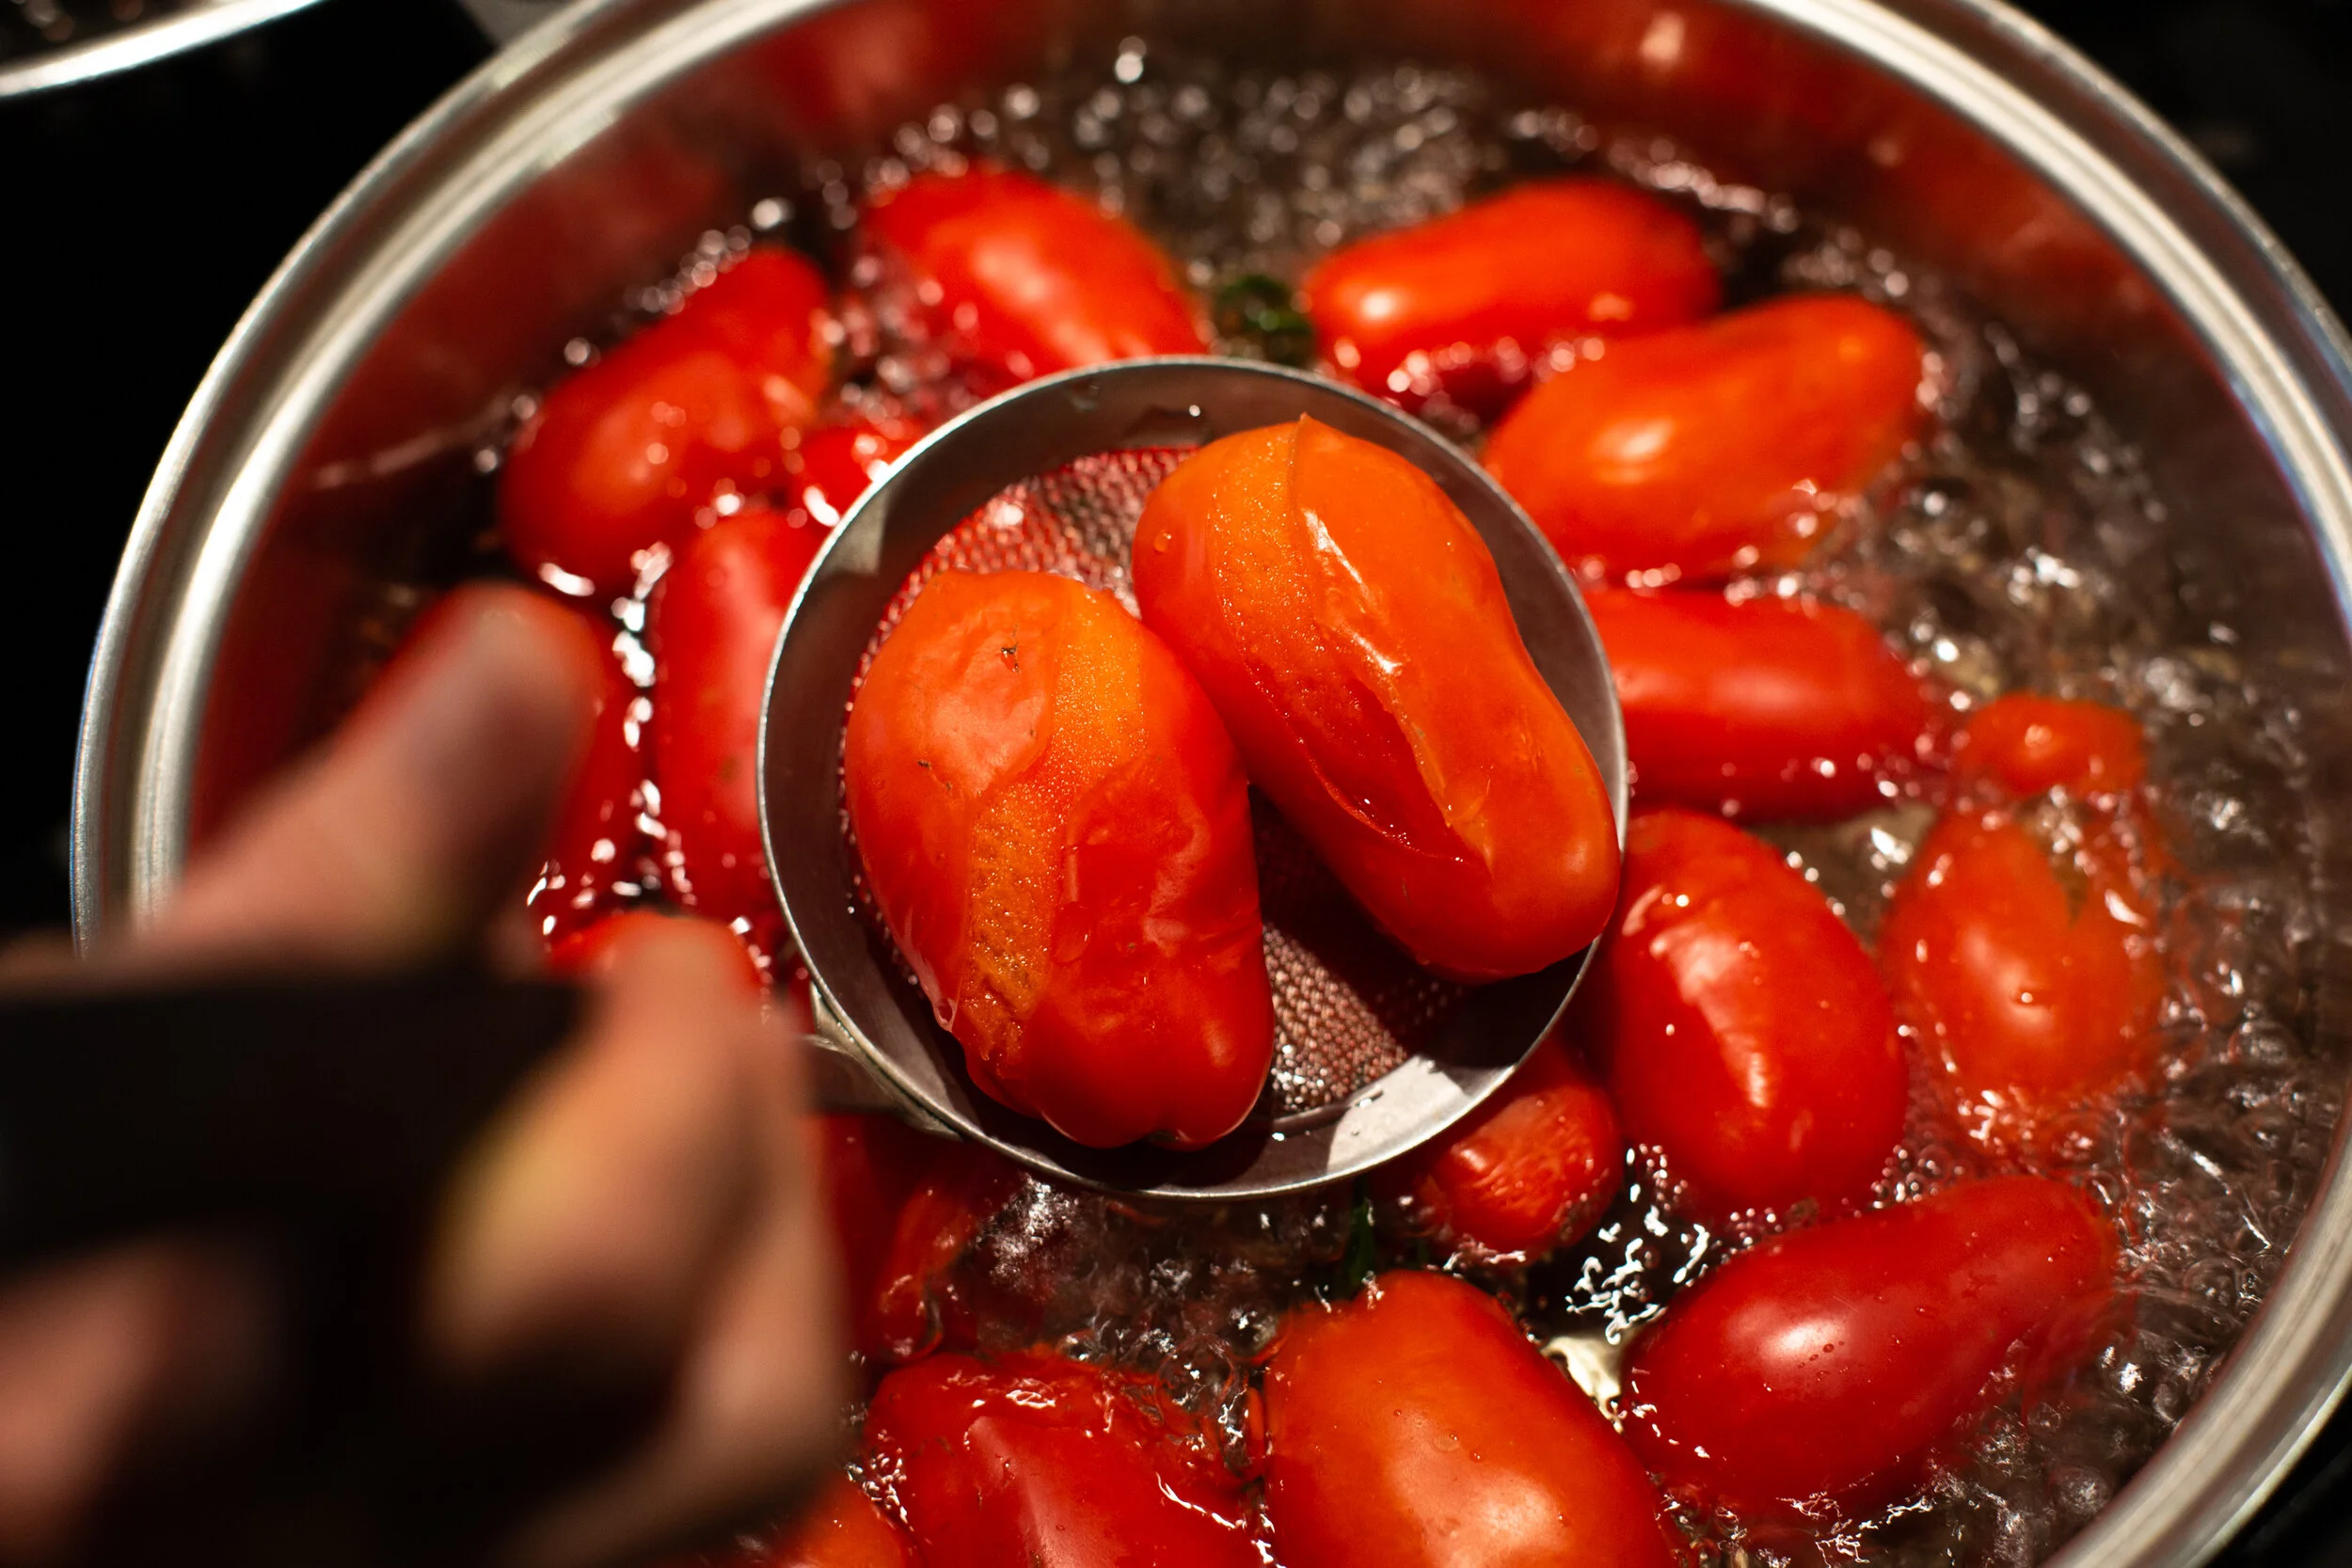
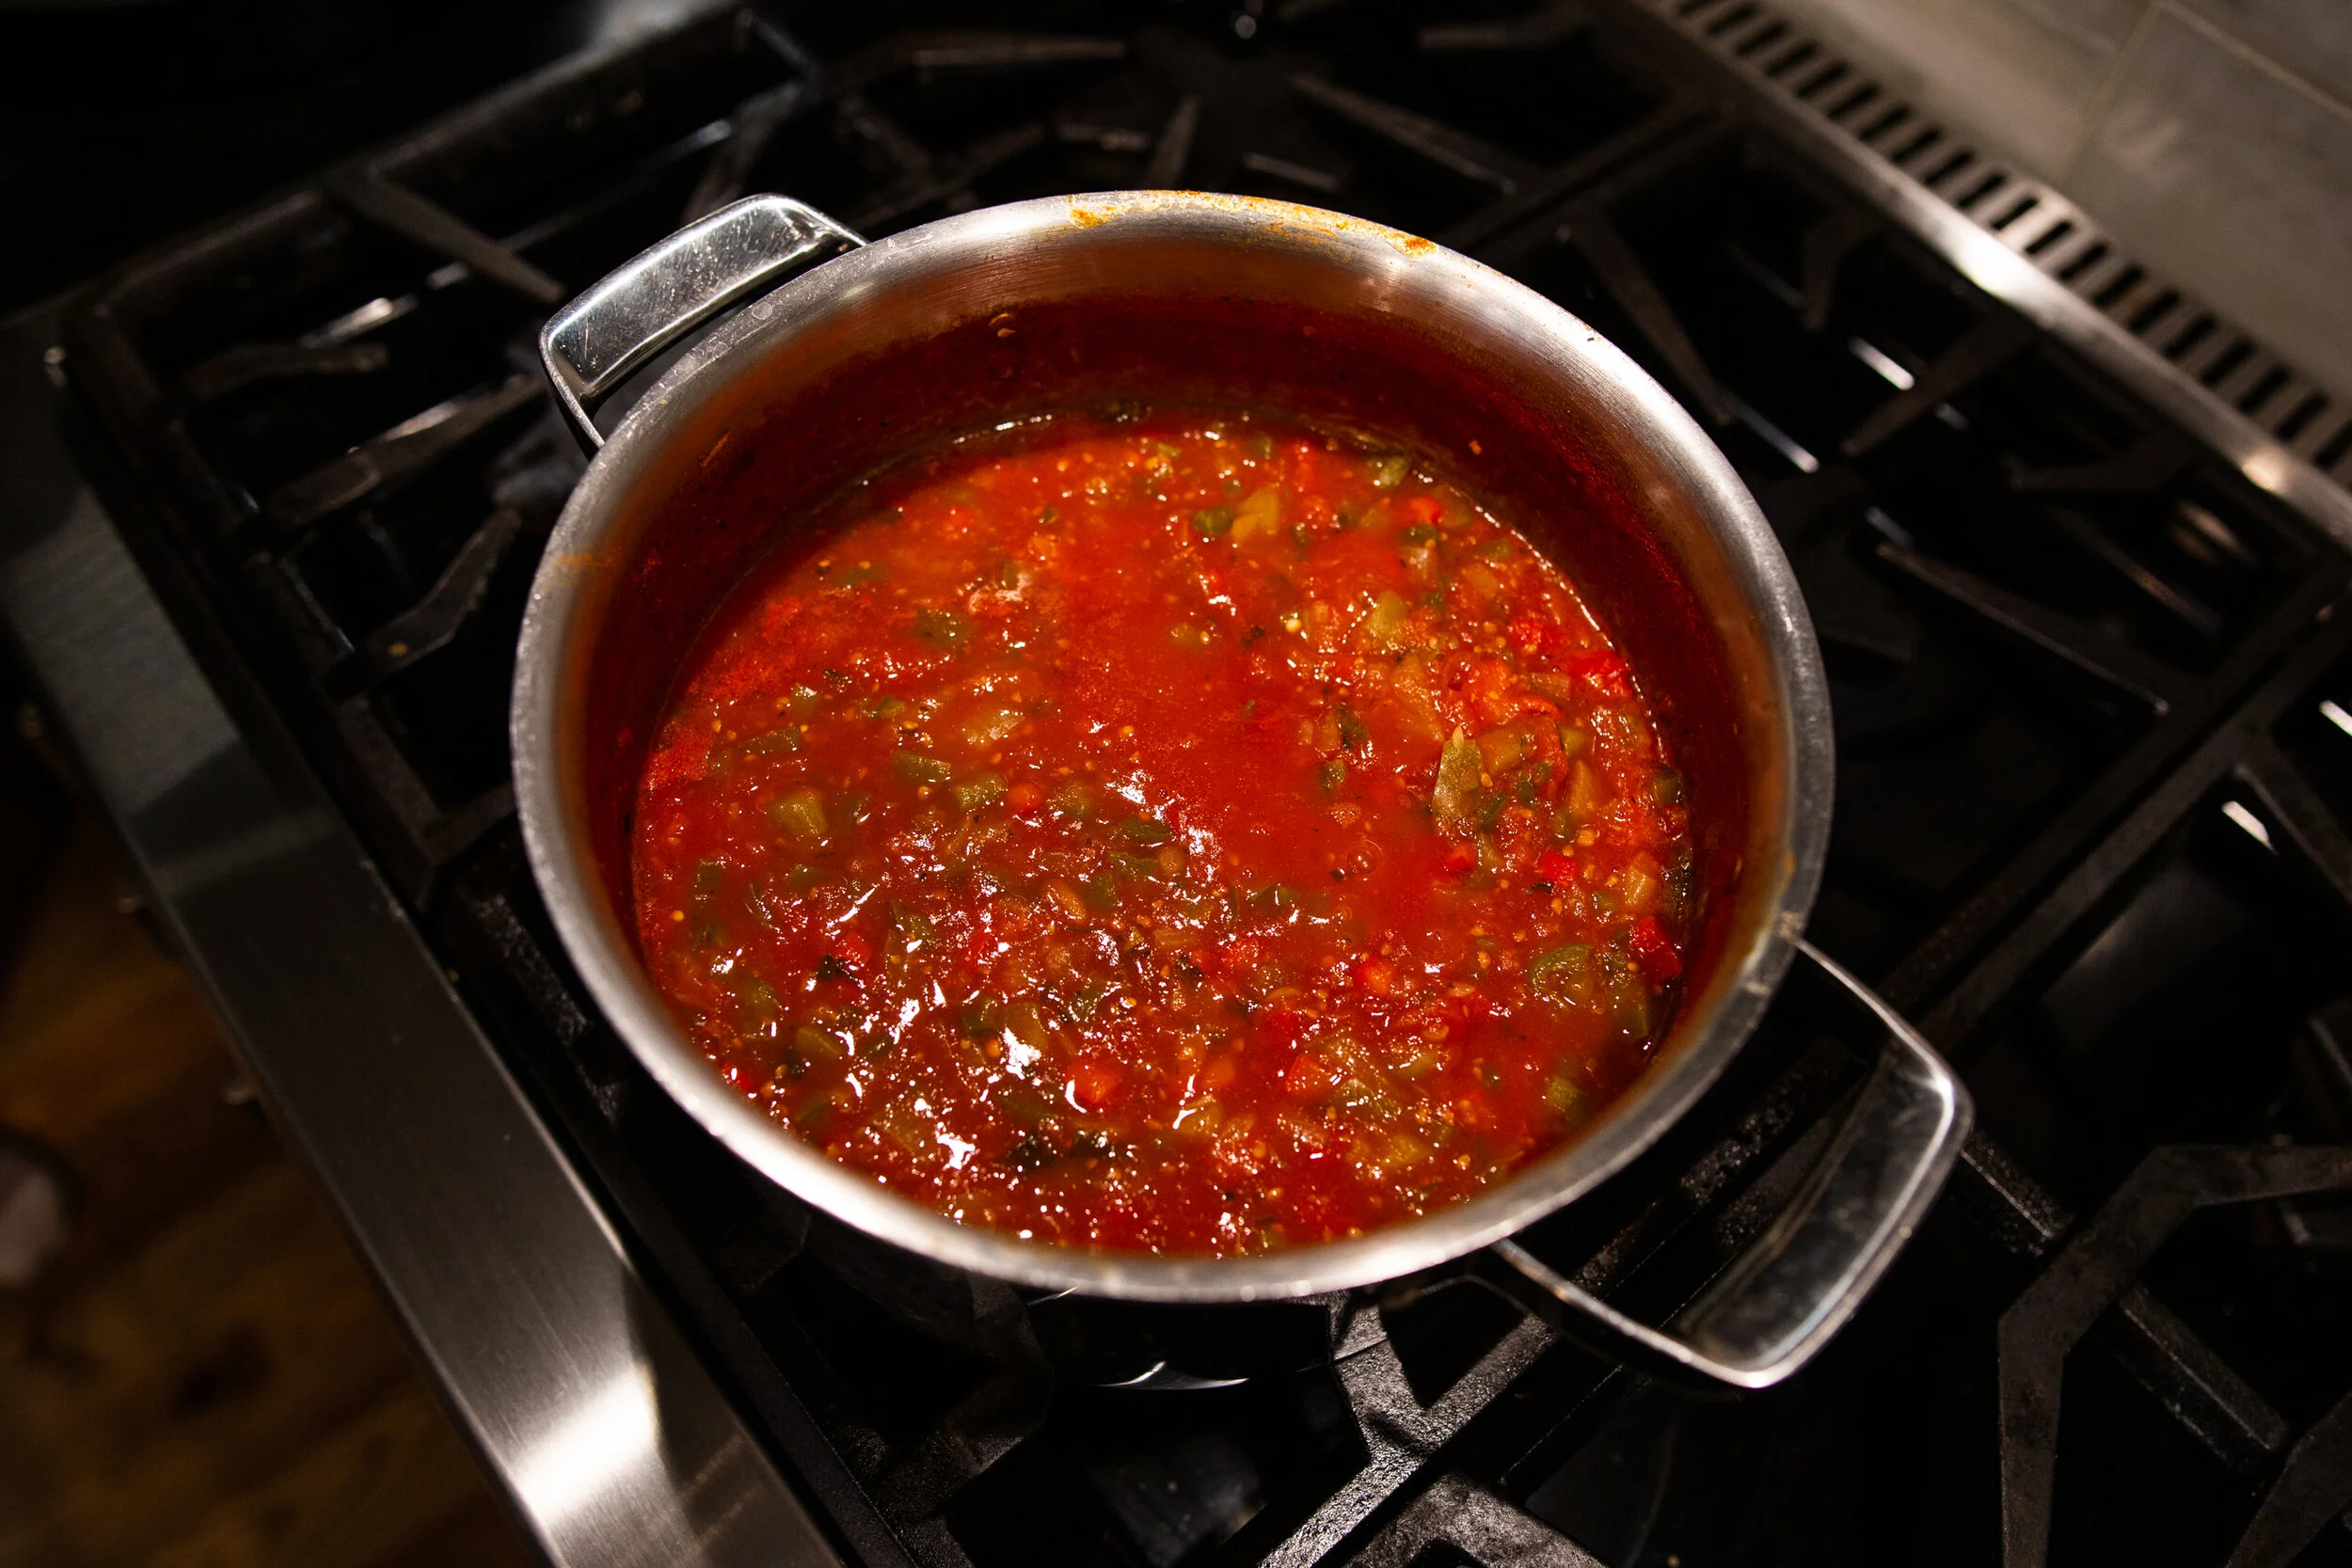
Start by placing your tomatoes in a large pot of boiling water. You’re not trying to cook them fully, just until the skins split so that you can peel them easily (see above photo). Remove and let cool enough so you can handle them without burning yourself. Once cooled enough, remove the skins and mush up the tomatoes with a fork or your hands to a chunky consistency. Add to a clean large pot with all your other ingredients and place on the stove on high heat. Bring to a boil then turn down to a simmer. Stir occasionally to prevent burning. And that’s most of the work done right there!
Sue’s Pro Tip #2: No need to seed the tomatoes. Just peel the skin off and use the whole tomato. Do seed the peppers though (especially the jalapeños - otherwise you’re going to have major spice going on).
Sue’s Pro Tip #3: Use fresh ingredients for best flavour and consistency! Organic or home grown (Sue grows hundreds of tomatoes for salsa every year. Her garden is something to be admired, I must say. Also, if you follow me on instagram, you’d know that my mom is the only reason my garden survived this year. She’s a little garden magician).
Sue’s Pro Tip #4: Once simmering, reduce down to the consistency that you want. You can reduce for less time if you want more of a liquid consistency, or for more time if you want a thicker consistency. We usually reduce for 2 hours.
Canning Methods
Now there’s a few different ways to seal your jars when doing home canning. You can use a pressure canner, water bath, or what we do, open kettle canning. Some people have hesitations about open kettle canning because it does have a slightly higher risk of your food going off or being contaminated in the process. That being said, we have never had an issue doing salsa this way. We are also not experts in canning, so please, if you have any reservations, do some more research and figure out what is best for you. Here is a helpful article I found on different home canning methods.
Open Kettle Canning:
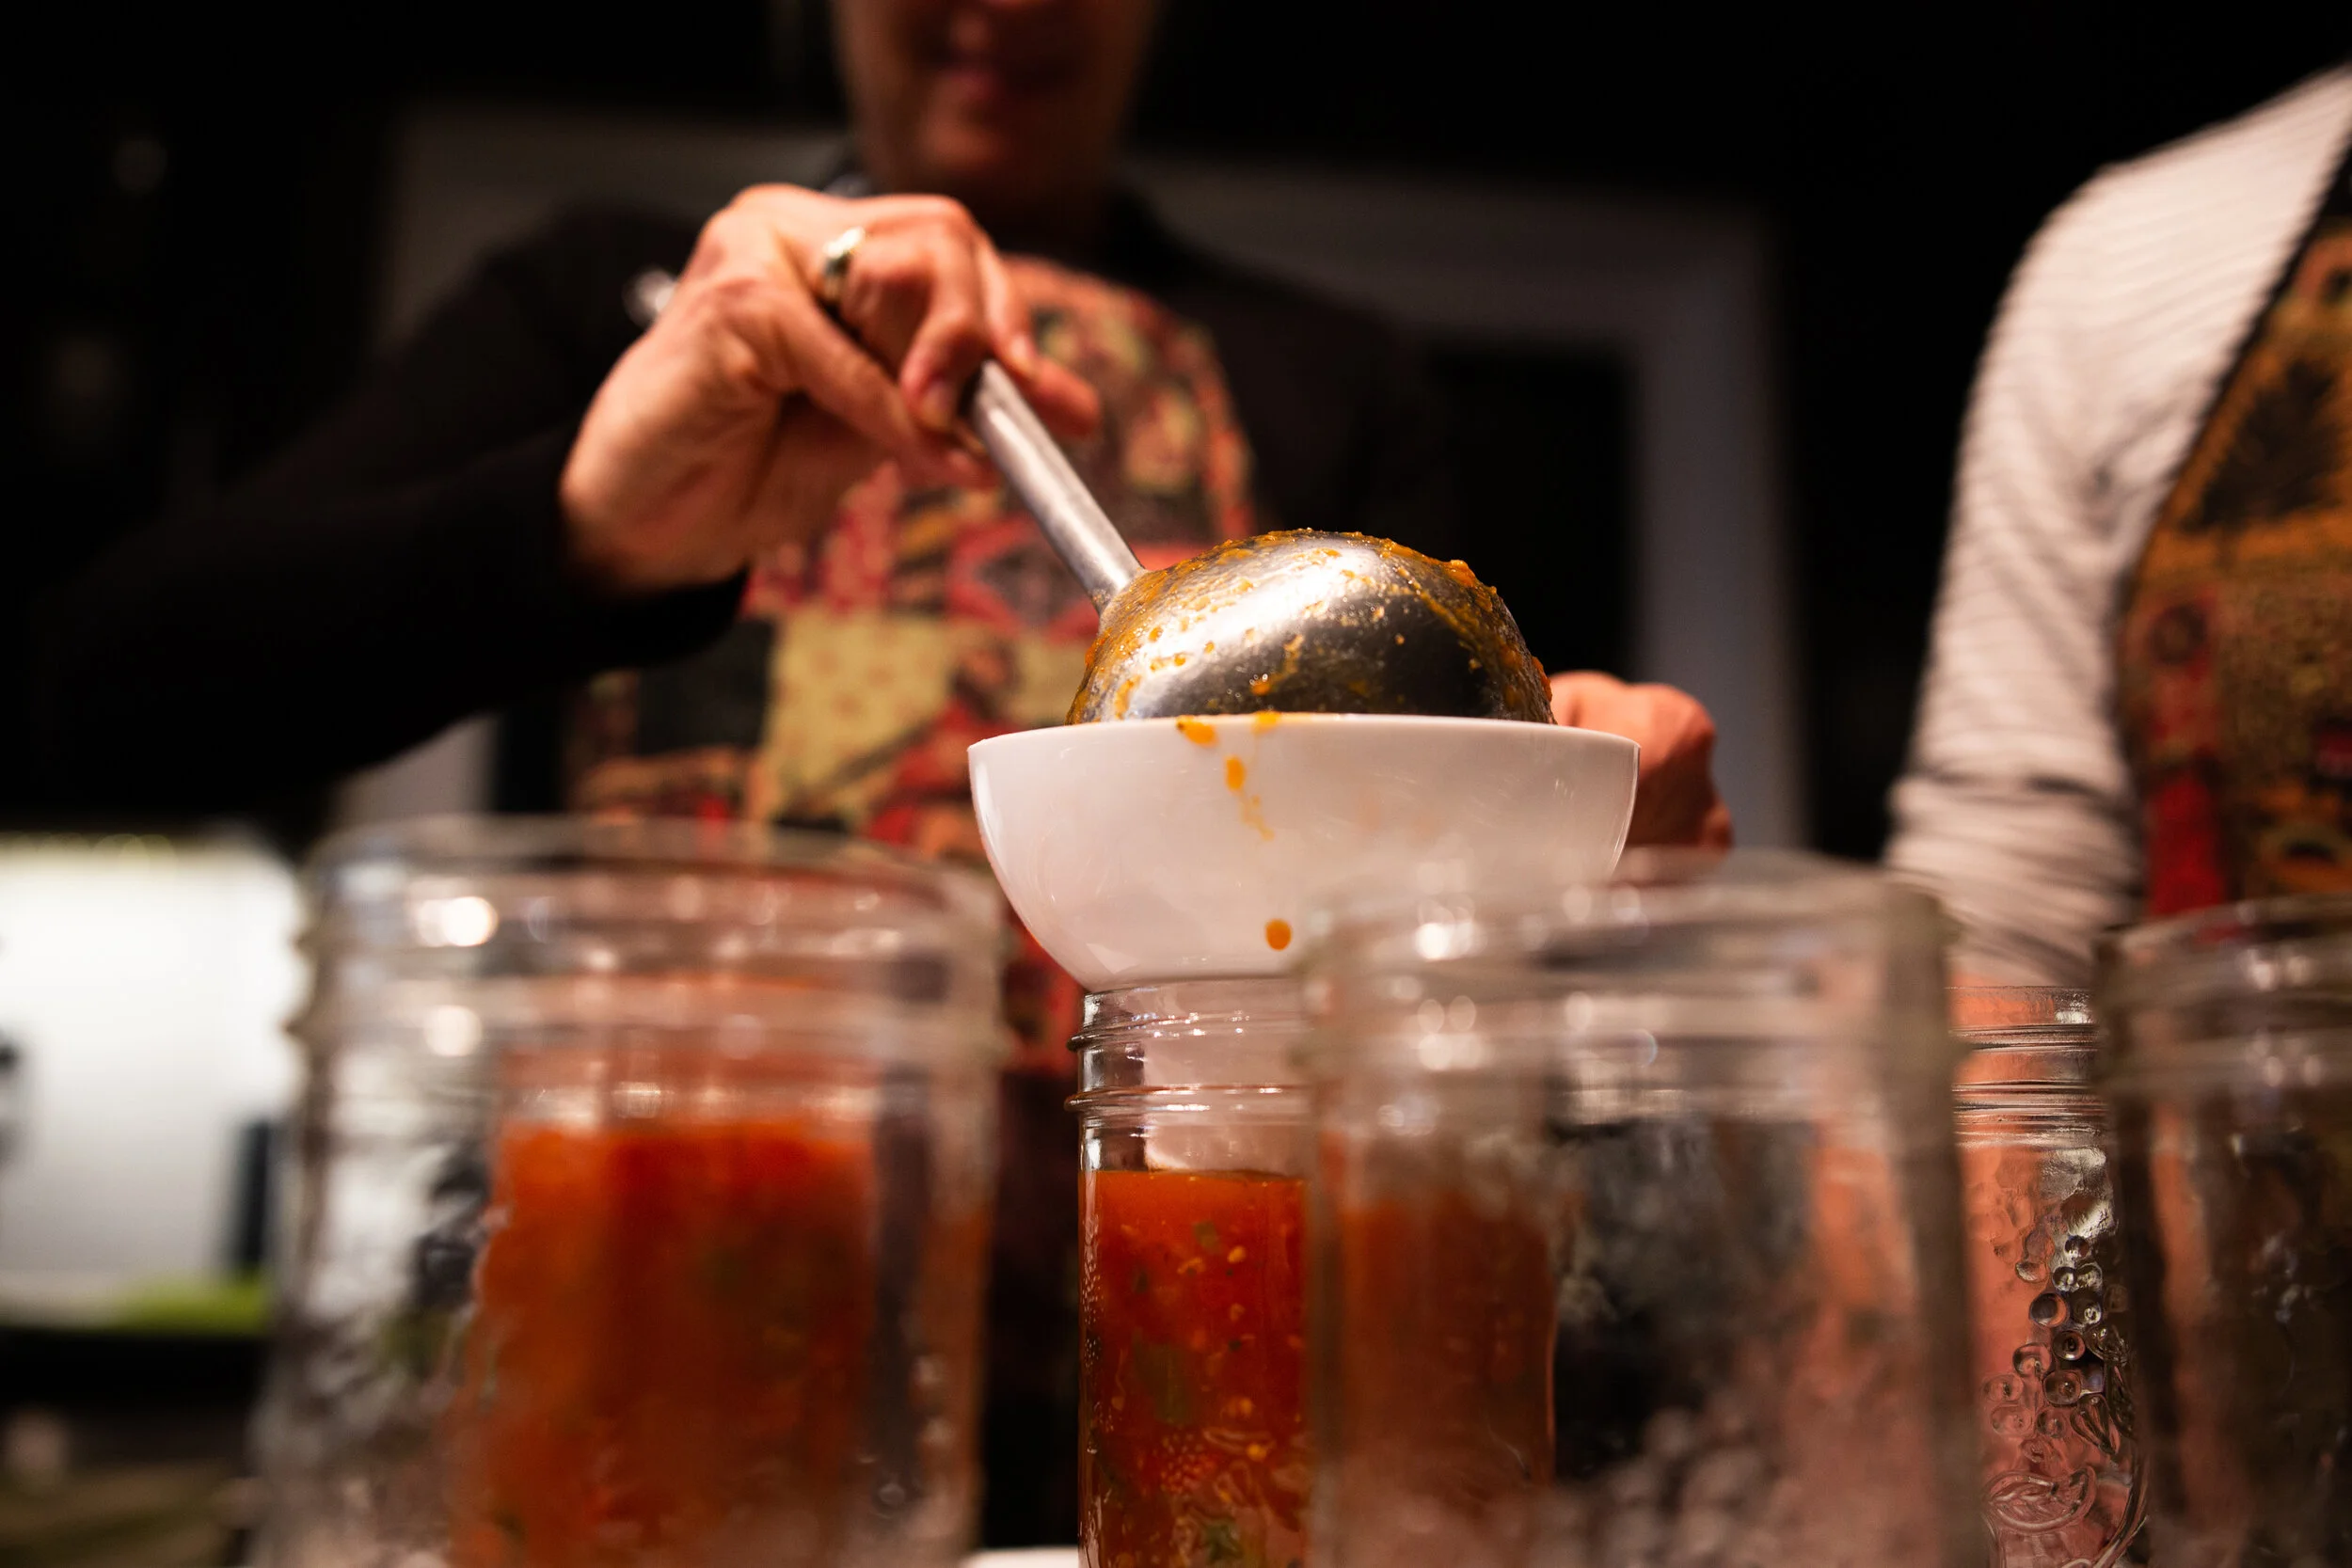
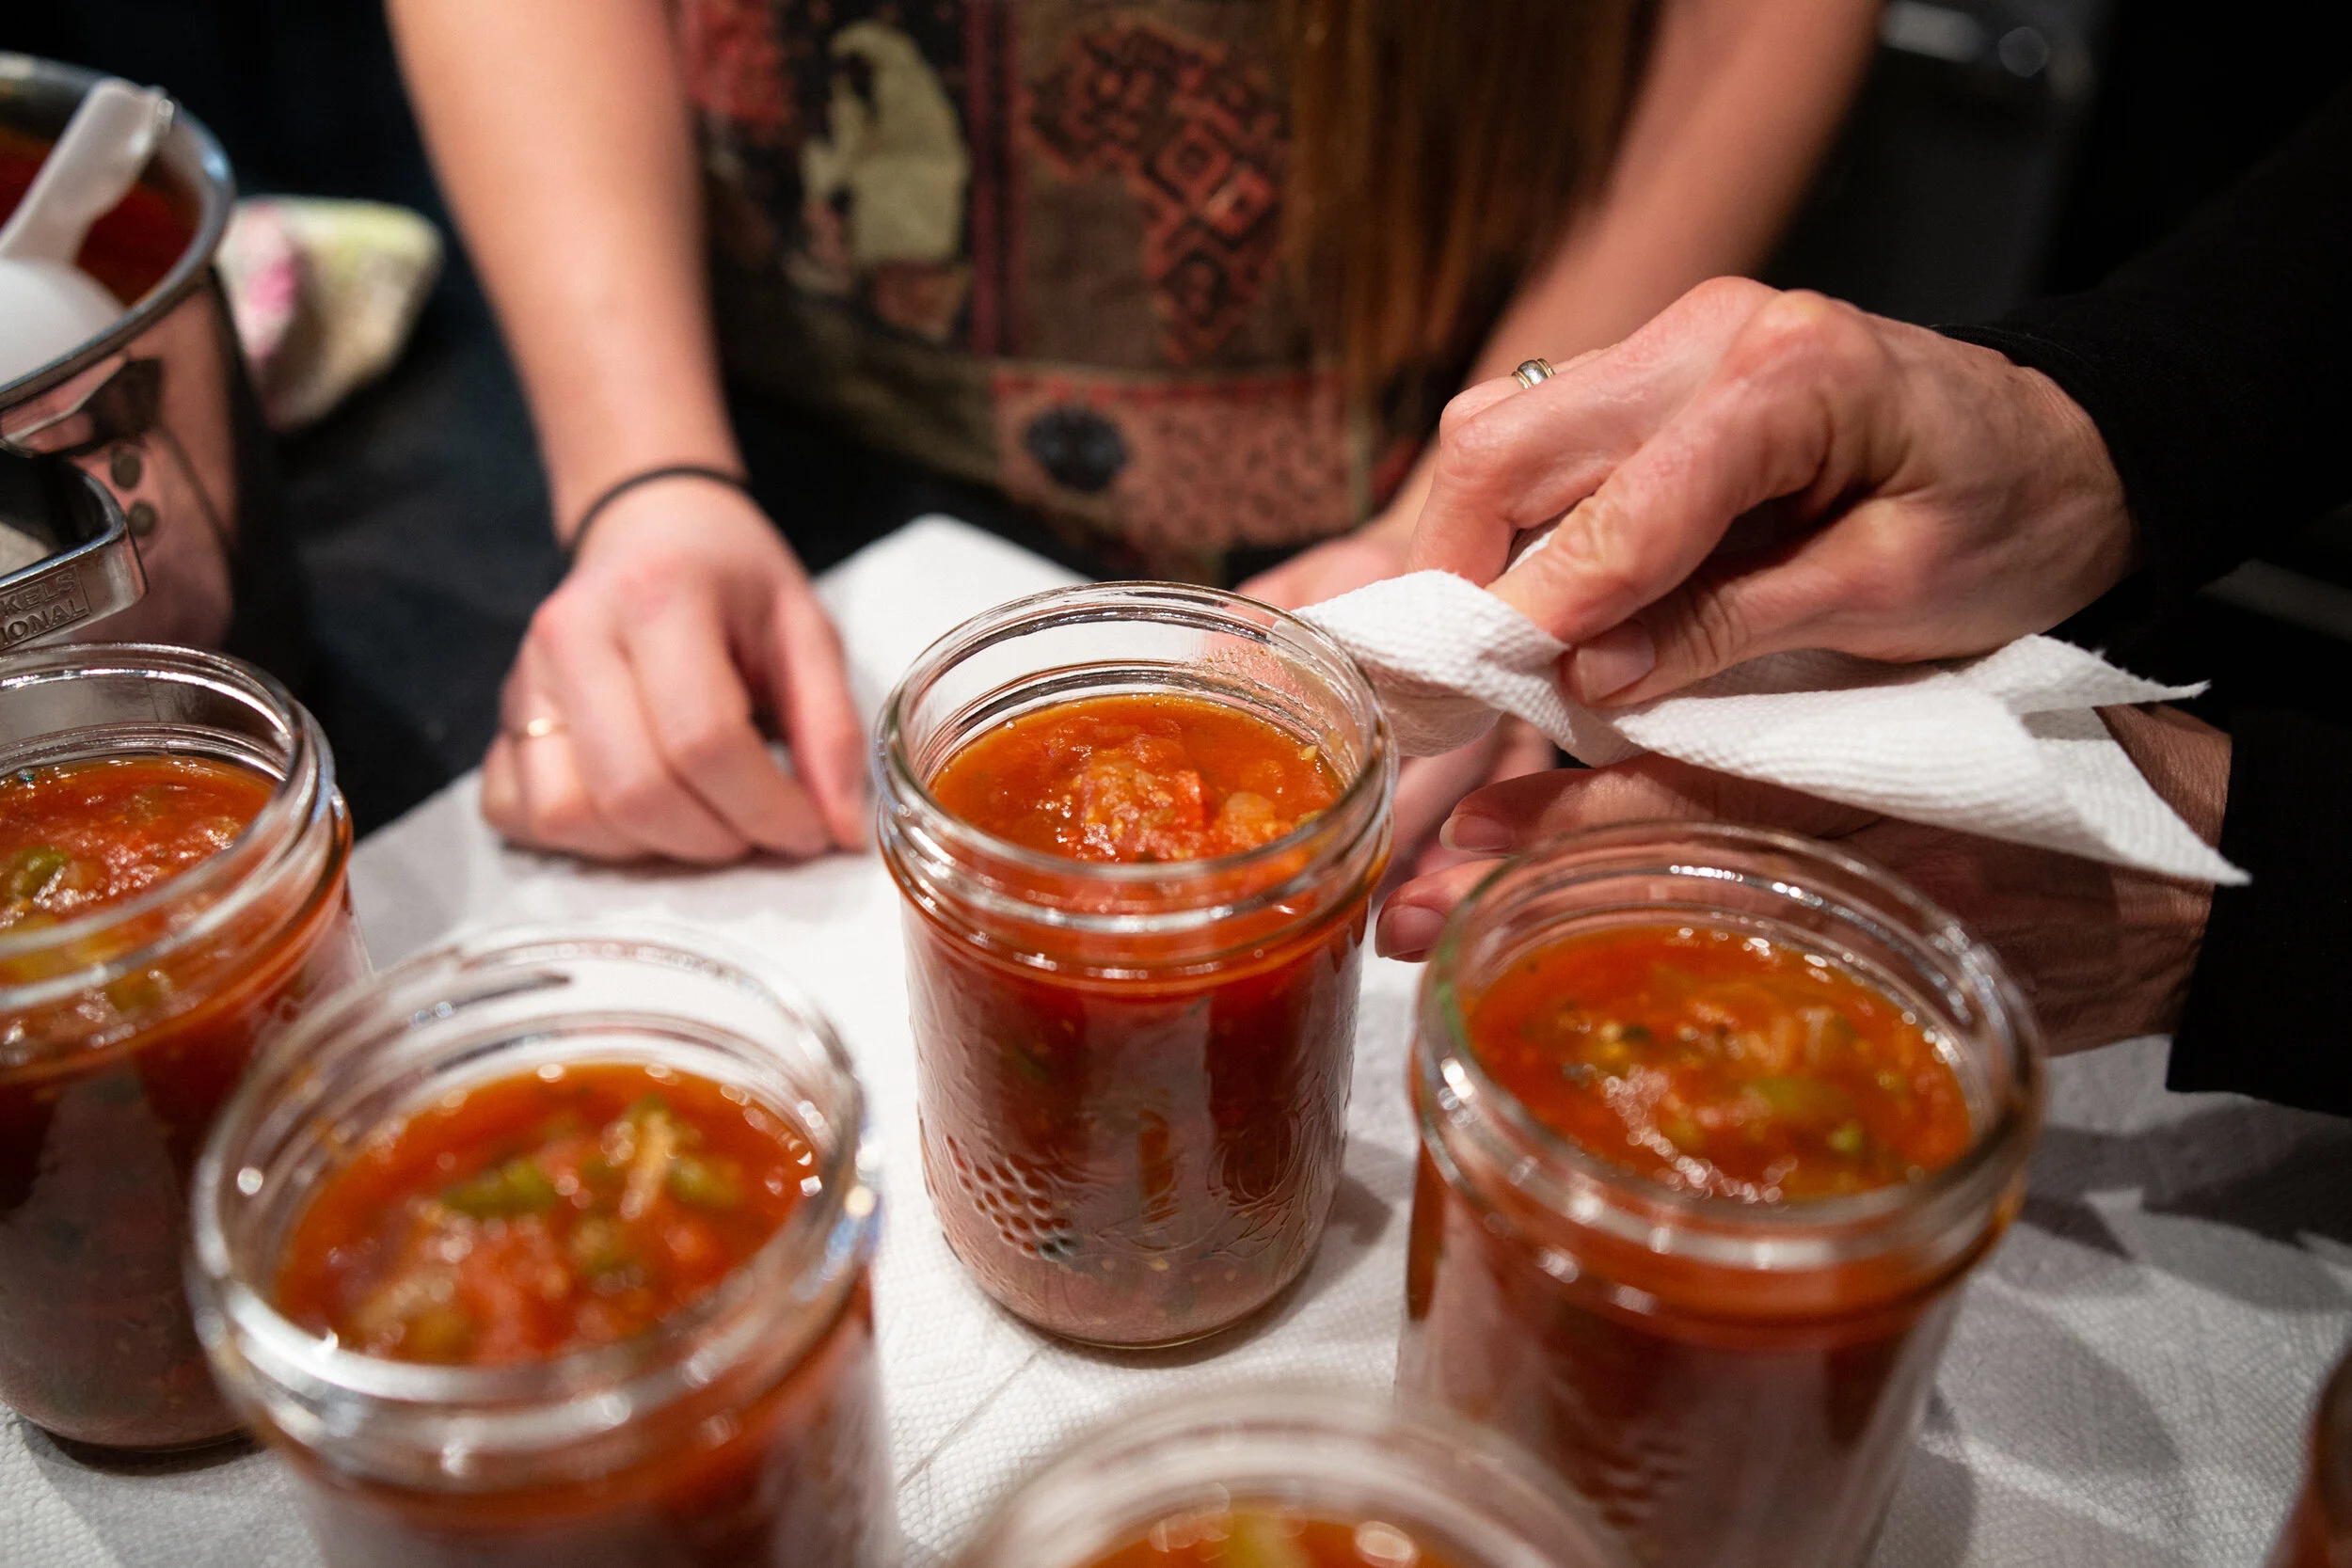
This is when hot food is placed into hot sterilized jars. We sterilize our jars and lids by running them in the dishwasher right before we are ready to can. Once the salsa has simmered down to the desired consistency, remove pot from heat and get the jars from the dishwasher. Fill using ladle or sterilized canning funnel. Place lids on and screw tight. Leave at room temperature for a few hours or overnight to allow lids to seal. Lids are sealed when they make a “popping” sound and the lid is slightly indented in the middle. If lids are not sealed by the morning, your salsa is not shelf-stable and you will want to store it in the fridge.
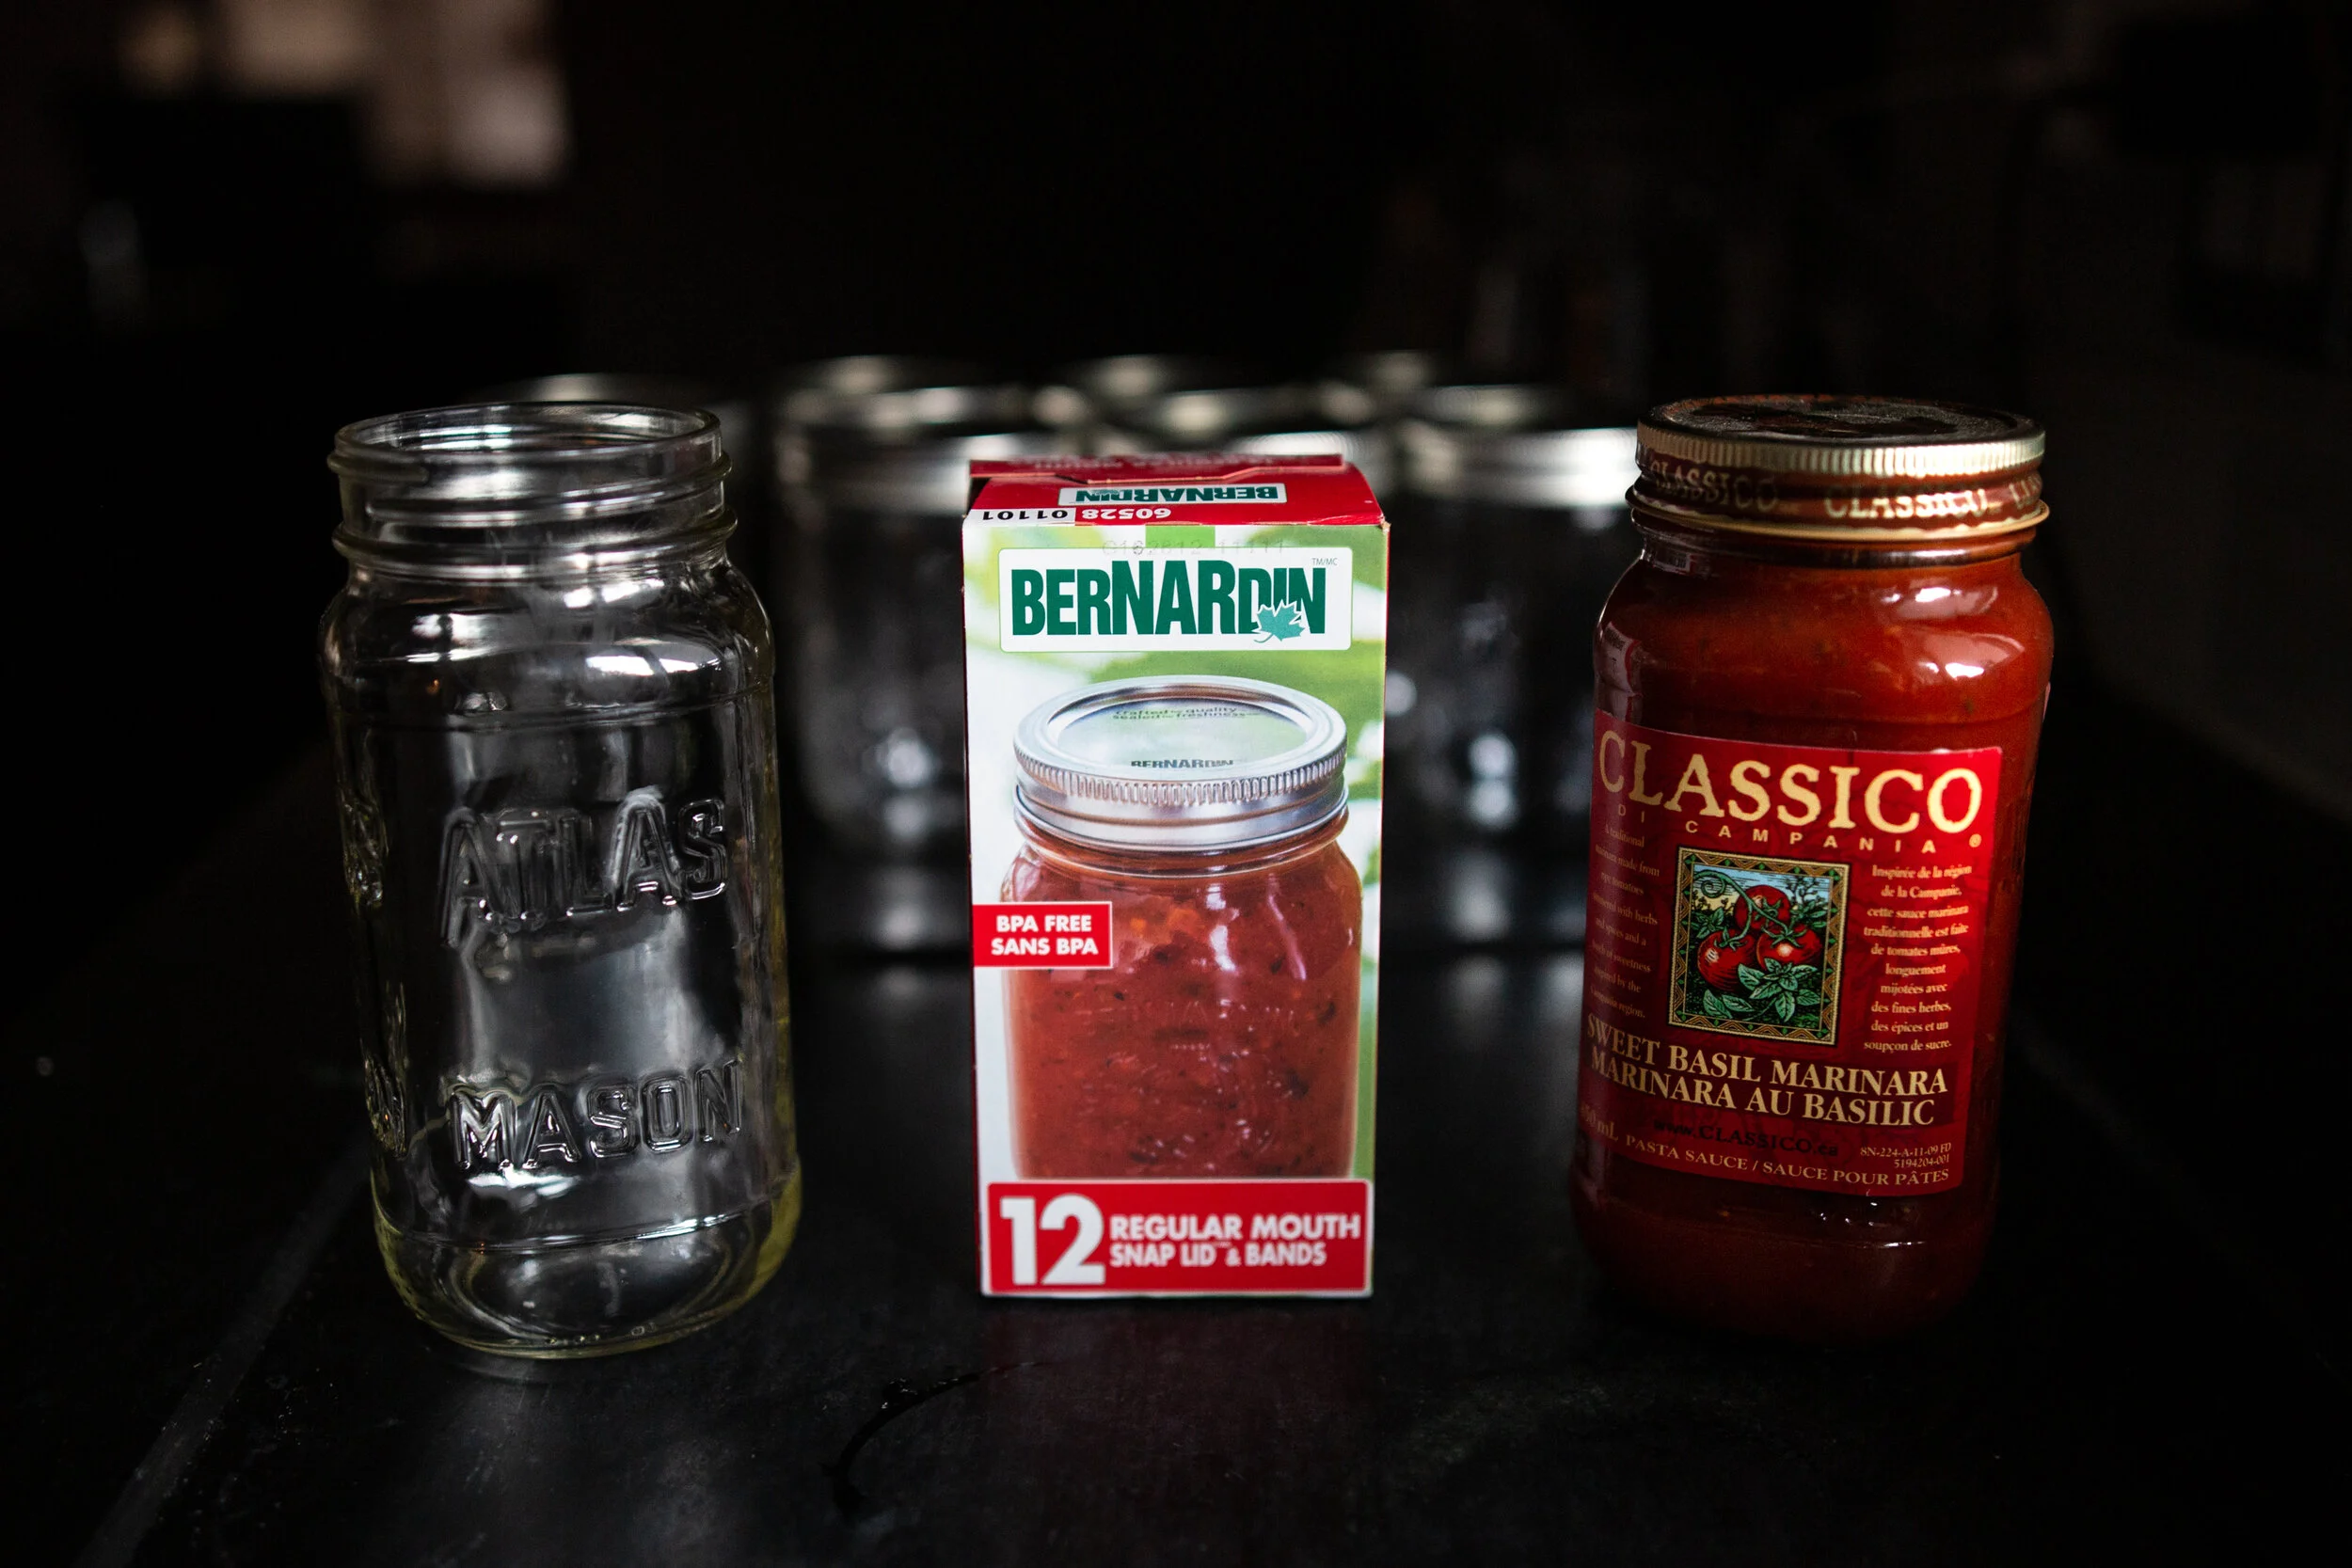
Sue’s Pro Tip #5: Don’t go and buy new mason jars! Certain products already come in mason jars (e.g. pasta sauce), so wash and save them for your next batch of salsa! All you need to do is buy new lids (see above photo. Sue’s recommendation: Bernardin Regular Mouth Snap Lids). You want to make sure that your lids seal properly, so buying new ones is probably your best bet for your salsa staying shelf-stable.
Sue’s Pro Tip #6: This one is for all the messy cooks out there (i.e. me). When filling the jars, make sure to wipe down the rims before placing the lids on. A clean rim will help ensure a proper seal.
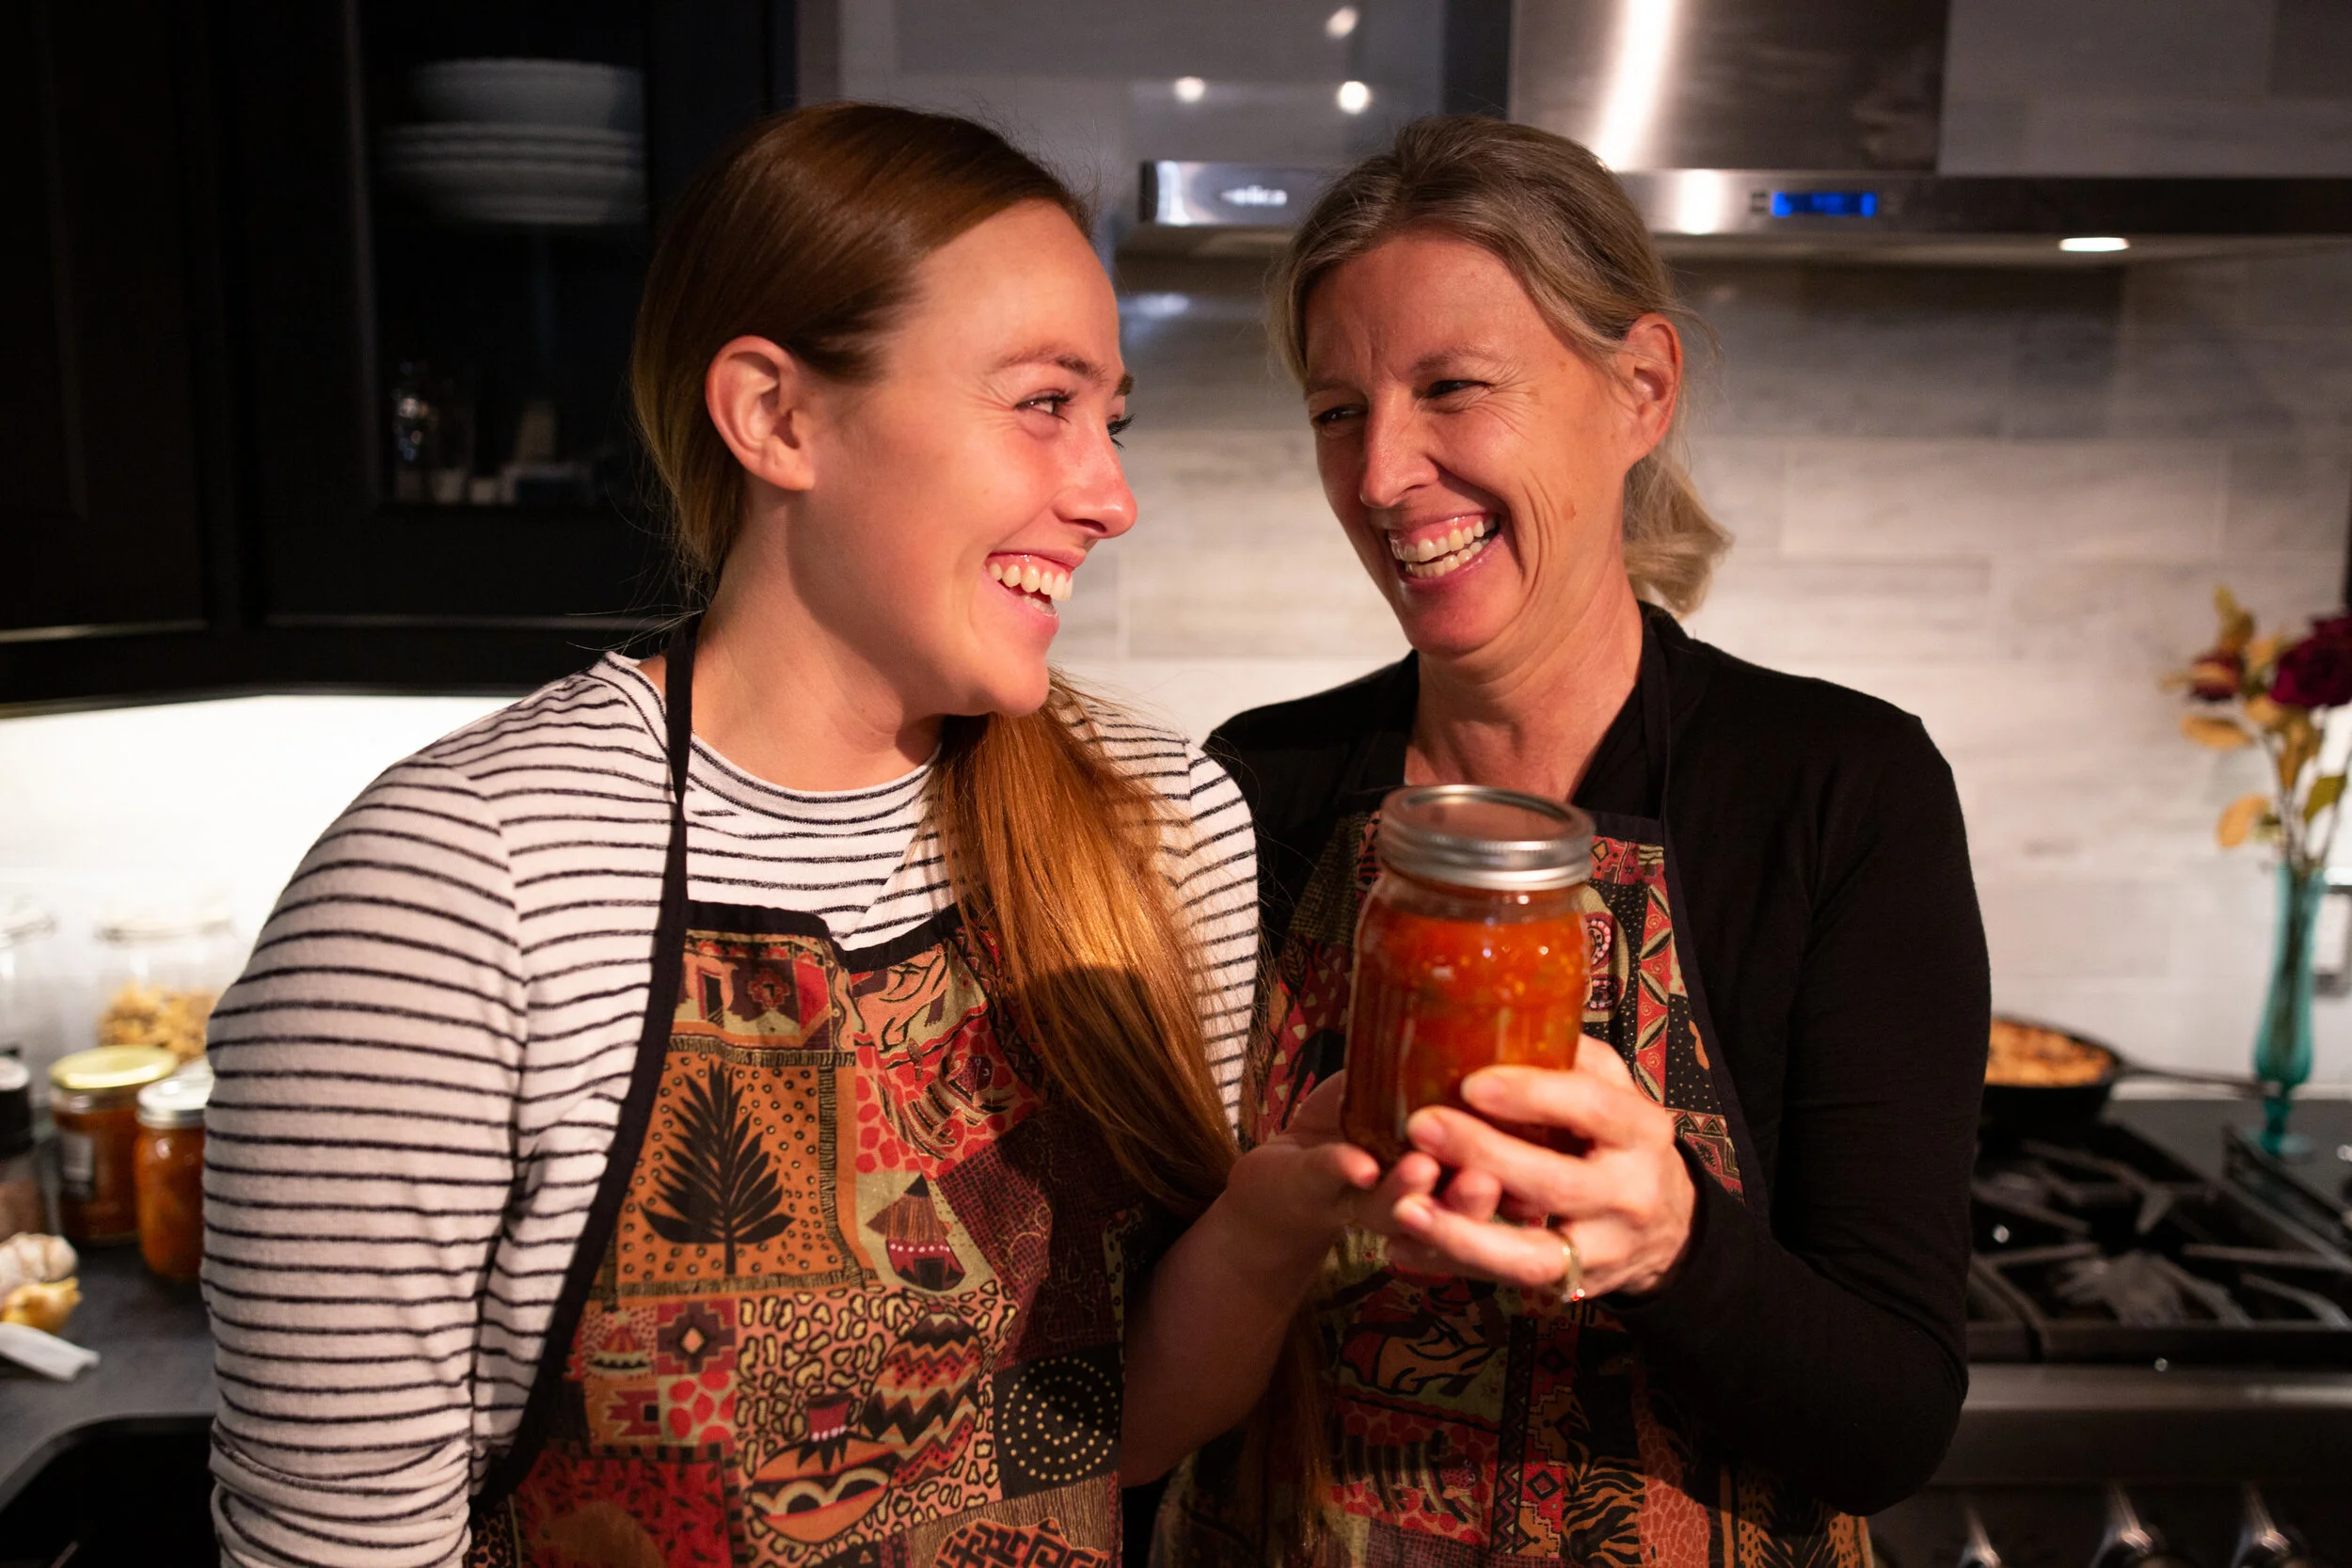
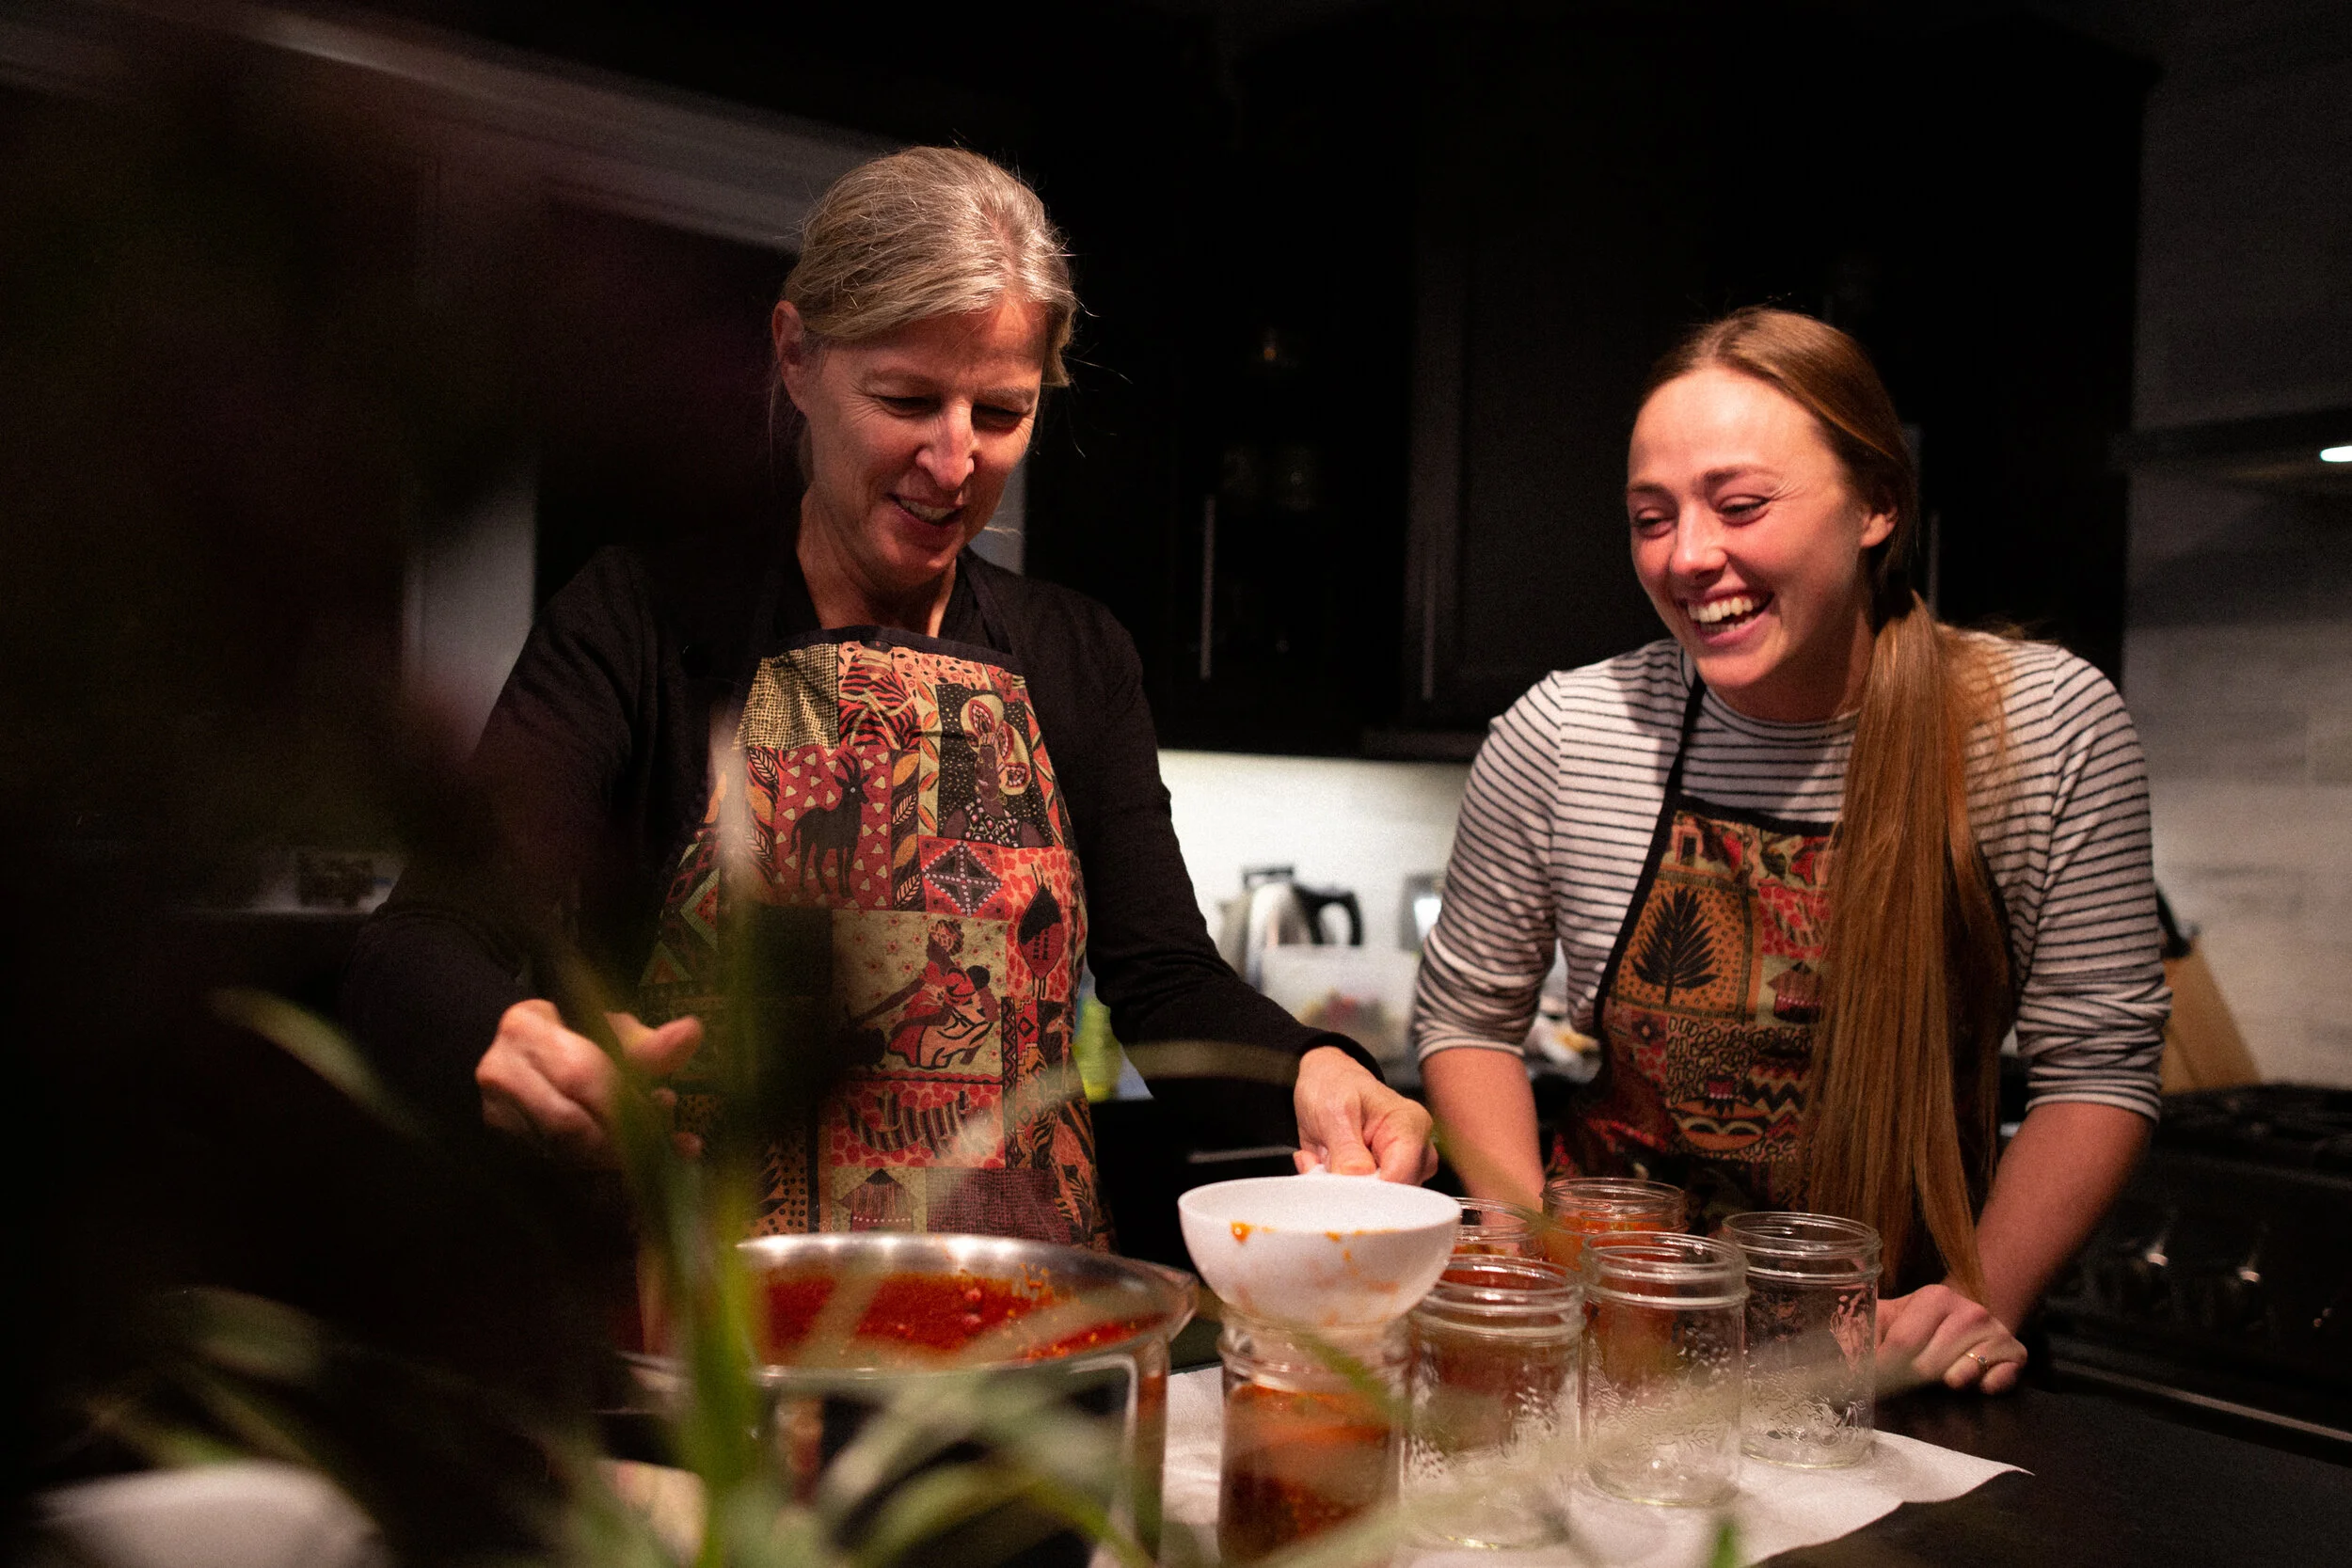
If you don’t have wrinkles and a double chin when smiling, are you even smiling..? Gosh I love my little mama bear.
Store salsa jars in cool, dark place or in refrigerator for up to one year. Enjoy with a plate of nachos, your favourite chips, or my Backpacking Burritos recipe!
I also tried dehydrating some salsa but haven’t actually tried it yet… so stay tuned for how that goes!
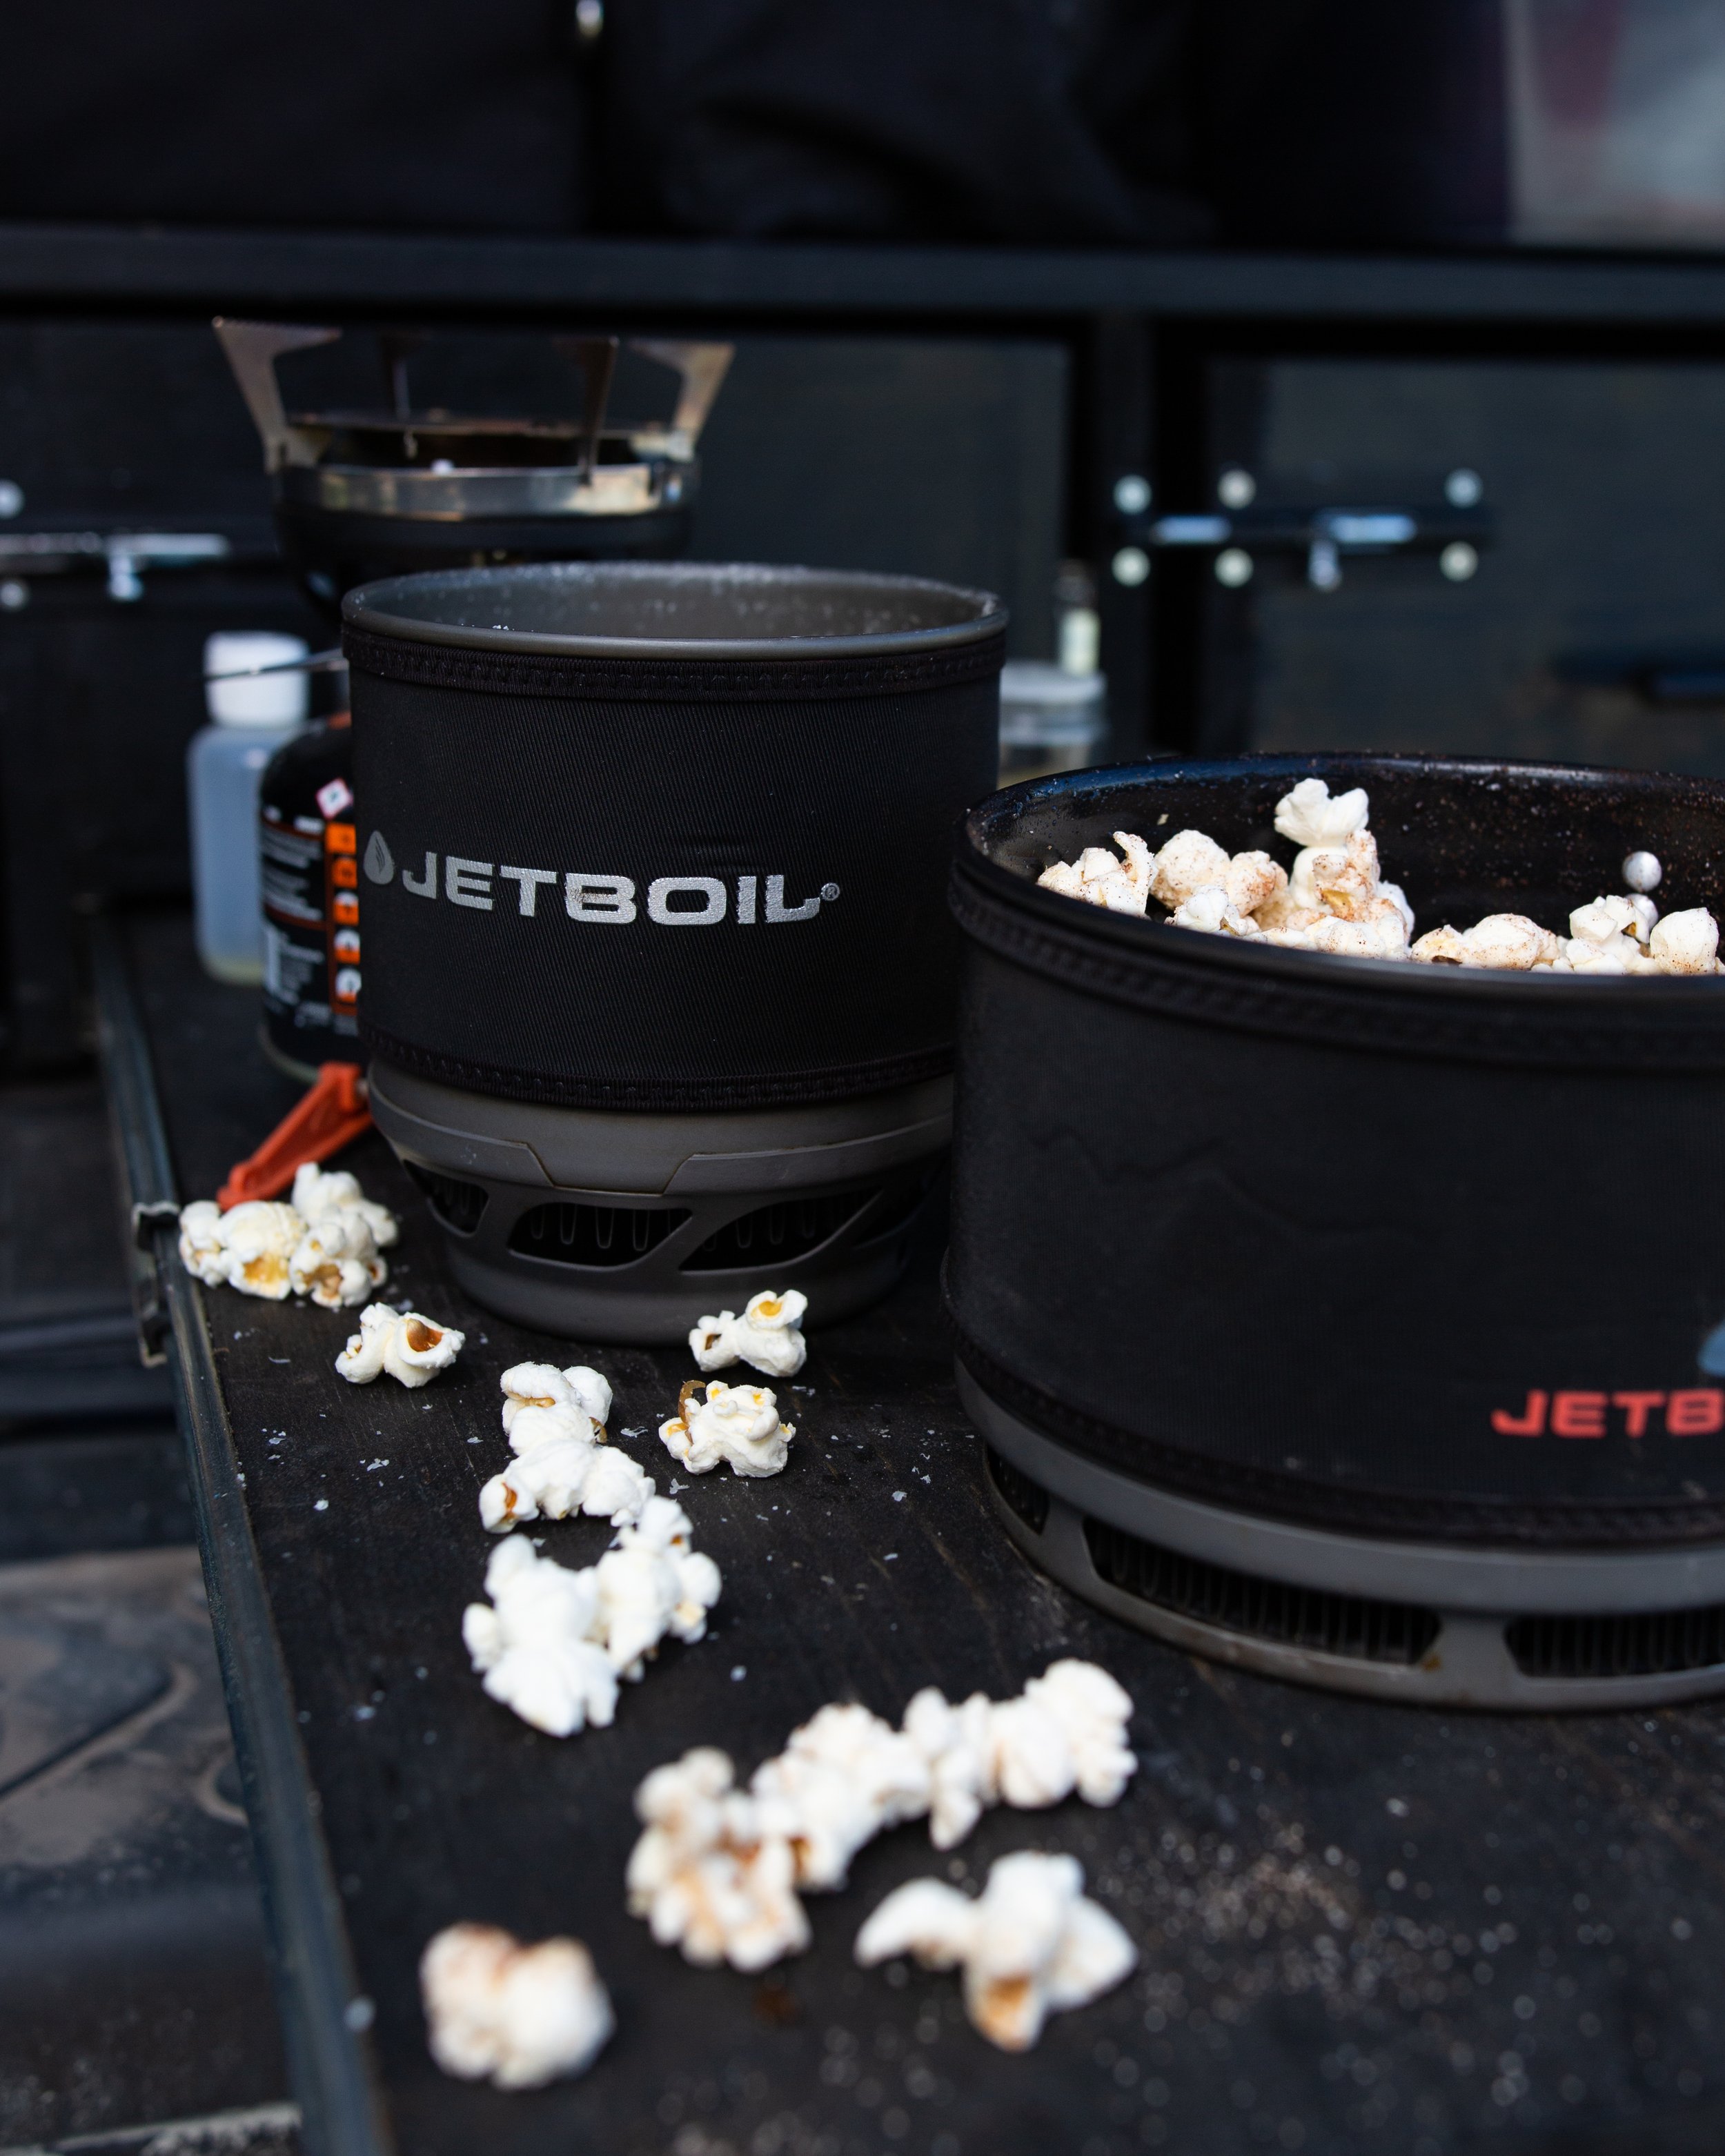
More Snack Ideas


Mama Sue's Spicy Salsa

Ingredients
- 8 cups tomatoes, peeled and smashed
- 4 cups green peppers, diced
- 2 cups white onions, diced
- 1 cup red pepper, diced
- 1 cup jalapeño peppers, diced
- 4 cloves garlic, minced
- 1/4 cup parsley, chopped
- 2 cups white vinegar
- 1 can tomato paste
- 1/2 cup white sugar
- 1 Tbsp salt
- 2 tsp paprika
- 1 tsp oregano
Instructions
- Prep your mason jars and lids by running them through the dish washer so they're nice and hot. Leave them in there until you are ready to can.
- Boil large pot of water. Place tomatoes in boiling water for 3-5 minutes, until skin splits. Remove and let cool enough to touch. Peel skins and mash with fork or hands until chunky consistency. Add to clean large pot.
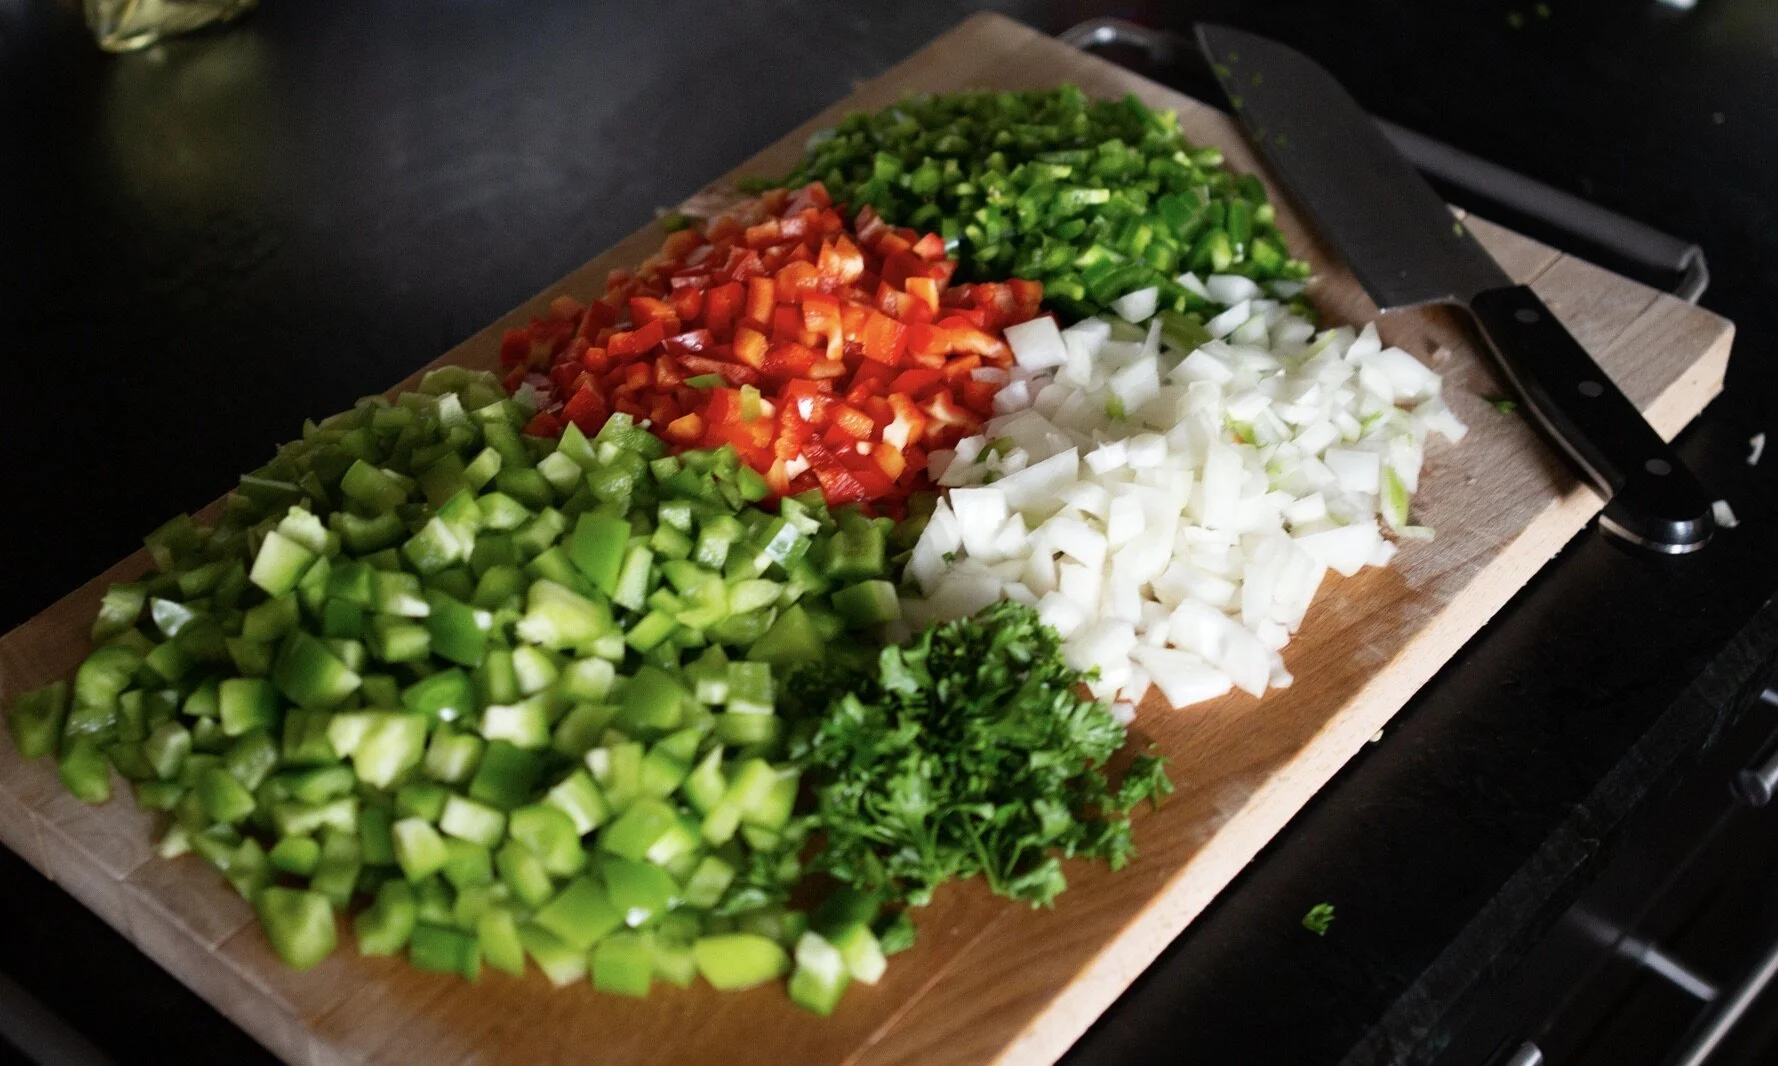
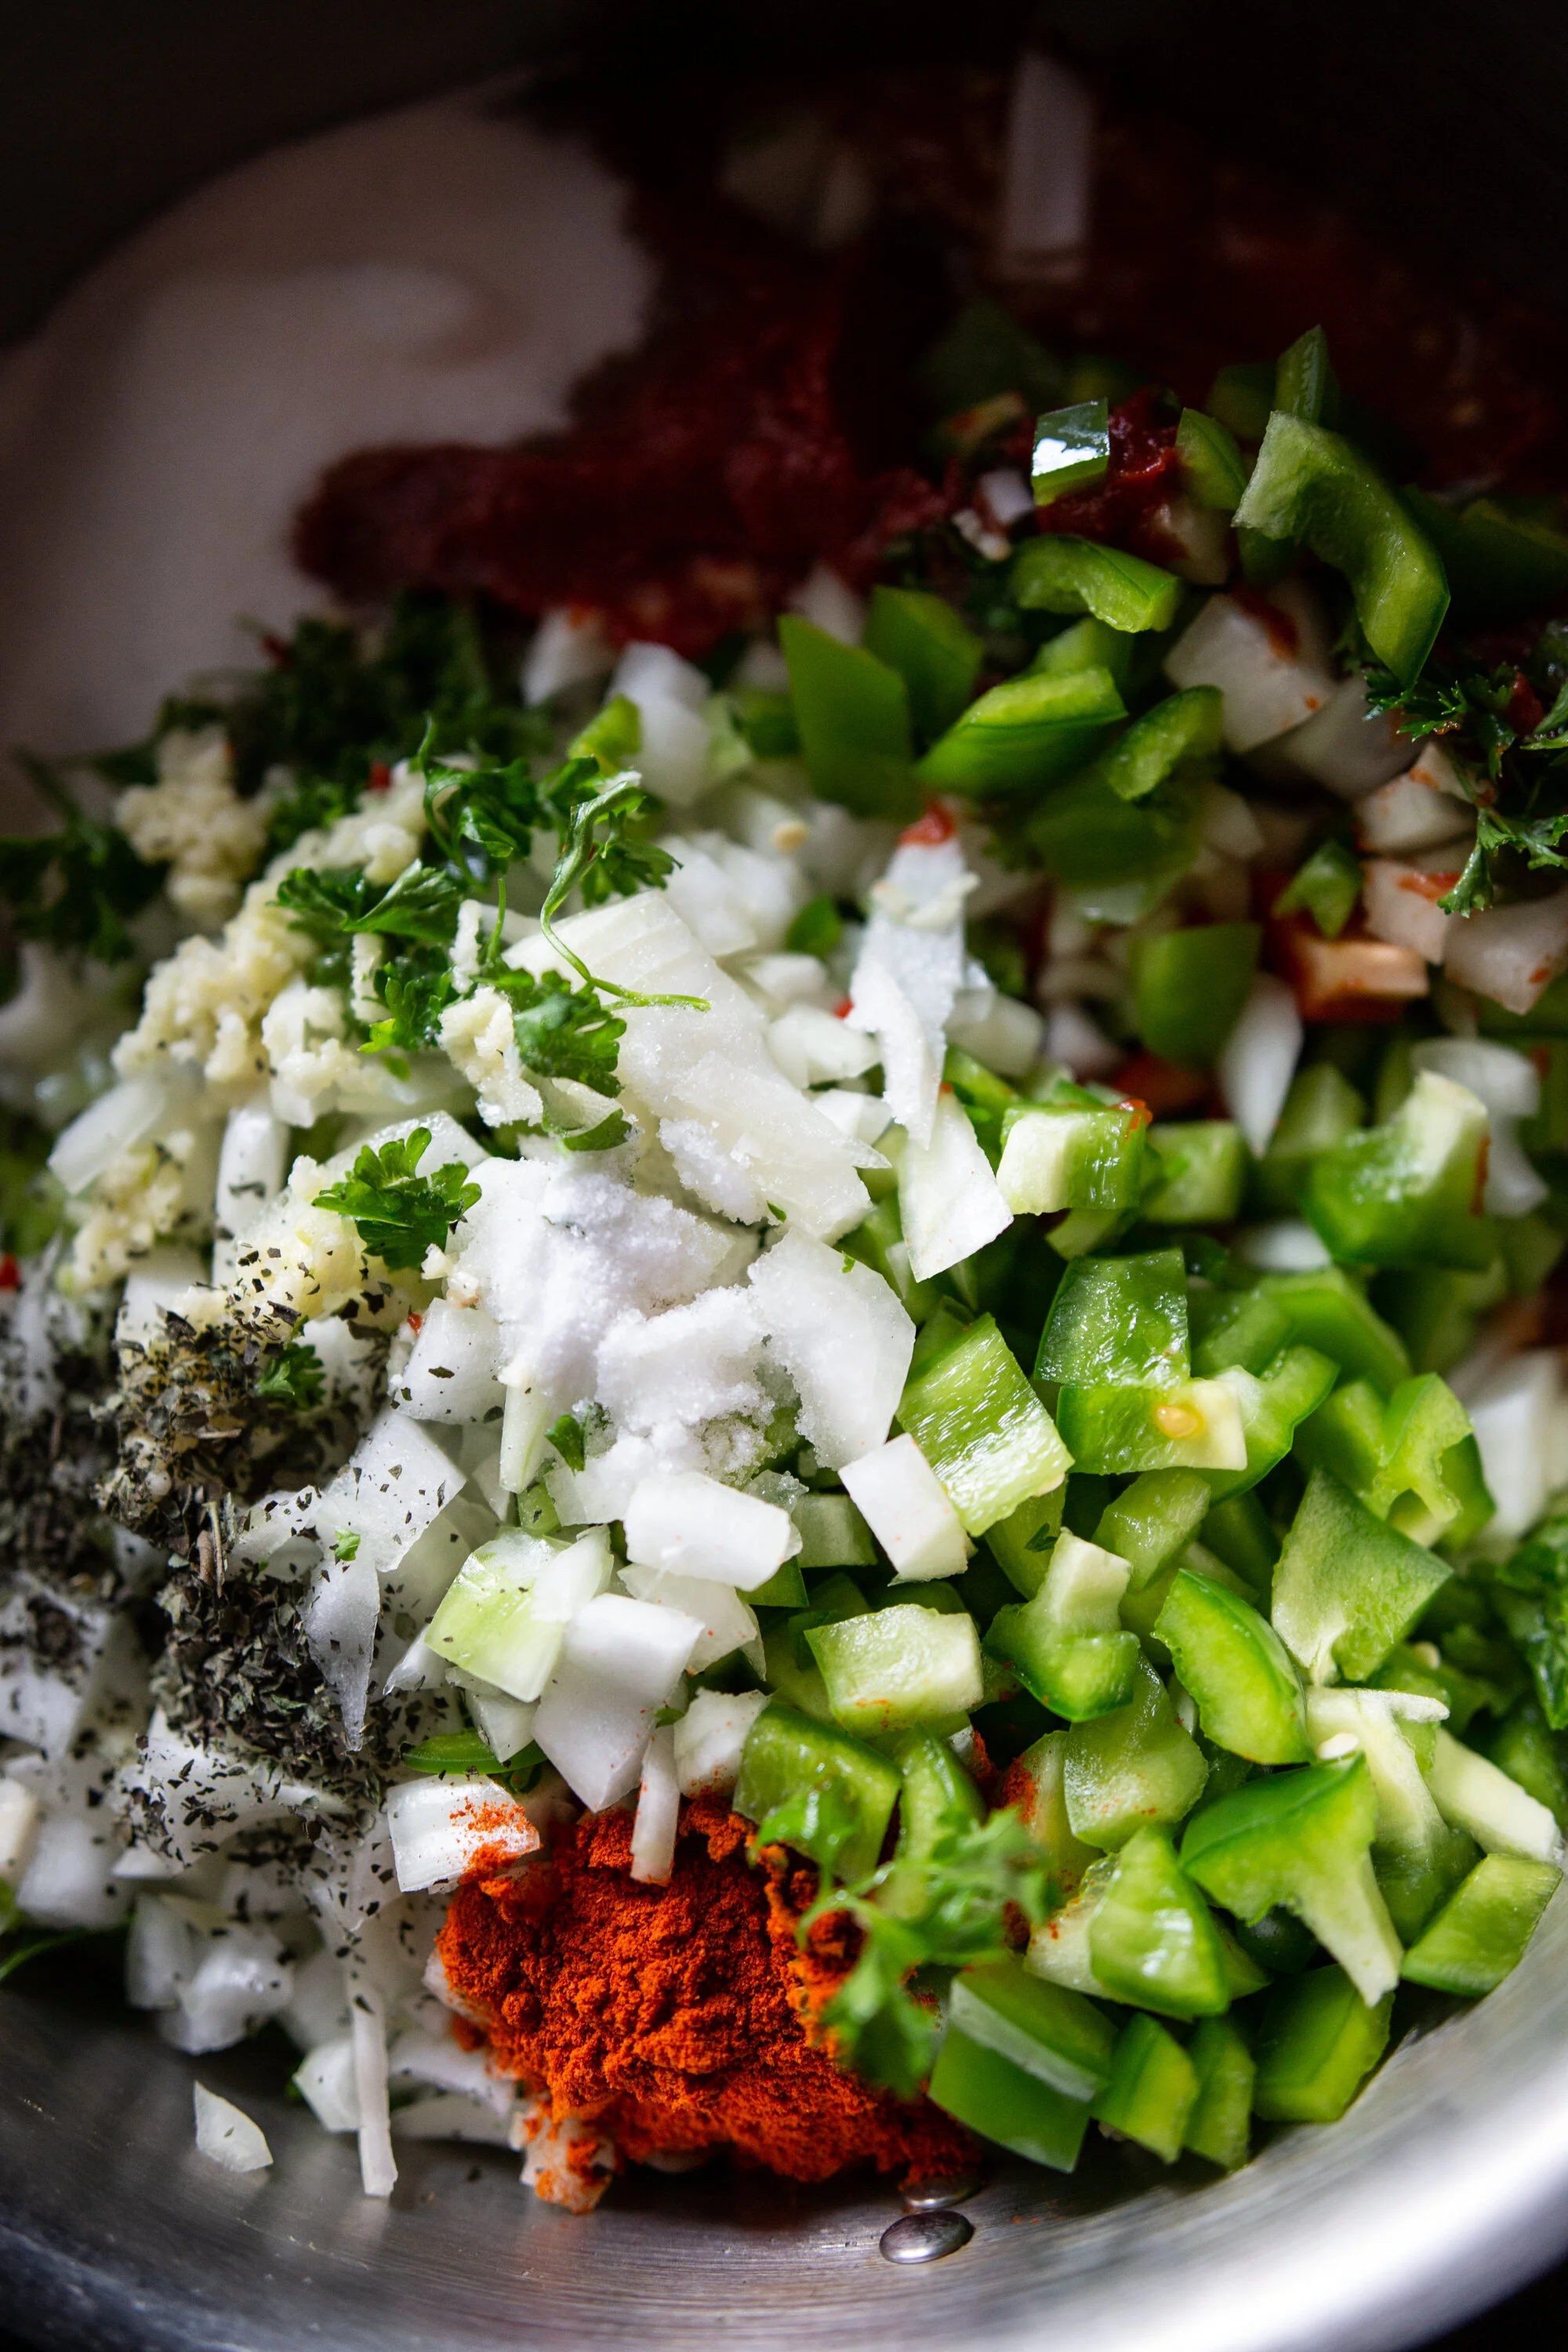
- Dice remaining vegetables and add to crushed tomatoes. Add vinegar, sugar, spices, herbs, and tomato paste. Mix together and place on stove top on high heat.
- Heat until boiling, turn turn down to simmer for ~2 hours, stirring occasionally to prevent burning.*
- When you are ready to can, remove hot jars and lids from dish washer and place on countertop. Fill jars with hot salsa and place lids on immediately.**
- Leave jars for a few hours or overnight to allow to seal. Lids seal when they make a "popping" sound and the middle of the lid is indented slightly. If they have not sealed by morning, they are not shelf-stable and you should store them in the refrigerator.
Notes:
*you can simmer it for less time depending what consistency you'd like. Less time = more liquidy. More time = thicker.
**make sure to wipe the rim of the jars before placing lid on. A clean rim is needed for a proper seal.


