

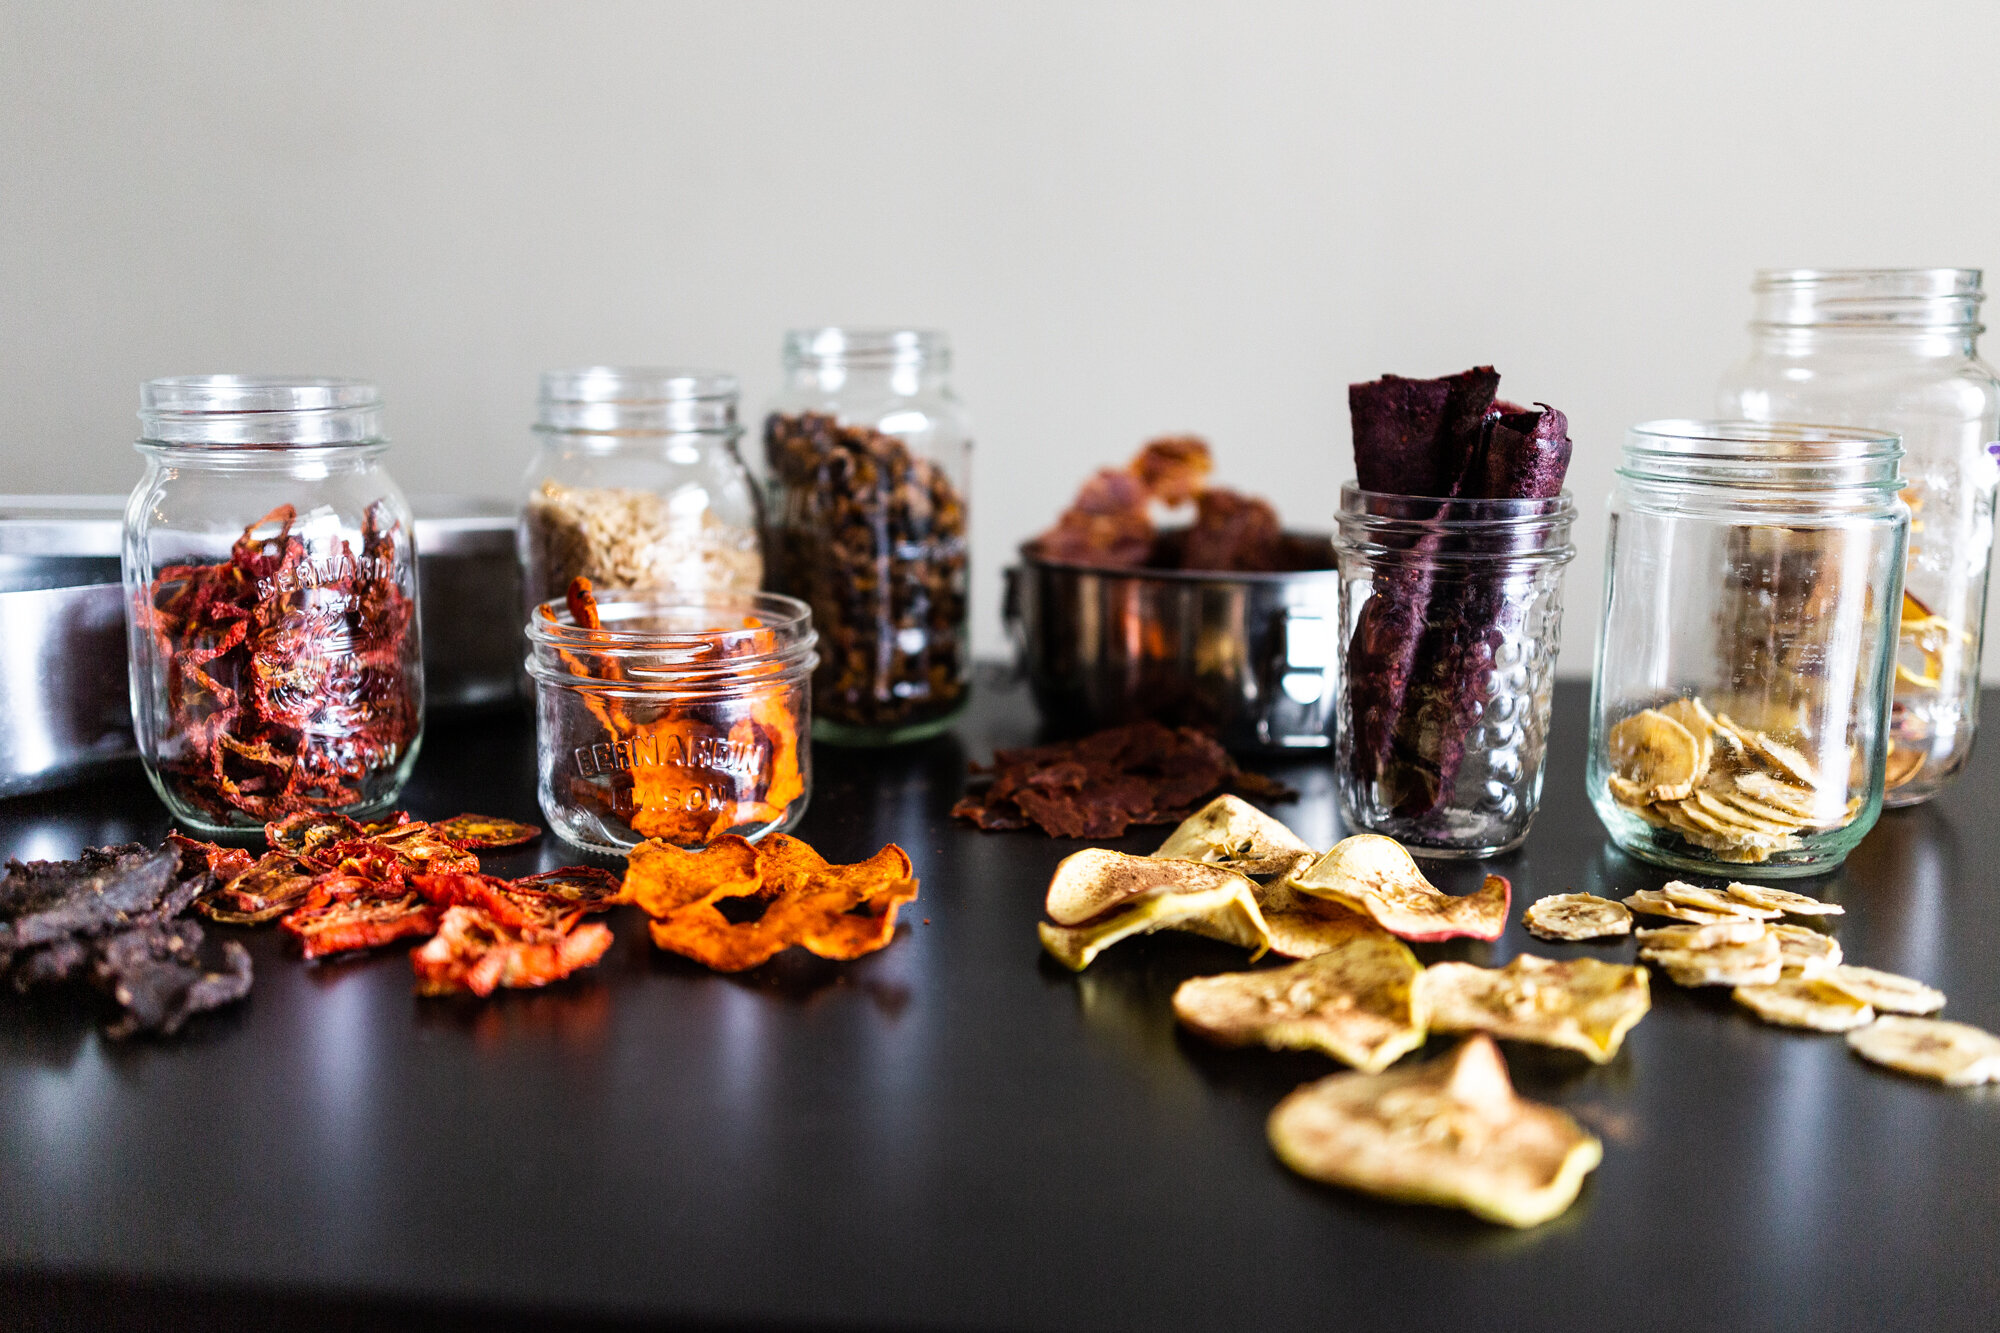
Dehydrating at Home - The Basics
Some helpful tips and tricks for dehydrating food at home for camping meals, snacks, and food storage.
Quick Guide:
Foods that DO and DO NOT dehydrate well
I would like to start by saying I am new to dehydrating and still have SO much to learn. I by no means have this whole thing figured out. But I thought I would share some of the basics that I have learned so far! It is not as intimidating as it may seem at first, so this post is to ease your fears and just provide you with some helpful tips if you’re planning on starting to dehydrate your own camp food.
Benefits of Dehydrating
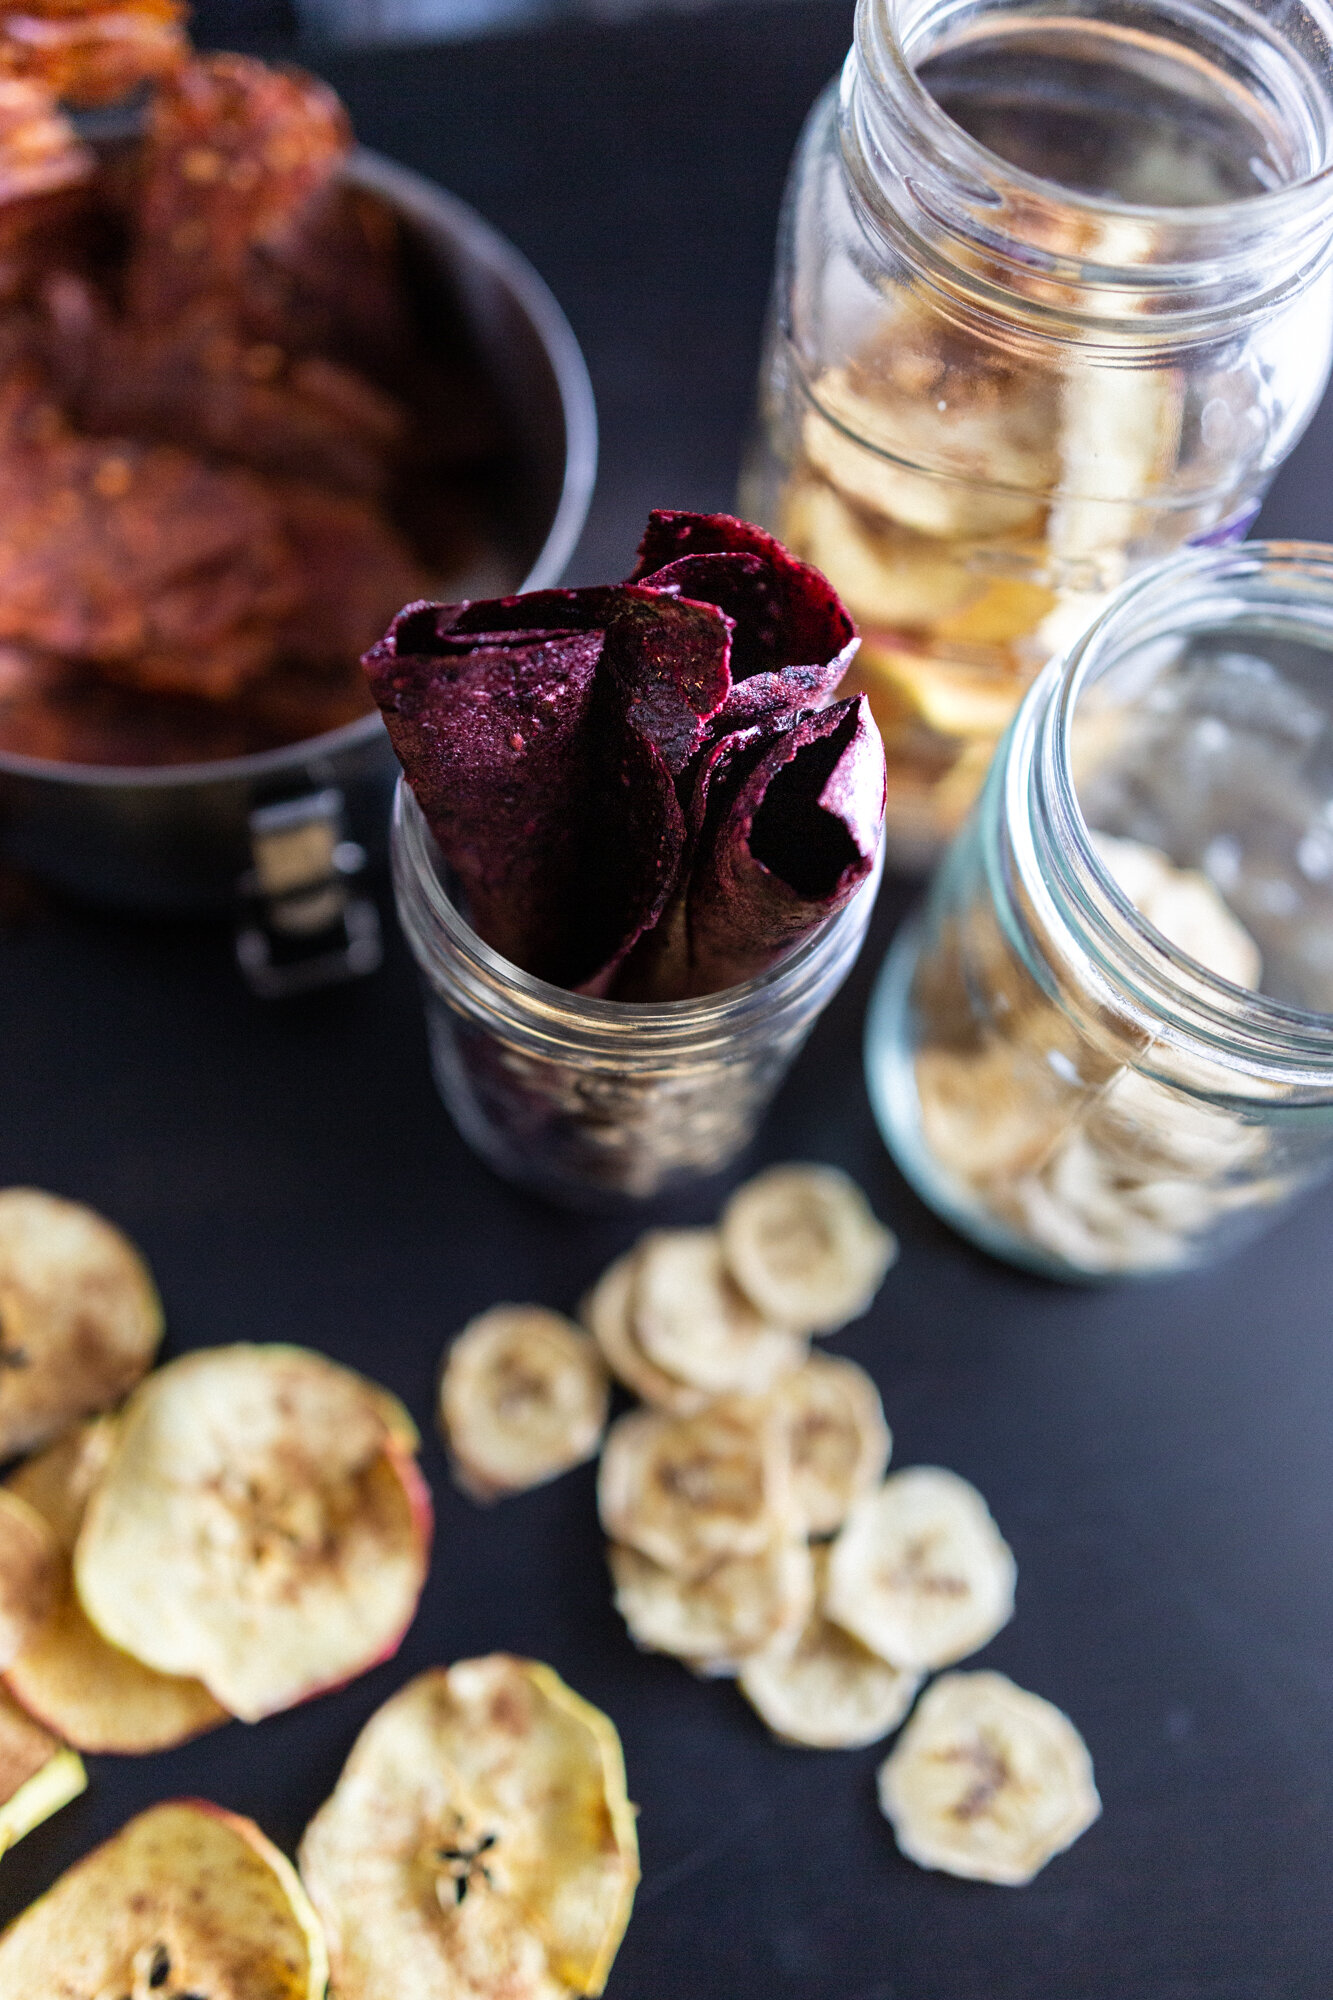
Storage without refrigeration. Dehydrating removes enough moisture from food to inhibit the growth of bacteria, mold, and yeast, making them easier to store for longer periods of time. This also allows you to bring perishables, such as meat or fresh produce, camping with you without having to worry about them going off!
Lower cost for backpacking meals. If you’ve purchased backpacking meals from the store then you know what I’m talking about. I nearly had a heart attack when I realized I was paying almost the same as I would if I was going to a restaurant! Dehydrating your own snacks and meals for backpacking/outdoor activities can save you a lot of money in the long run.
Save weight and space. Removing water dramatically reduces the weight of your food and allows you to pack meals down to a fraction of what they would be normally.
Control over nutrition preferences. By making your own backpacking meals, YOU have control over what goes in them. You don’t have to leave behind your favourite home cooked meal anymore! You also have control over nutrition preferences like higher protein, gluten-free, less salt, etc.

Oven vs Dehydrator
So you want to start dehydrating, does that mean you have to go buy a dehydrator?? Nope! You can totally use your oven to dehydrate with. However, just a few things to keep in mind if you’re using your oven instead of a dehydrator:
Timing. You will have to plan around when you want to use your oven for other cooking/baking purposes. Some foods can take between 8-12 hours to dehydrate. So if you use your oven a lot for cooking, you may want to consider investing in a dehydrator eventually!
Temperature. Not all modern oven's operate at a low enough temperature for dehydrating. Most foods dehydrate between 120-160F (50-70C). Make sure your oven runs that low before trying to dehydrate, otherwise you may burn your food! You may want to pop the oven door open a smidge to keep the temperature low enough. Using a dedicated oven thermometer will be handy in this case.
Airflow. Even with the right temperature, without good airflow, the food will not dehydrate as well. A fan in the oven is desirable for oven dehydrating. If you do not have a fan in the oven, crack the oven door frequently to let excess moisture out.
Energy Efficiency. Electric dehydrators are self-contained appliances with a heat source, fan for air circulation, and multiple trays for drying. You can dehydrate a lot more food in them at once compared to an oven. They can also have thermostats, finer temperature controls, and double-walled construction for more efficient energy use. If you plan on dehydrating a lot, you may want to consider purchasing a dehydrator to save on energy usage.
The huge pro of using your oven to dehydrate is that you don’t have to go spend extra money on another appliance (and if you live in an apartment like me, you don’t have to worry about finding storage space for your dehydrator!).

Foods That Dehydrate Well
Vegetables & Fruit
Meats
Legumes (beans, lentils)
Grains (rice, pasta, etc.)
Sauces
Herbs
Mixed Meals
Foods NOT To Dehydrate
Fats/oils - during storage, fats can go rancid
Nut Butters - too high in fat; opt for nut powders instead
Dairy - high risk of spoiling or causing food borne illness; opt for commercial products like milk powder, butter powder, powder cheese, etc.
Eggs - high risk for causing food borne illness; opt for commercial products like egg powder instead
Tip: when making mixed meals to dehydrate, watch how much oil you use in your recipes. A little will be okay for short term storage (like heading out the next weekend), but the longer you store the meal, the higher the chance the oil/fat will go rancid and ruin your meal. Trust me, speaking from experience here! (I made a curry for a backpacking trip, didn’t think to check it before we headed out, and when it was 8pm and we were starving did we only realize that it smelt like an old shoe. Luckily we were camping by a lake where we could fish and my brother saved the day by catching us a couple fish for dinner!)
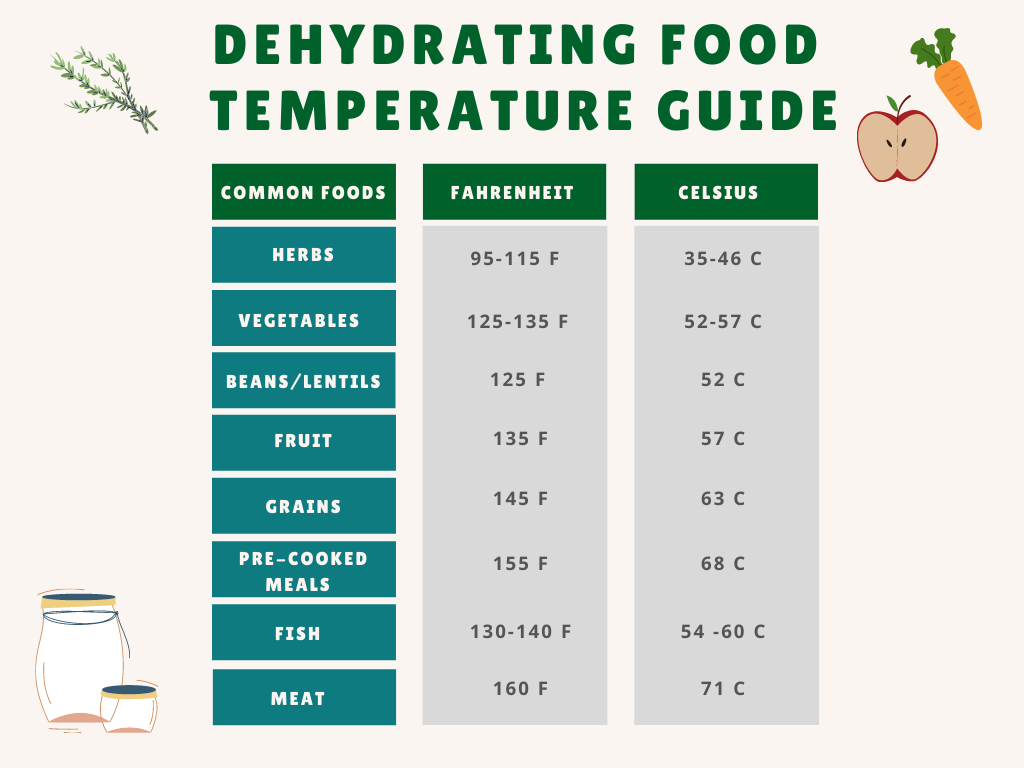
Temperature Guide
To give you an idea of approximate temperatures for dehydrating some common foods.
Drying Times
Drying times are influenced by multiple factors and therefore are never exact. The following variables can affect drying times:
Atmospheric humidity: higher moisture content in the air means your food will take longer to dehydrate (regardless of air temperature).
Moisture content: higher moisture content of the food means longer dehydrating times (pretty obvious one).
Method of preparation: unevenly sliced food means some pieces will dry before others, therefore extending dehydrating times. Blanching or steaming foods when appropriate will help decrease dehydrating times (see Prep section below).
Type of dehydrator/oven: dehydrators or ovens with even heating and a back-mounted fan generally dehydrate faster than top or bottom-mounted fans. Rotating the trays periodically during drying helps with this problem.
Amount of food: more food means longer dehydrating times. Try not to overload your dehydrator as this prevents air from circulating properly and drying the food efficiently.
All drying times given in this guide and in recipes on this blog are estimates. Make sure to check your food every few hours for level of dryness.
Pro Tip: if you’re unsure of whether your food is dry enough, remove from dehydrator and put into an airtight bag for a few minutes. If water droplets begin to form on the inside of the bag, your food is not completely dry and will eventually spoil in storage. Pop back into the dehydrator. It takes a little time to get the hang of dehydrating and getting to know your equipment/environment, but with a little practice, you’ll be a pro in no time!
Prep
Before getting started, here’s a couple tips for prepping your food for the dehydrator:
To mix or not to mix?
Many meals can either have their ingredients dehydrated individually and assembled later (eg. ground meat, sauce, and pasta) or can be mixed and dehydrated together (eg. spaghetti noodles mixed with sauce already). The important thing to keep in mind is whether the dehydrating temperatures of the individual ingredients are similar or not. Try to keep all ingredients within the smallest range of temperatures possible. This will help prevent certain individual ingredients from drying out before other ingredients are fully dehydrated.
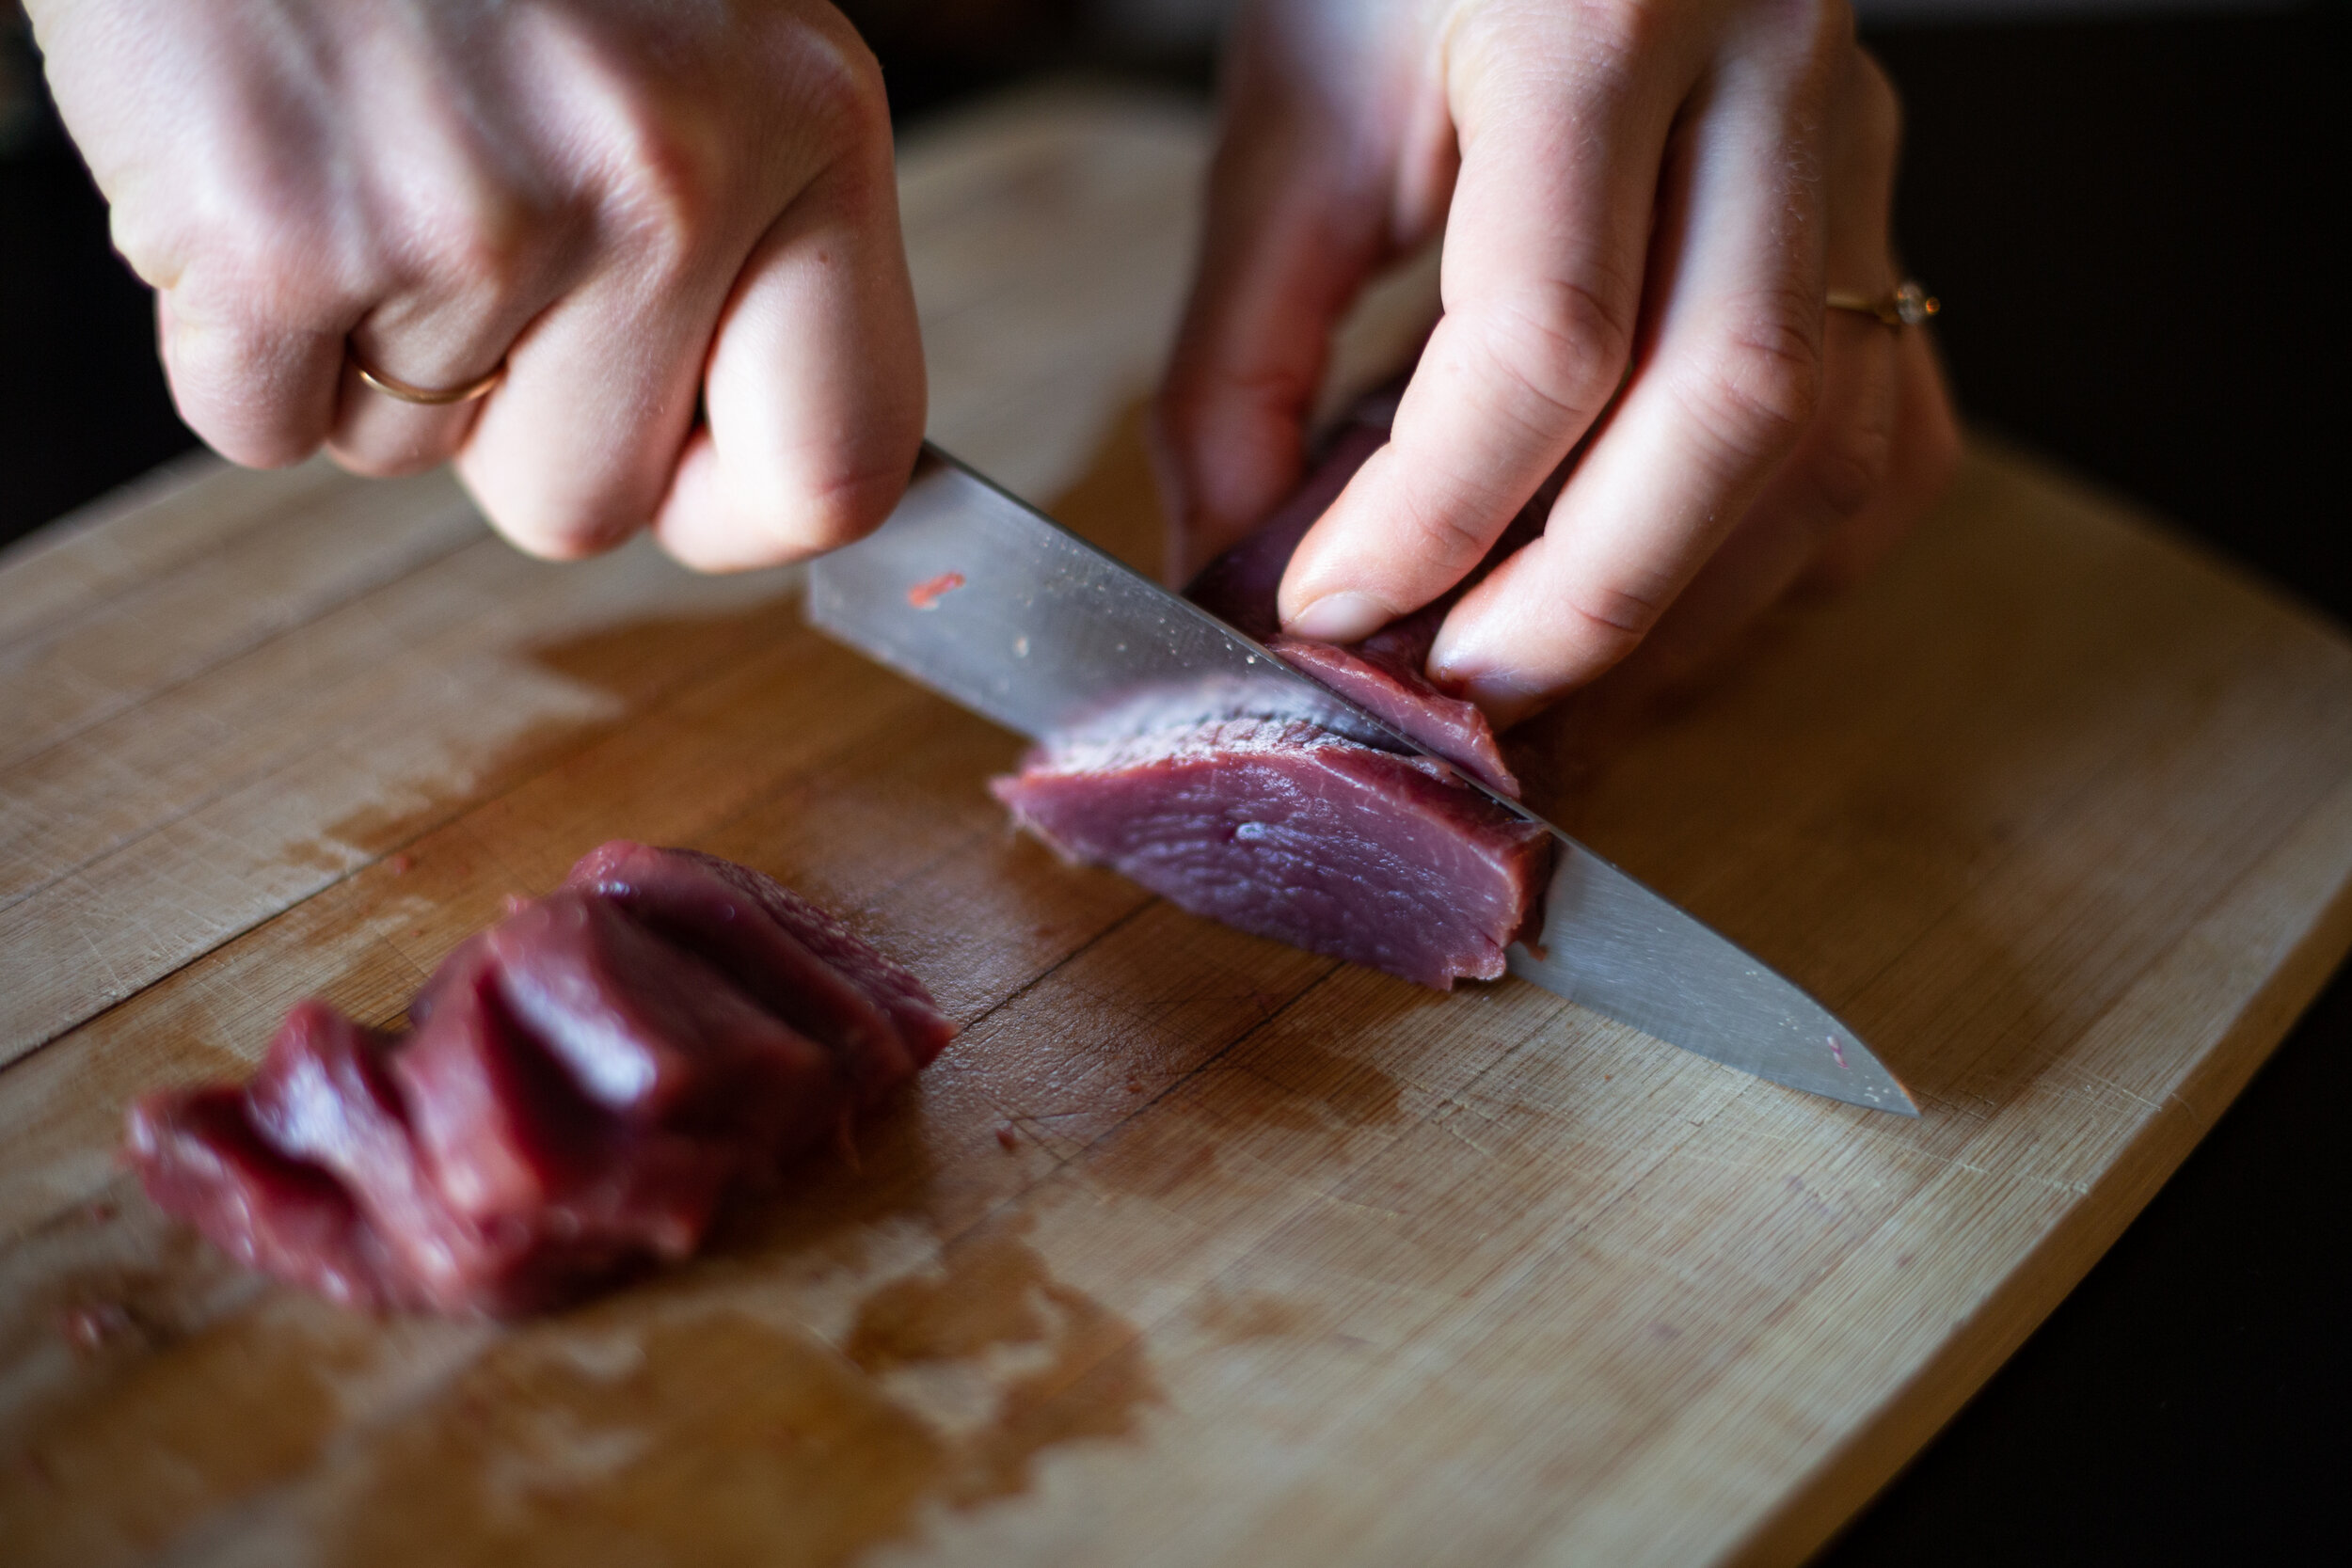
Cut into uniform pieces
Make sure to cut/slice/dice ingredients into evenly sized pieces to ensure they dehydrate at the same rate. Using sharp knives or a mandolin can be very helpful in this case.
Trim off excess fat
When dehydrating meats, avoid cuts of meat that are too fatty and trim off any excess fat that you can.
Pretreatment
This refers to certain processes done to fruits and vegetables to help prevent oxidation and help them retain their colour and flavour. There are a few options for pretreatment:
Citric acid/ascorbic acid dip: mix 1 tsp (5mL) of citric acid/ascorbic acid (Vitamin C) to 2 cups water and soak sliced fruit for 3-5 minutes. Rinse and drain thoroughly.
Fruit juice dip: add 1 cup of high-citric acid fruits (oranges, lemon, limes) to 4 cups water. Soak sliced fruit for 10 minutes, drain thoroughly. Note: this method does add some flavour from the citric fruit to the fruit you are dehydrating.
Honey dip: use 1 cup of dissolved honey in 3 cups warm water. Dip sliced fruit and drain well before dehydrating. Note: this will add considerable sweetness to the fruit you are dehydrating and may be best for more tart fruits like rhubarb or cranberries.
Blanching or steaming (for vegetables): boil or steam vegetable for 3-5 minutes, then place in ice water bath to cool. Drain thoroughly.
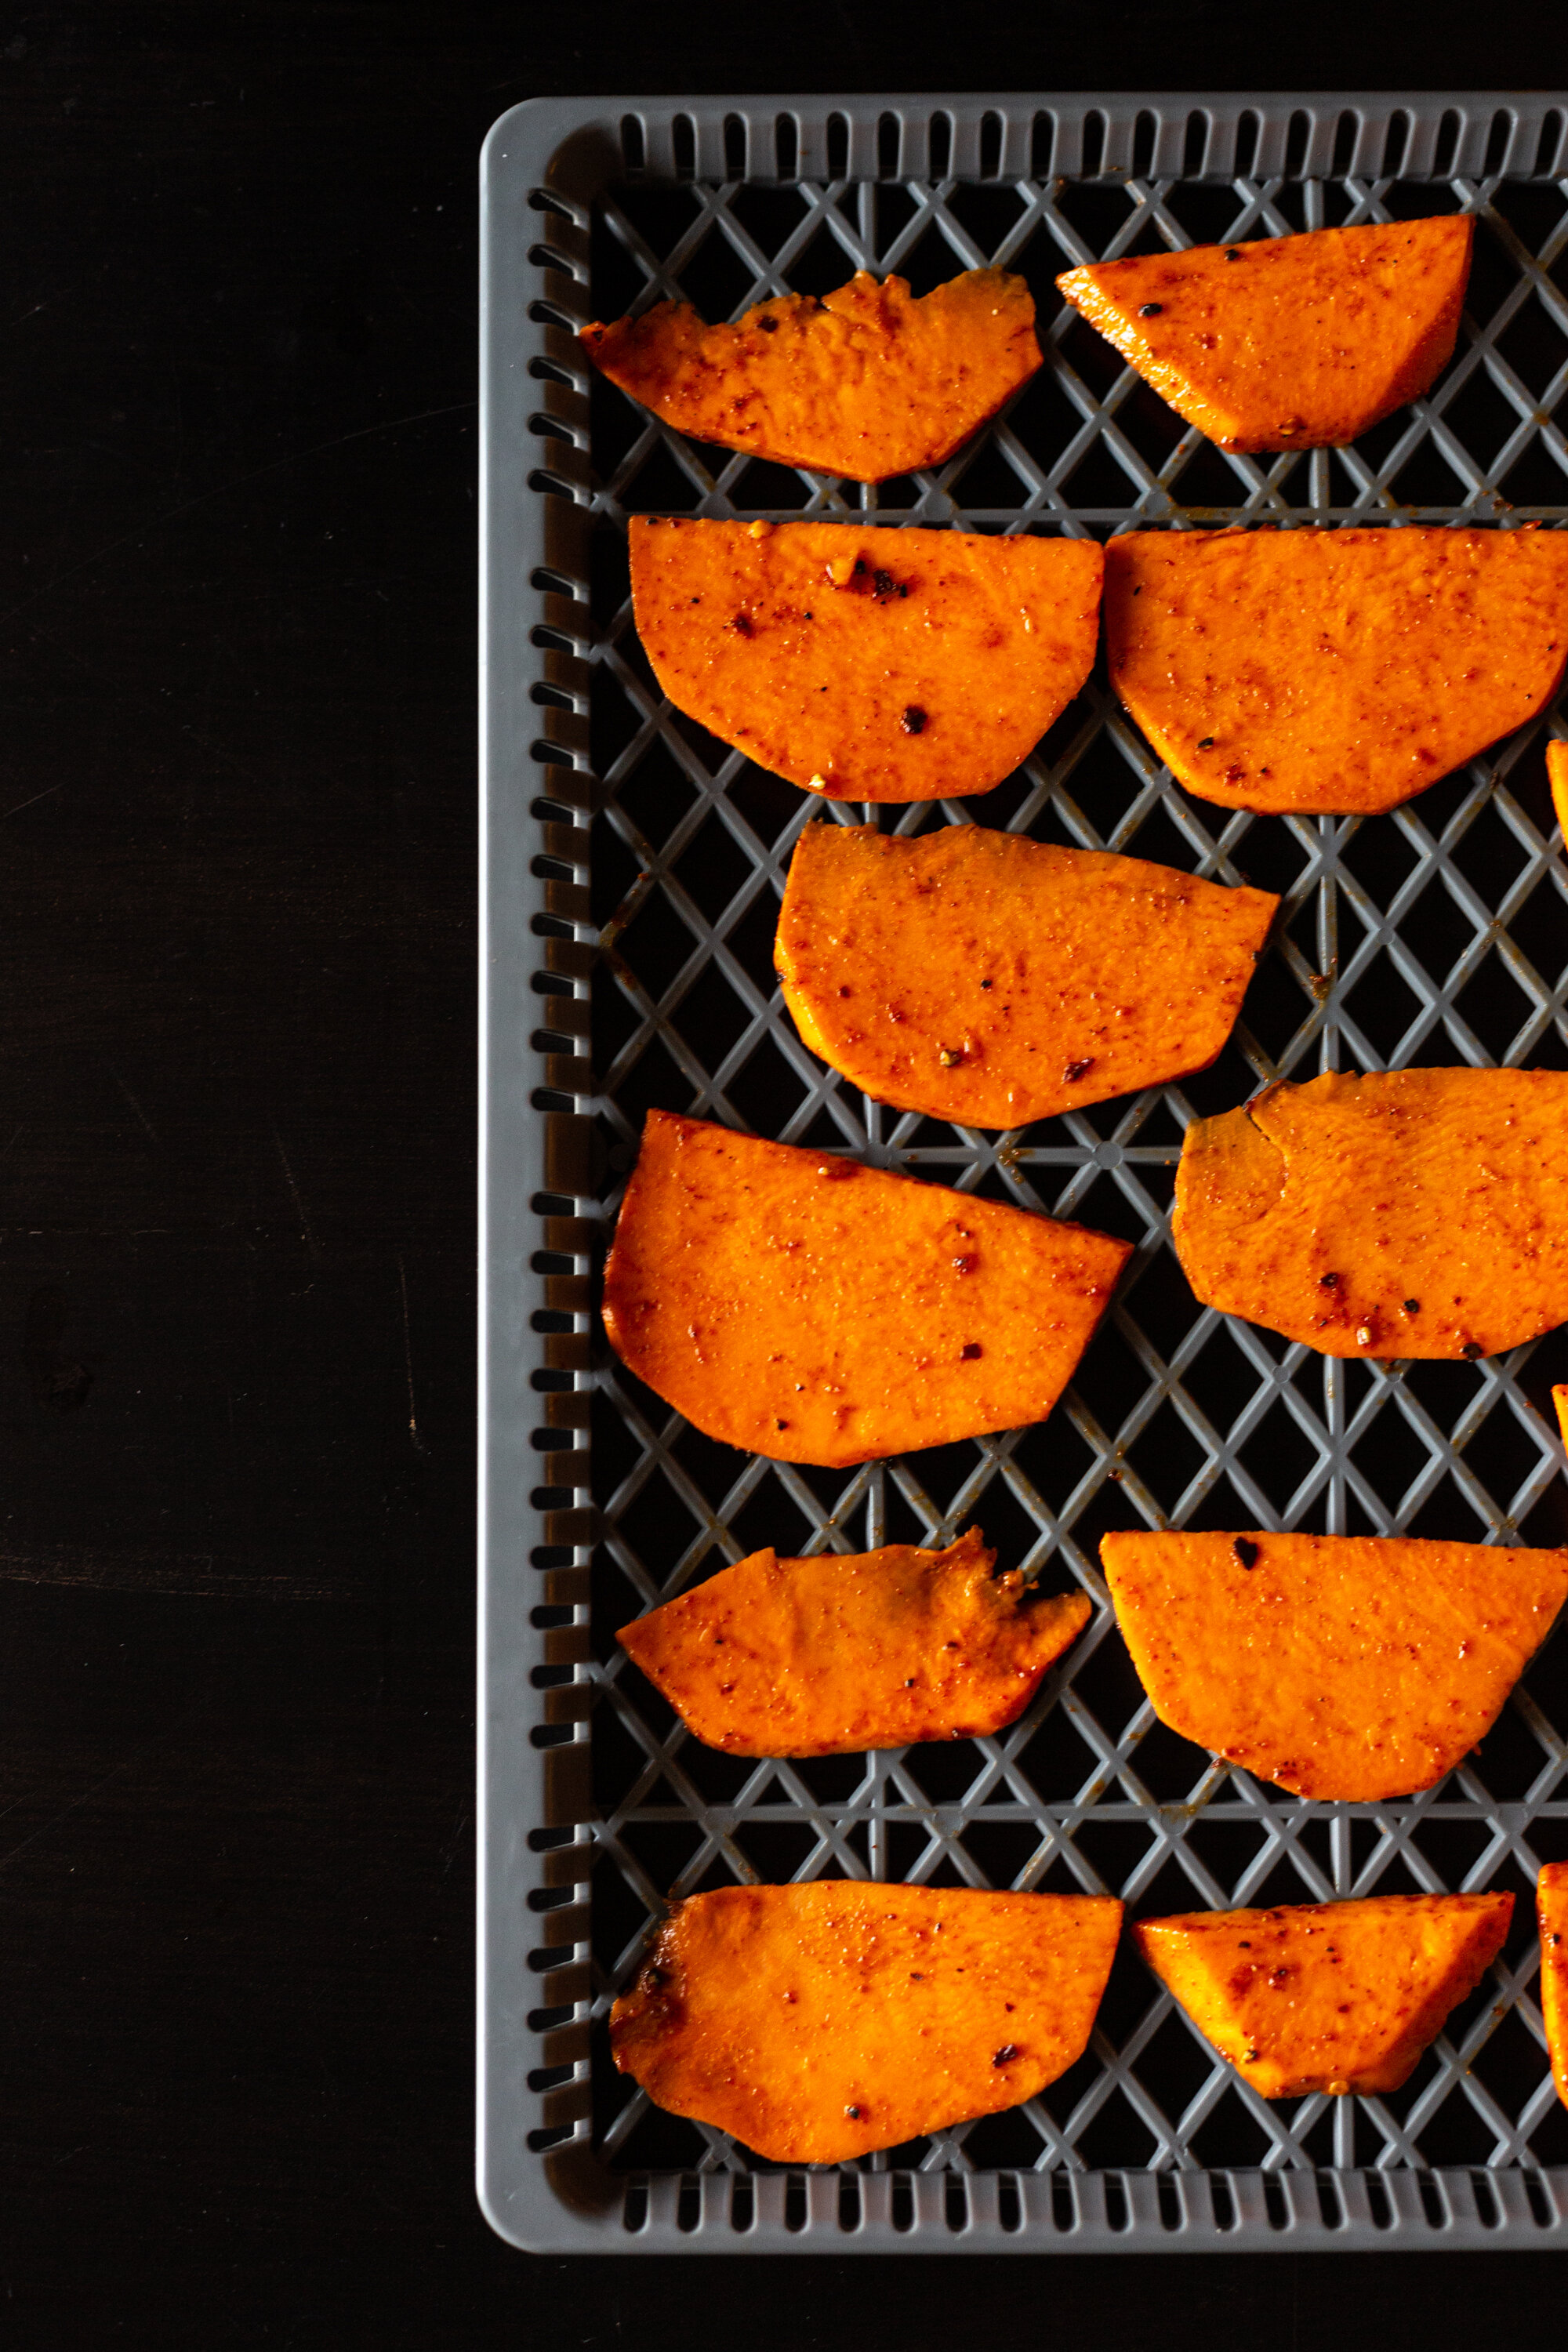
Vegetables & Fruit
Wash vegetables and fruit thoroughly and peel if necessary before drying.
Some vegetables, particularly root vegetables or those that are fibrous, like potatoes, beets, carrots, asparagus, green beans, should be blanched or steamed before drying.
Some fruits, such as those with thicker skins like grapes, cranberries, plums and cherries, also benefit from blanching before drying. This “crazes” the skin to allow moisture to escape more easily during drying.
Slice/cut vegetables and fruit into uniform pieces. Dry in a single layer (no overlapping) at 125-135F for 6+ hours. Vegetables are done when they are crisp or hard. Fruits are done when they are leathery and no longer sticky. Let cool before storing in airtight container.


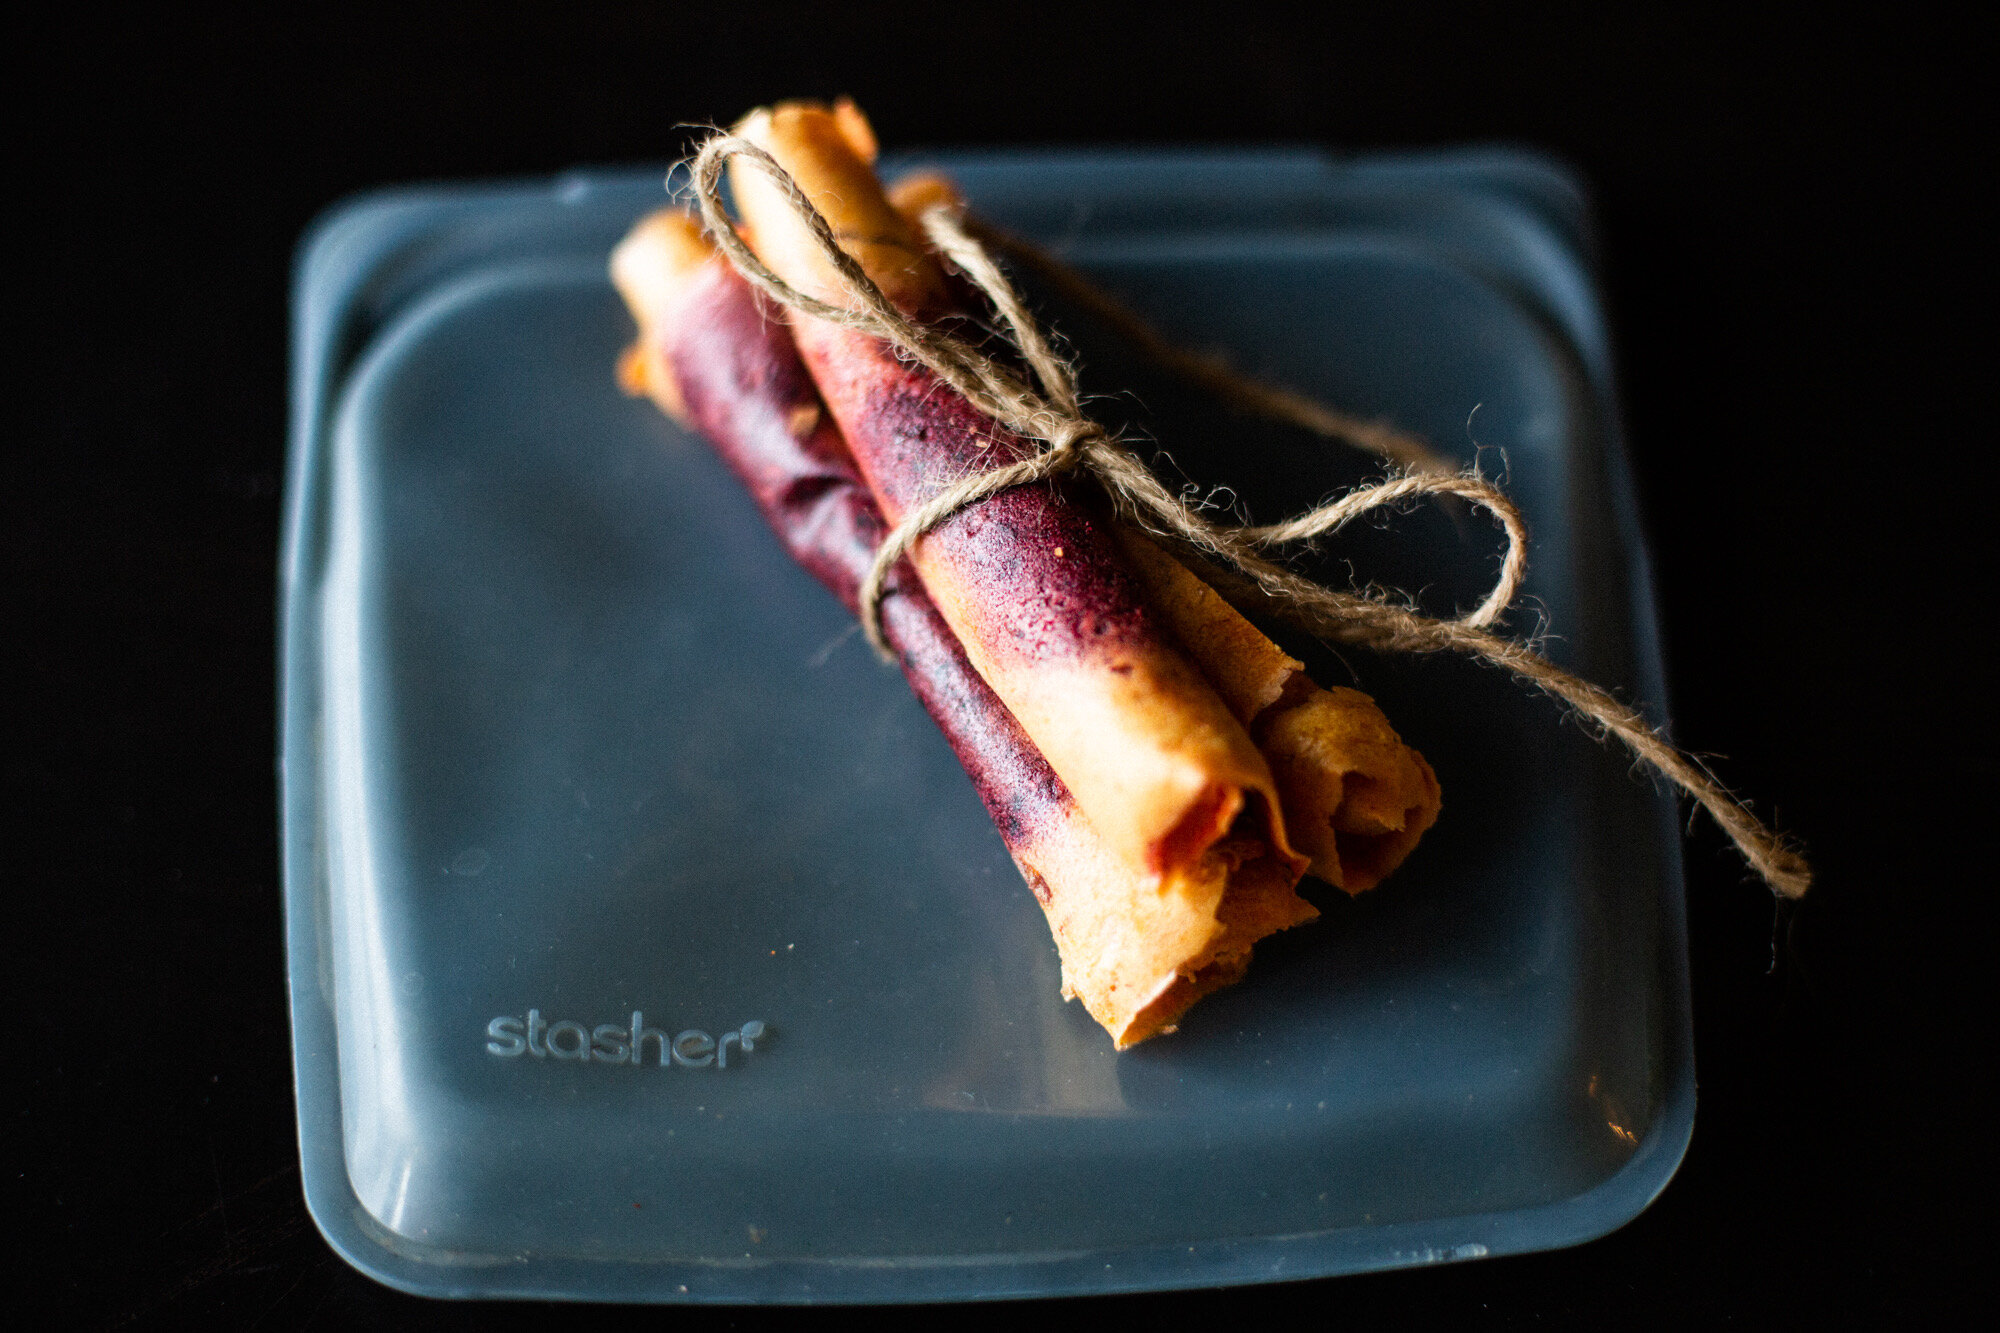
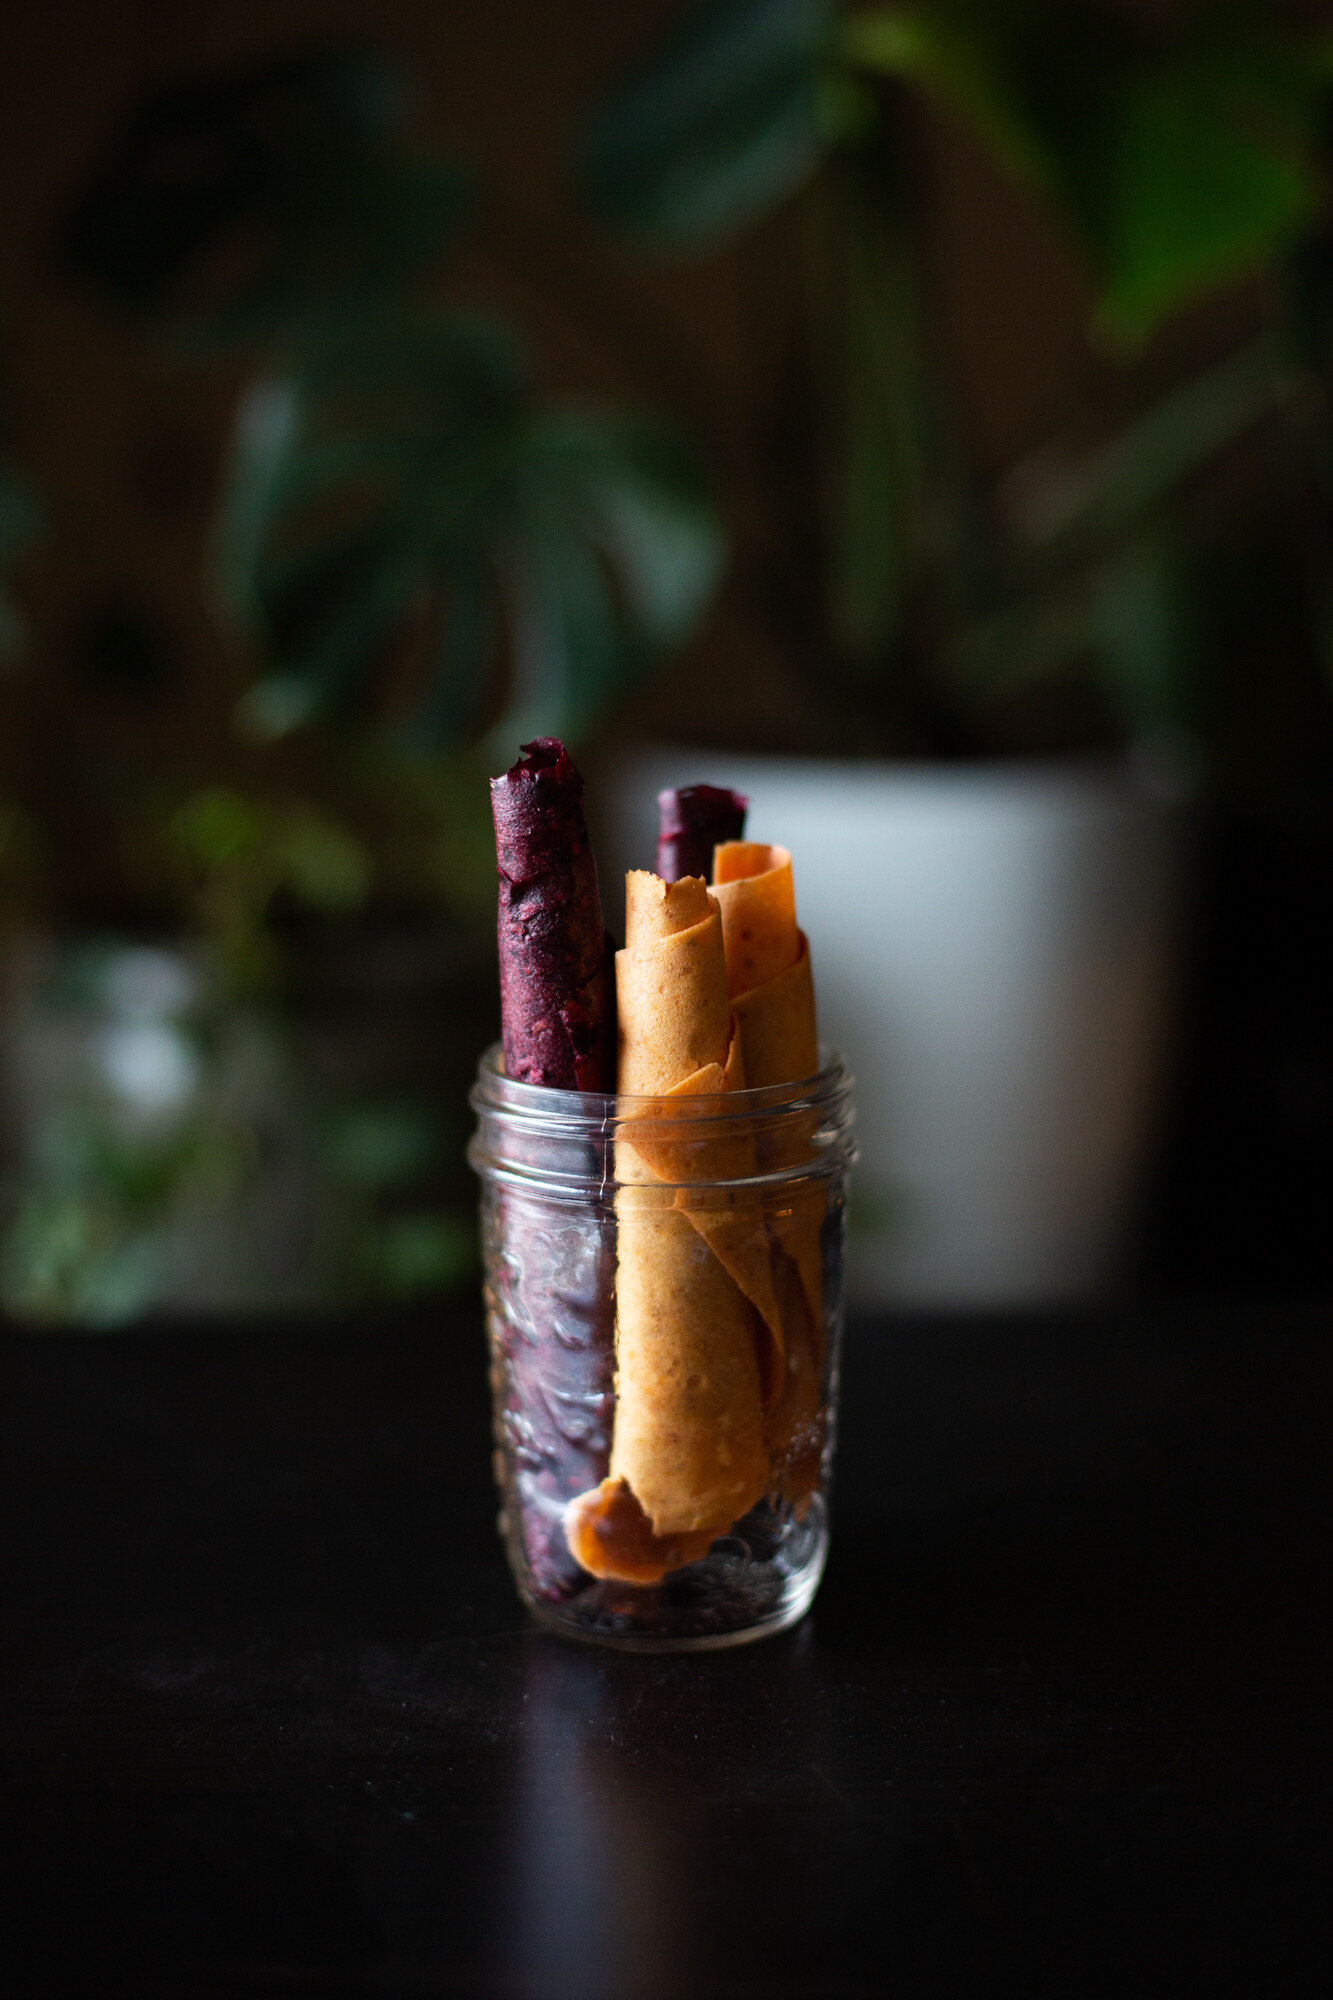
Fruit Leathers
Check out my Homemade Fruit Leathers post for detailed steps and some flavour ideas!
You can use fresh, frozen, or canned fruits for homemade fruit leathers and the flavour combinations are endless! Once you’ve decided on your ingredients/flavours, throw everything into a food processor or blender and blend together until smooth. The product should be a thick fruit puree/smoothie. If you’re using fruit leather trays, lightly oil them with olive oil or canola oil, this helps them come out easier without breaking apart. You can also use your dehydrator trays lined with parchment paper.
Spoon mixture onto tray and spread to 1/4 inch thick. Spread fairly evenly, but slightly thicker on the sides, as they dry first and may become brittle otherwise.
Dehydrate at 135F for 6-9 hours, until dry to the touch and leathery looking. Remove from dehydrator and roll up while they are still a little warm. Let cool and then store in airtight container at room temperature for up to a month.
Tip: when using wetter fruits (those with a higher water content), like berries or pineapple, you can thicken the the puree by adding a banana or some applesauce to help produce a thicker, chewier fruit leather.
Nutrition Nugget: when possible, keep skin on the fruits you are pureeing (apples, peaches, pears, etc). This helps retain the fibre and important nutrients provided by the whole fruit.


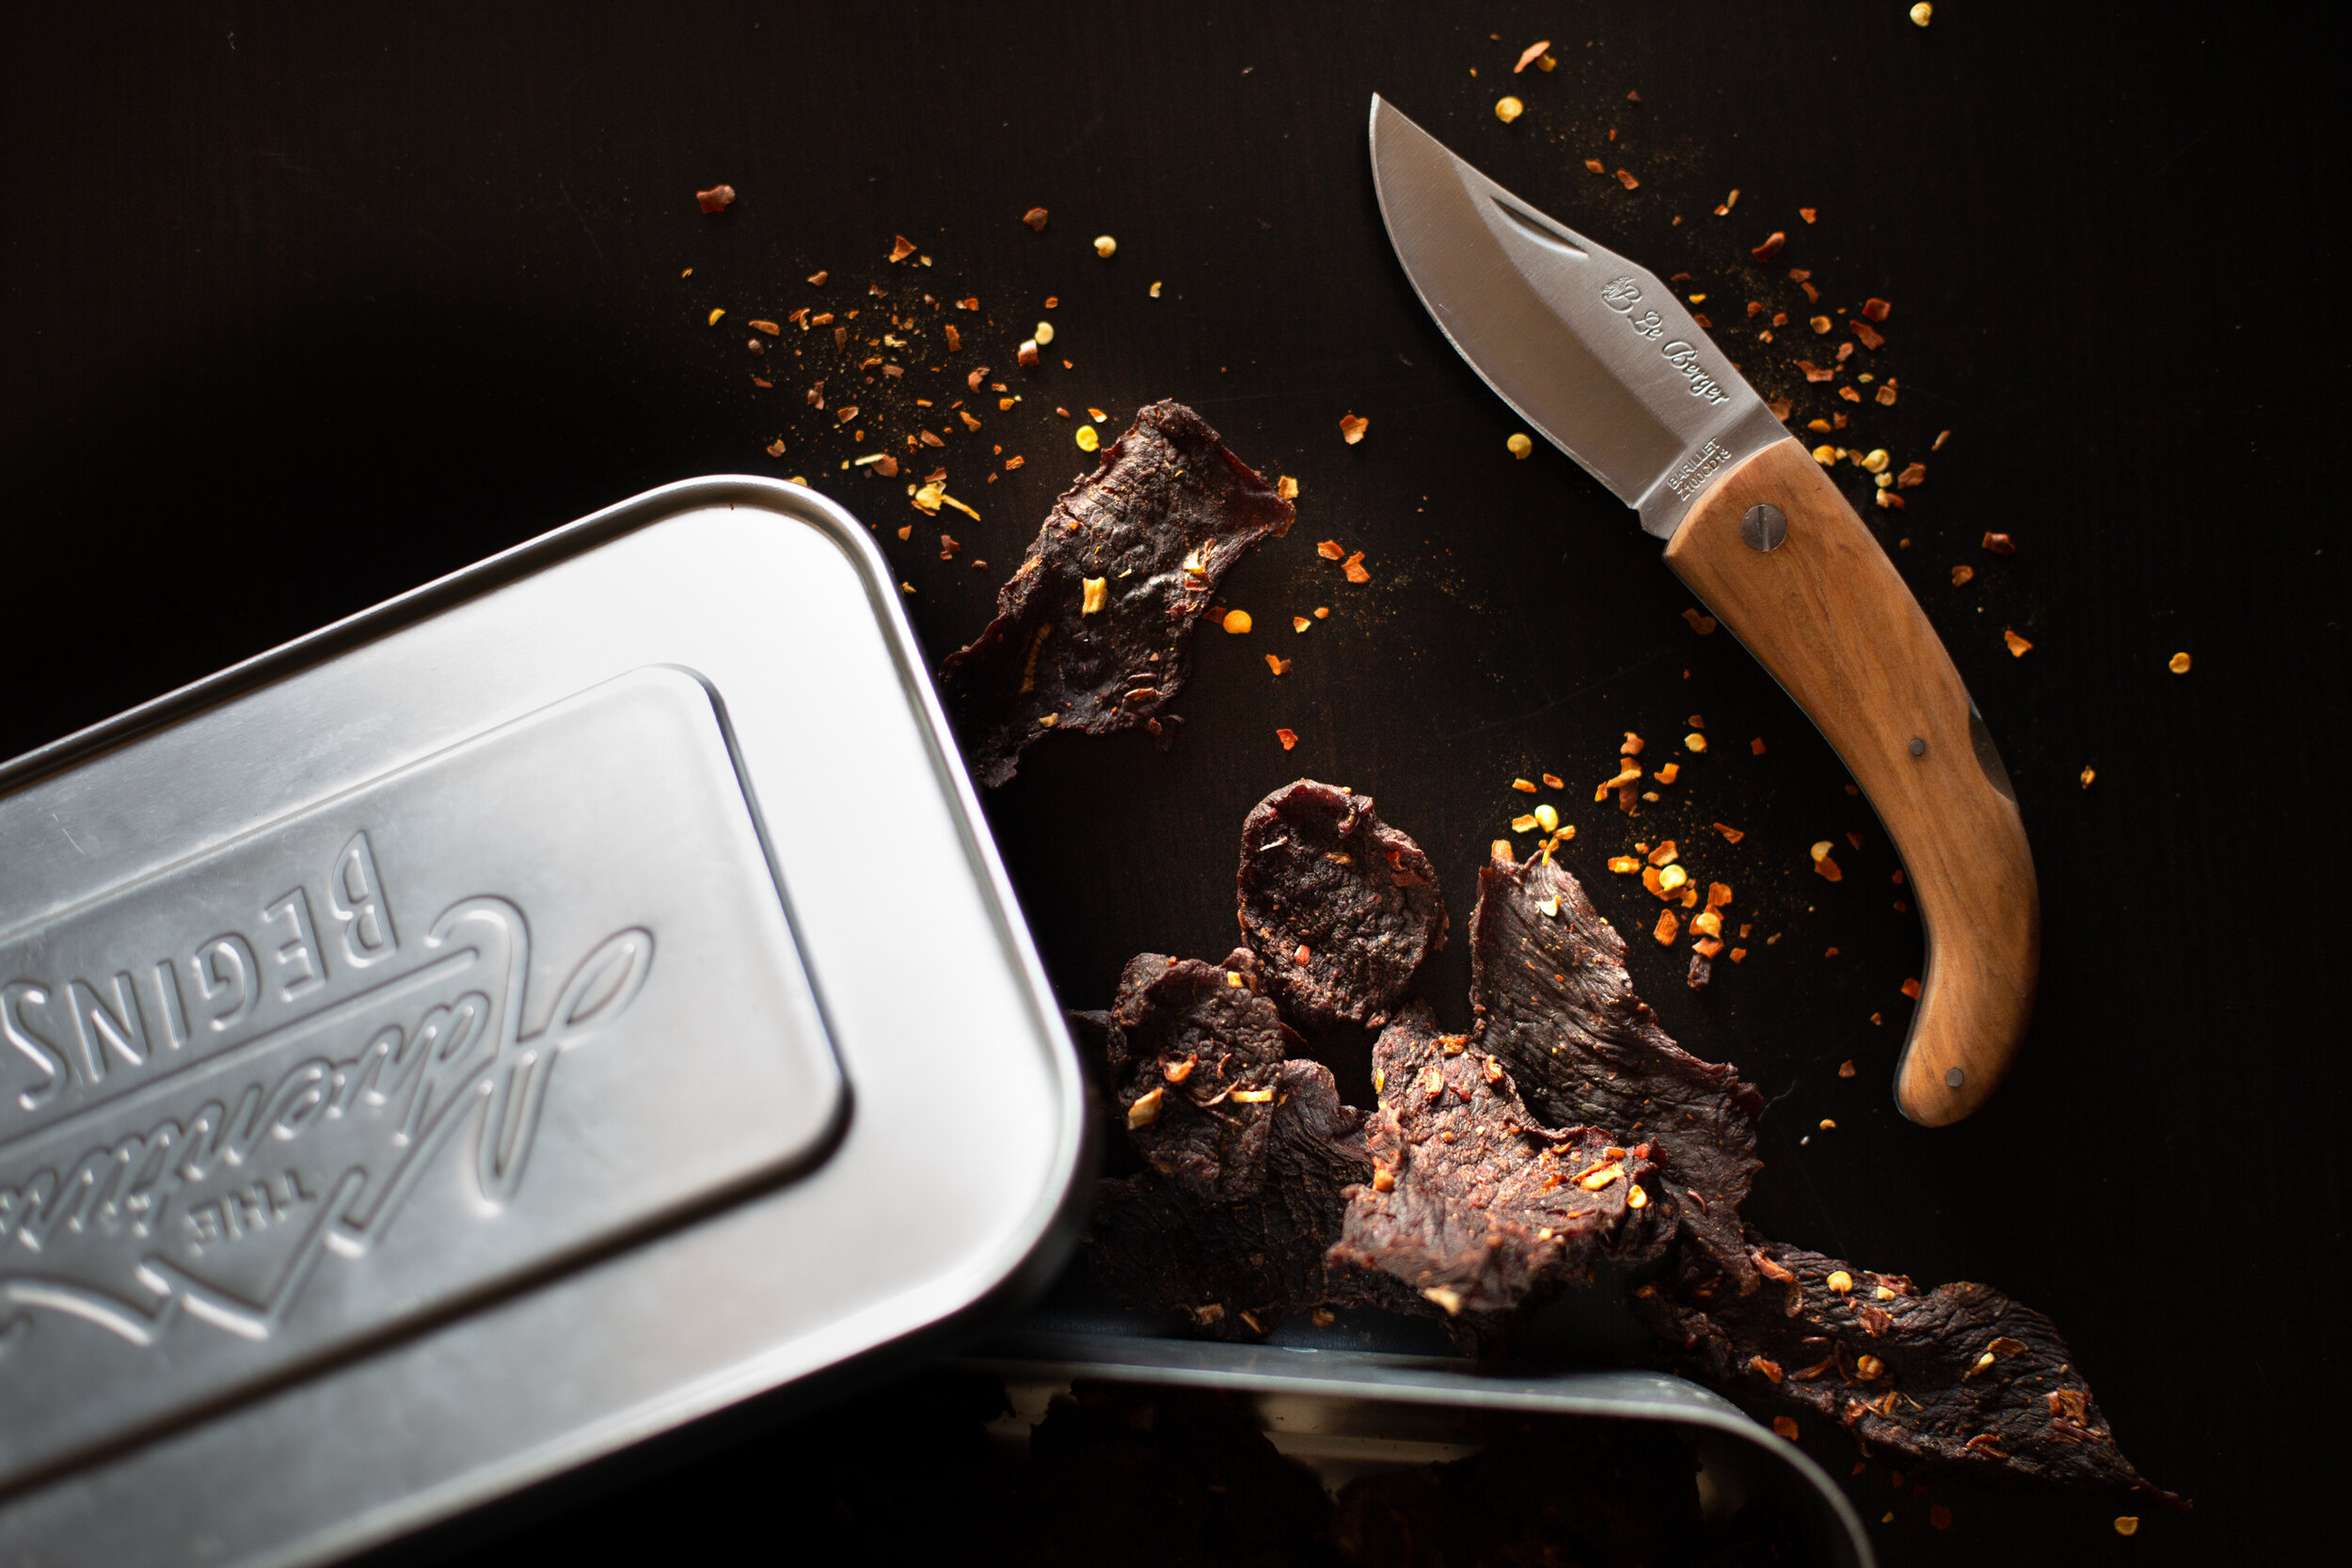
Meats & Jerky
Check out my Spicy Homemade Jerky for a killer jerky marinade!
Meats are what are considered a “high-risk food” in terms of food safety because they hold a higher risk of causing food-borne illness if not handled properly. Now there’s no need to fear here, but there are some things to be mindful of when handling meat properly.
When choosing meats for dehydrating, you will want to look for fresh, lean meat (or with fat that you can trim off easily). The best kinds of meat to use are wild game, beef, pork, chicken, or fish. All meats, particularly poultry and fish, should be very fresh to avoid spoiling when drying. Avoid oily fish as there is no way to trim the fat away and therefore it may spoil easier.
Meats that are cured or brined before drying tend to preserve better. Dry cures are usually a combination of spices and salt, applied evenly to the meat, and refrigerated for 6-12 hours. Brines or marinades, are usually a combination of spices, salt, and liquid, which coats the meat and sits for 6-12 hours in the refrigerator. Salt - the important component of both cures or brines, is what preserves the meat by tying up the moisture naturally found in the meat, making it less available for microbial growth (and therefore spoilage).
If using a marinade or brine, pat dry the meat to remove any excess moisture before placing in dehydrator. Place on dehydrator tray and avoid overcrowding to allow for air circulation.
If you are cooking the meat before dehydrating (eg. ground beef for pasta sauce), make sure to cook thoroughly and place in the dehydrator right after cooking. You don’t want to let the meat cool down too much as this will increase the risk of it spoiling before being fully dehydrated.
Dehydrate meats and jerky at 155-160F for 6-10 hours, until dry to the touch and cracks, but does break in half. Store in airtight container at room temperature.
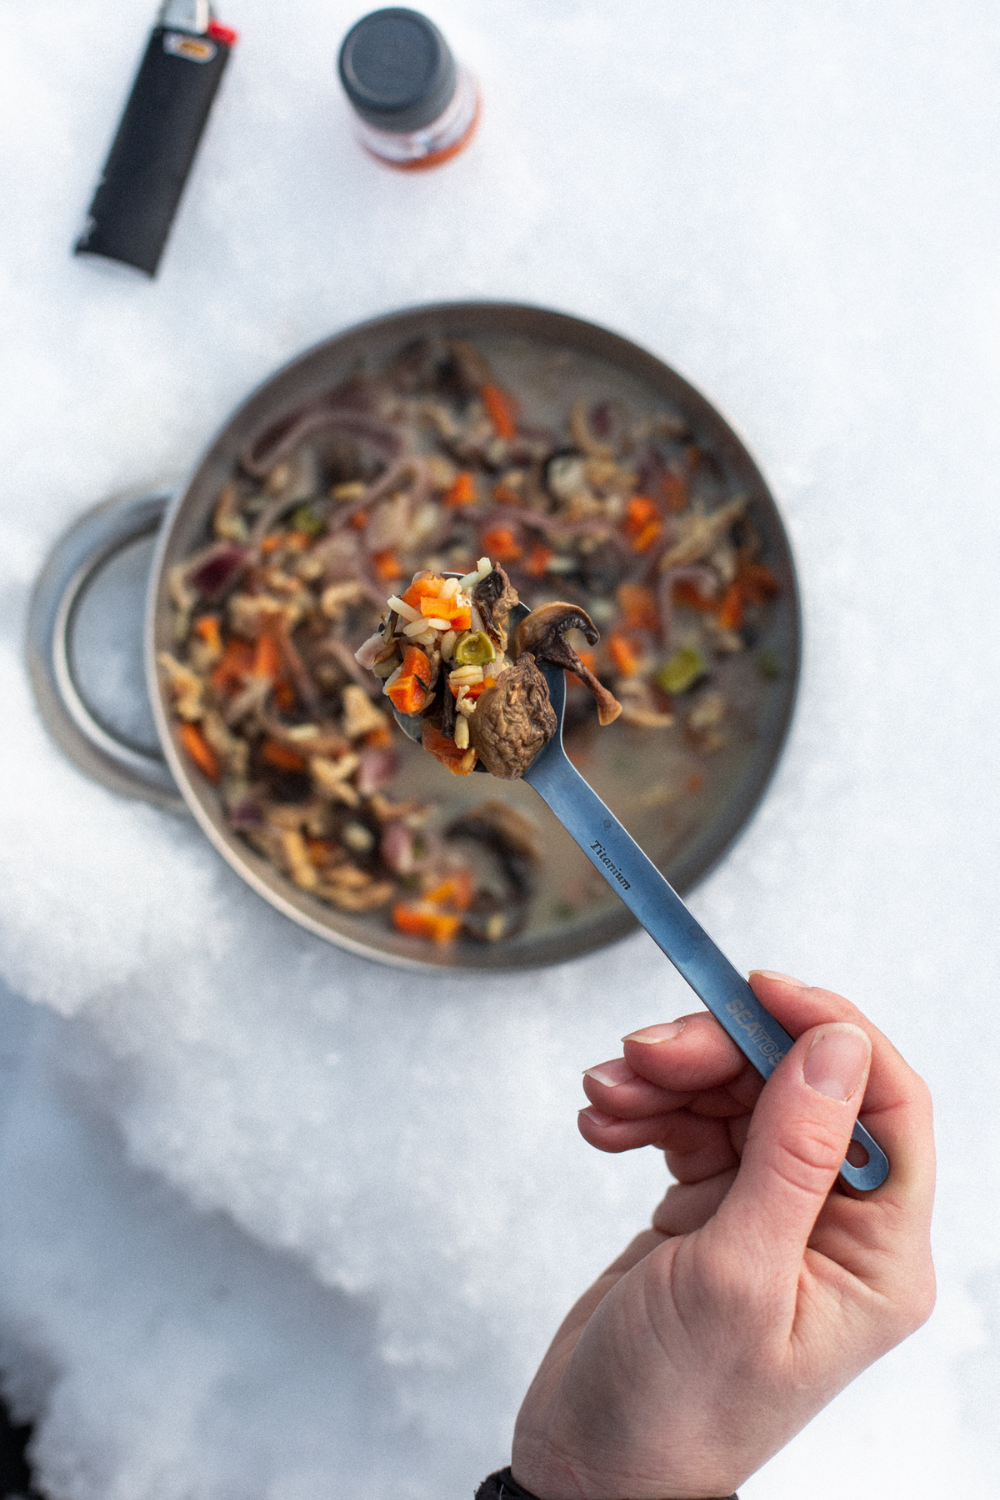
Mixed Meals

Like a briefly mentioned in the Prep section above, many meals can either have their ingredients dehydrated individually and assembled later or can be mixed and dehydrated together.
The important thing to keep in mind is whether the dehydrating temperatures of the individual ingredients are similar or not. Try to keep all ingredients within the smallest range of temperatures possible. This will help prevent certain individual ingredients from drying out before other ingredients are fully dehydrated.
Make sure to cook your food to a safe internal temperature (74C / 165F) before placing in the dehydrator. Avoid letting your food cool too much before dehydrating as this will increase the chance of the food spoiling before being fully dried.
Spread food out evenly on dehydrator trays or parchment paper. Dry at 155F for 6-10 hours until dry to the touch. You may want to break apart or flip the food over to ensure there are no large chunks that stay together.
Some Helpful Resources
Fresh Off The Grid’s Ultimate Guide to Dehydrating Food
Amanda Outside’s How to Dehydrate Your Own Backpacking Food
Your dehydrator’s manual
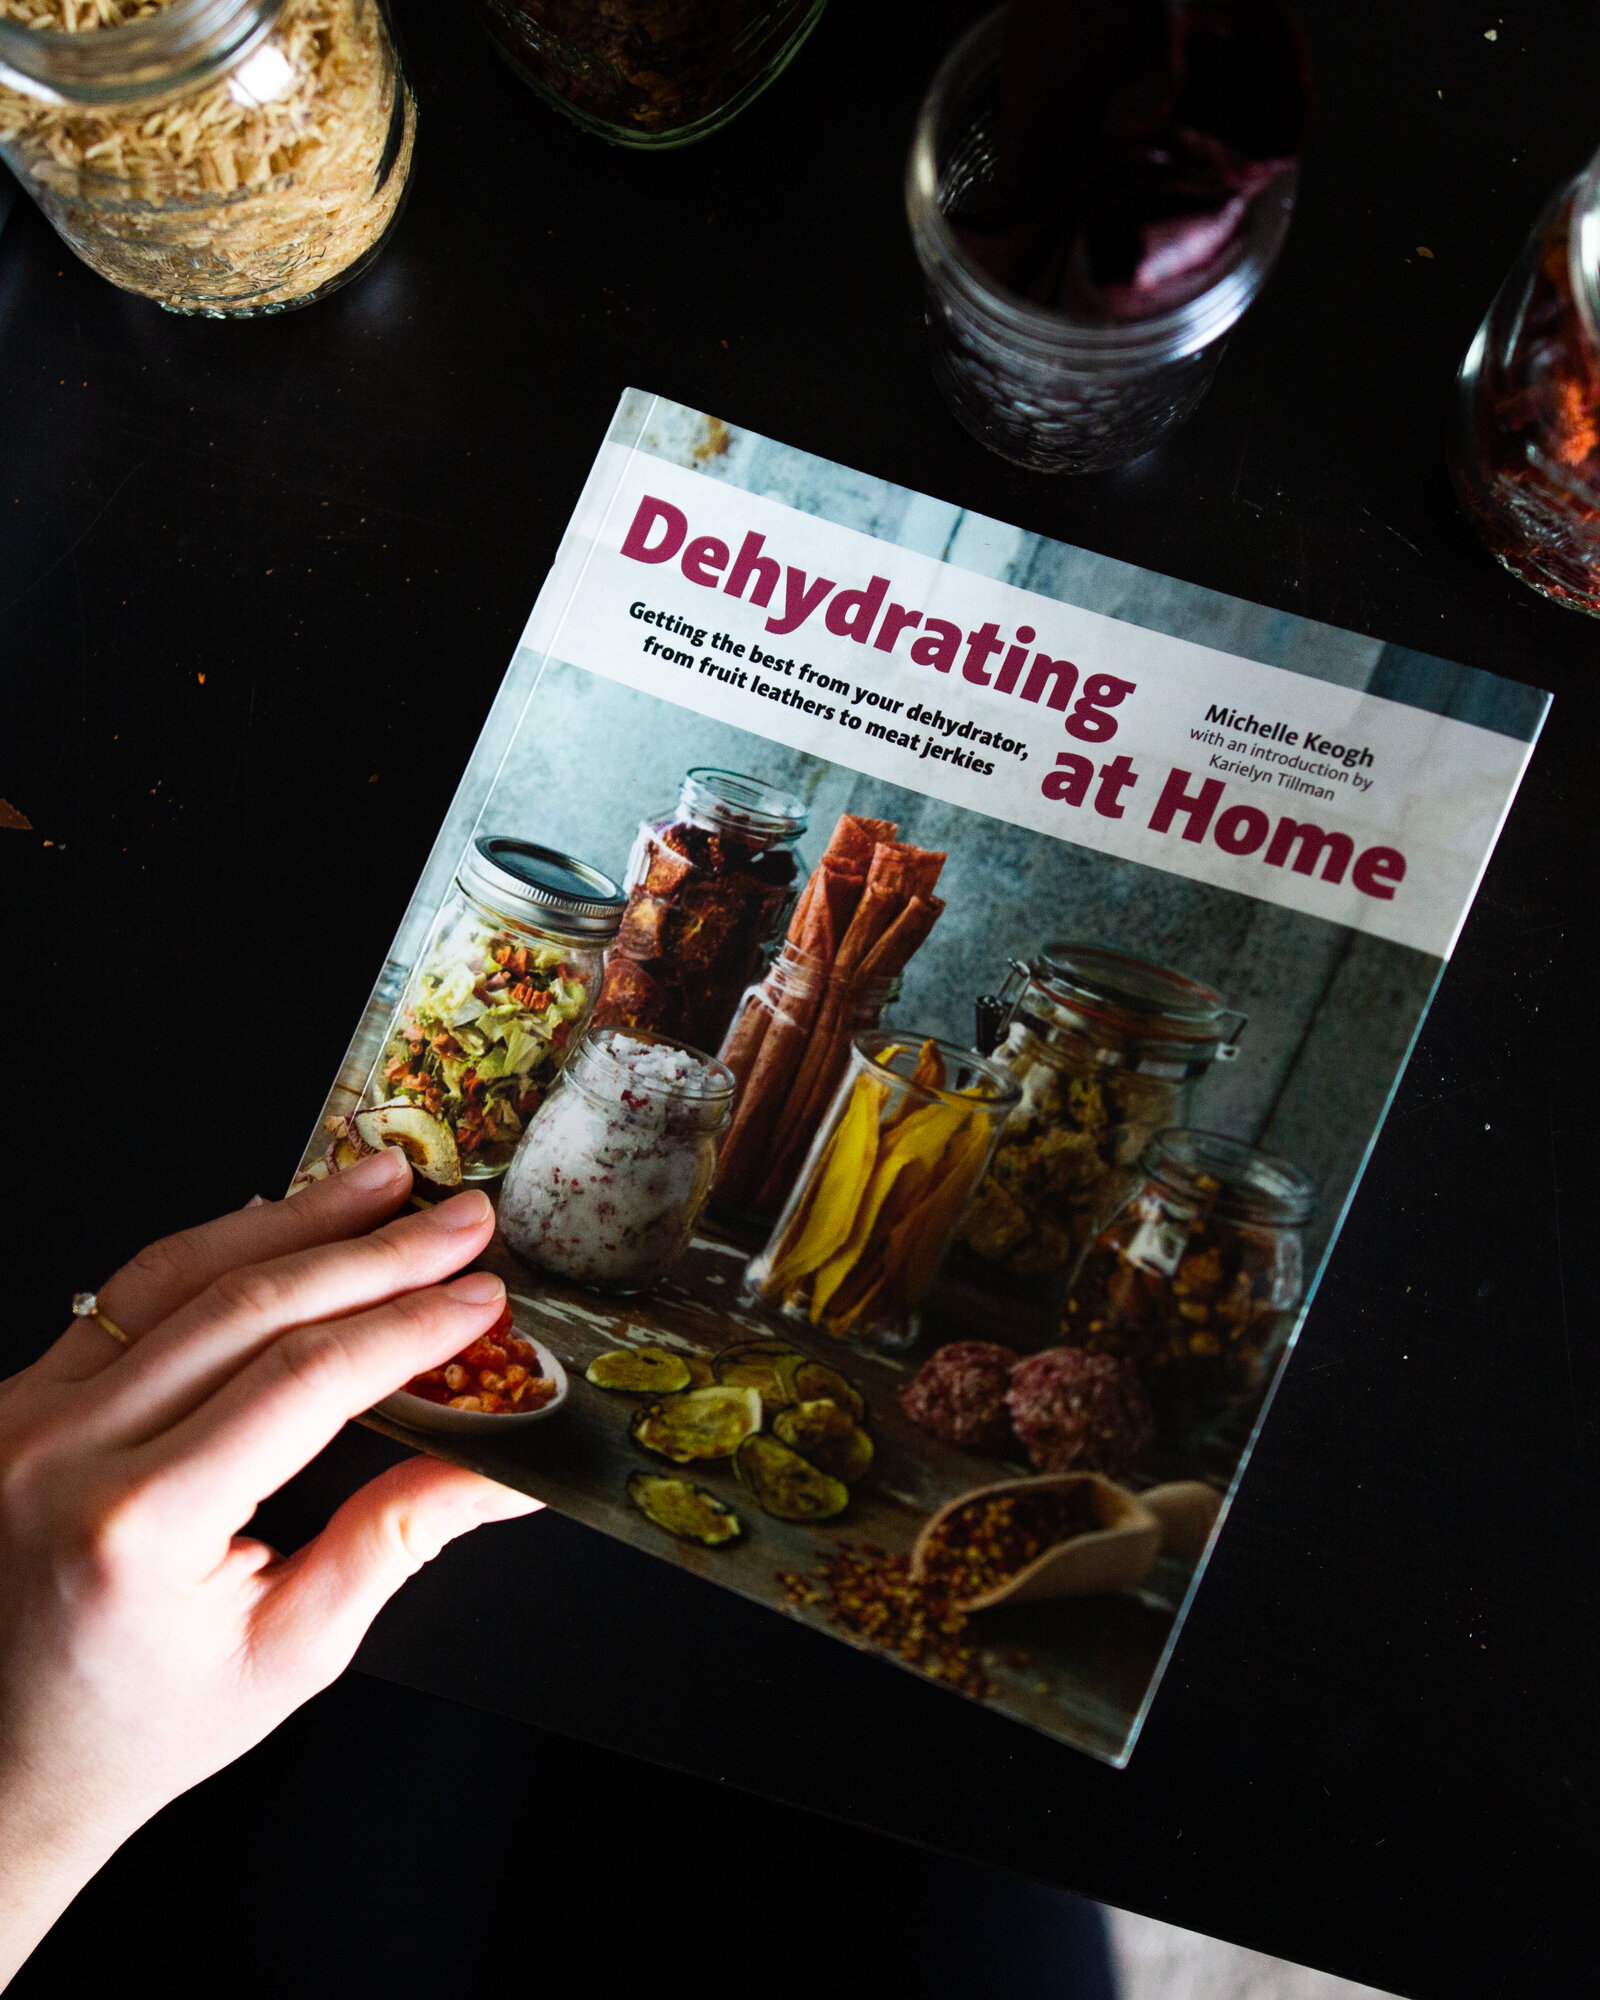
Dehydrating at Home (book), Michelle Keogh (as seen above)
Recipes
Some dehydrated recipes already up on Camp Kitchen:
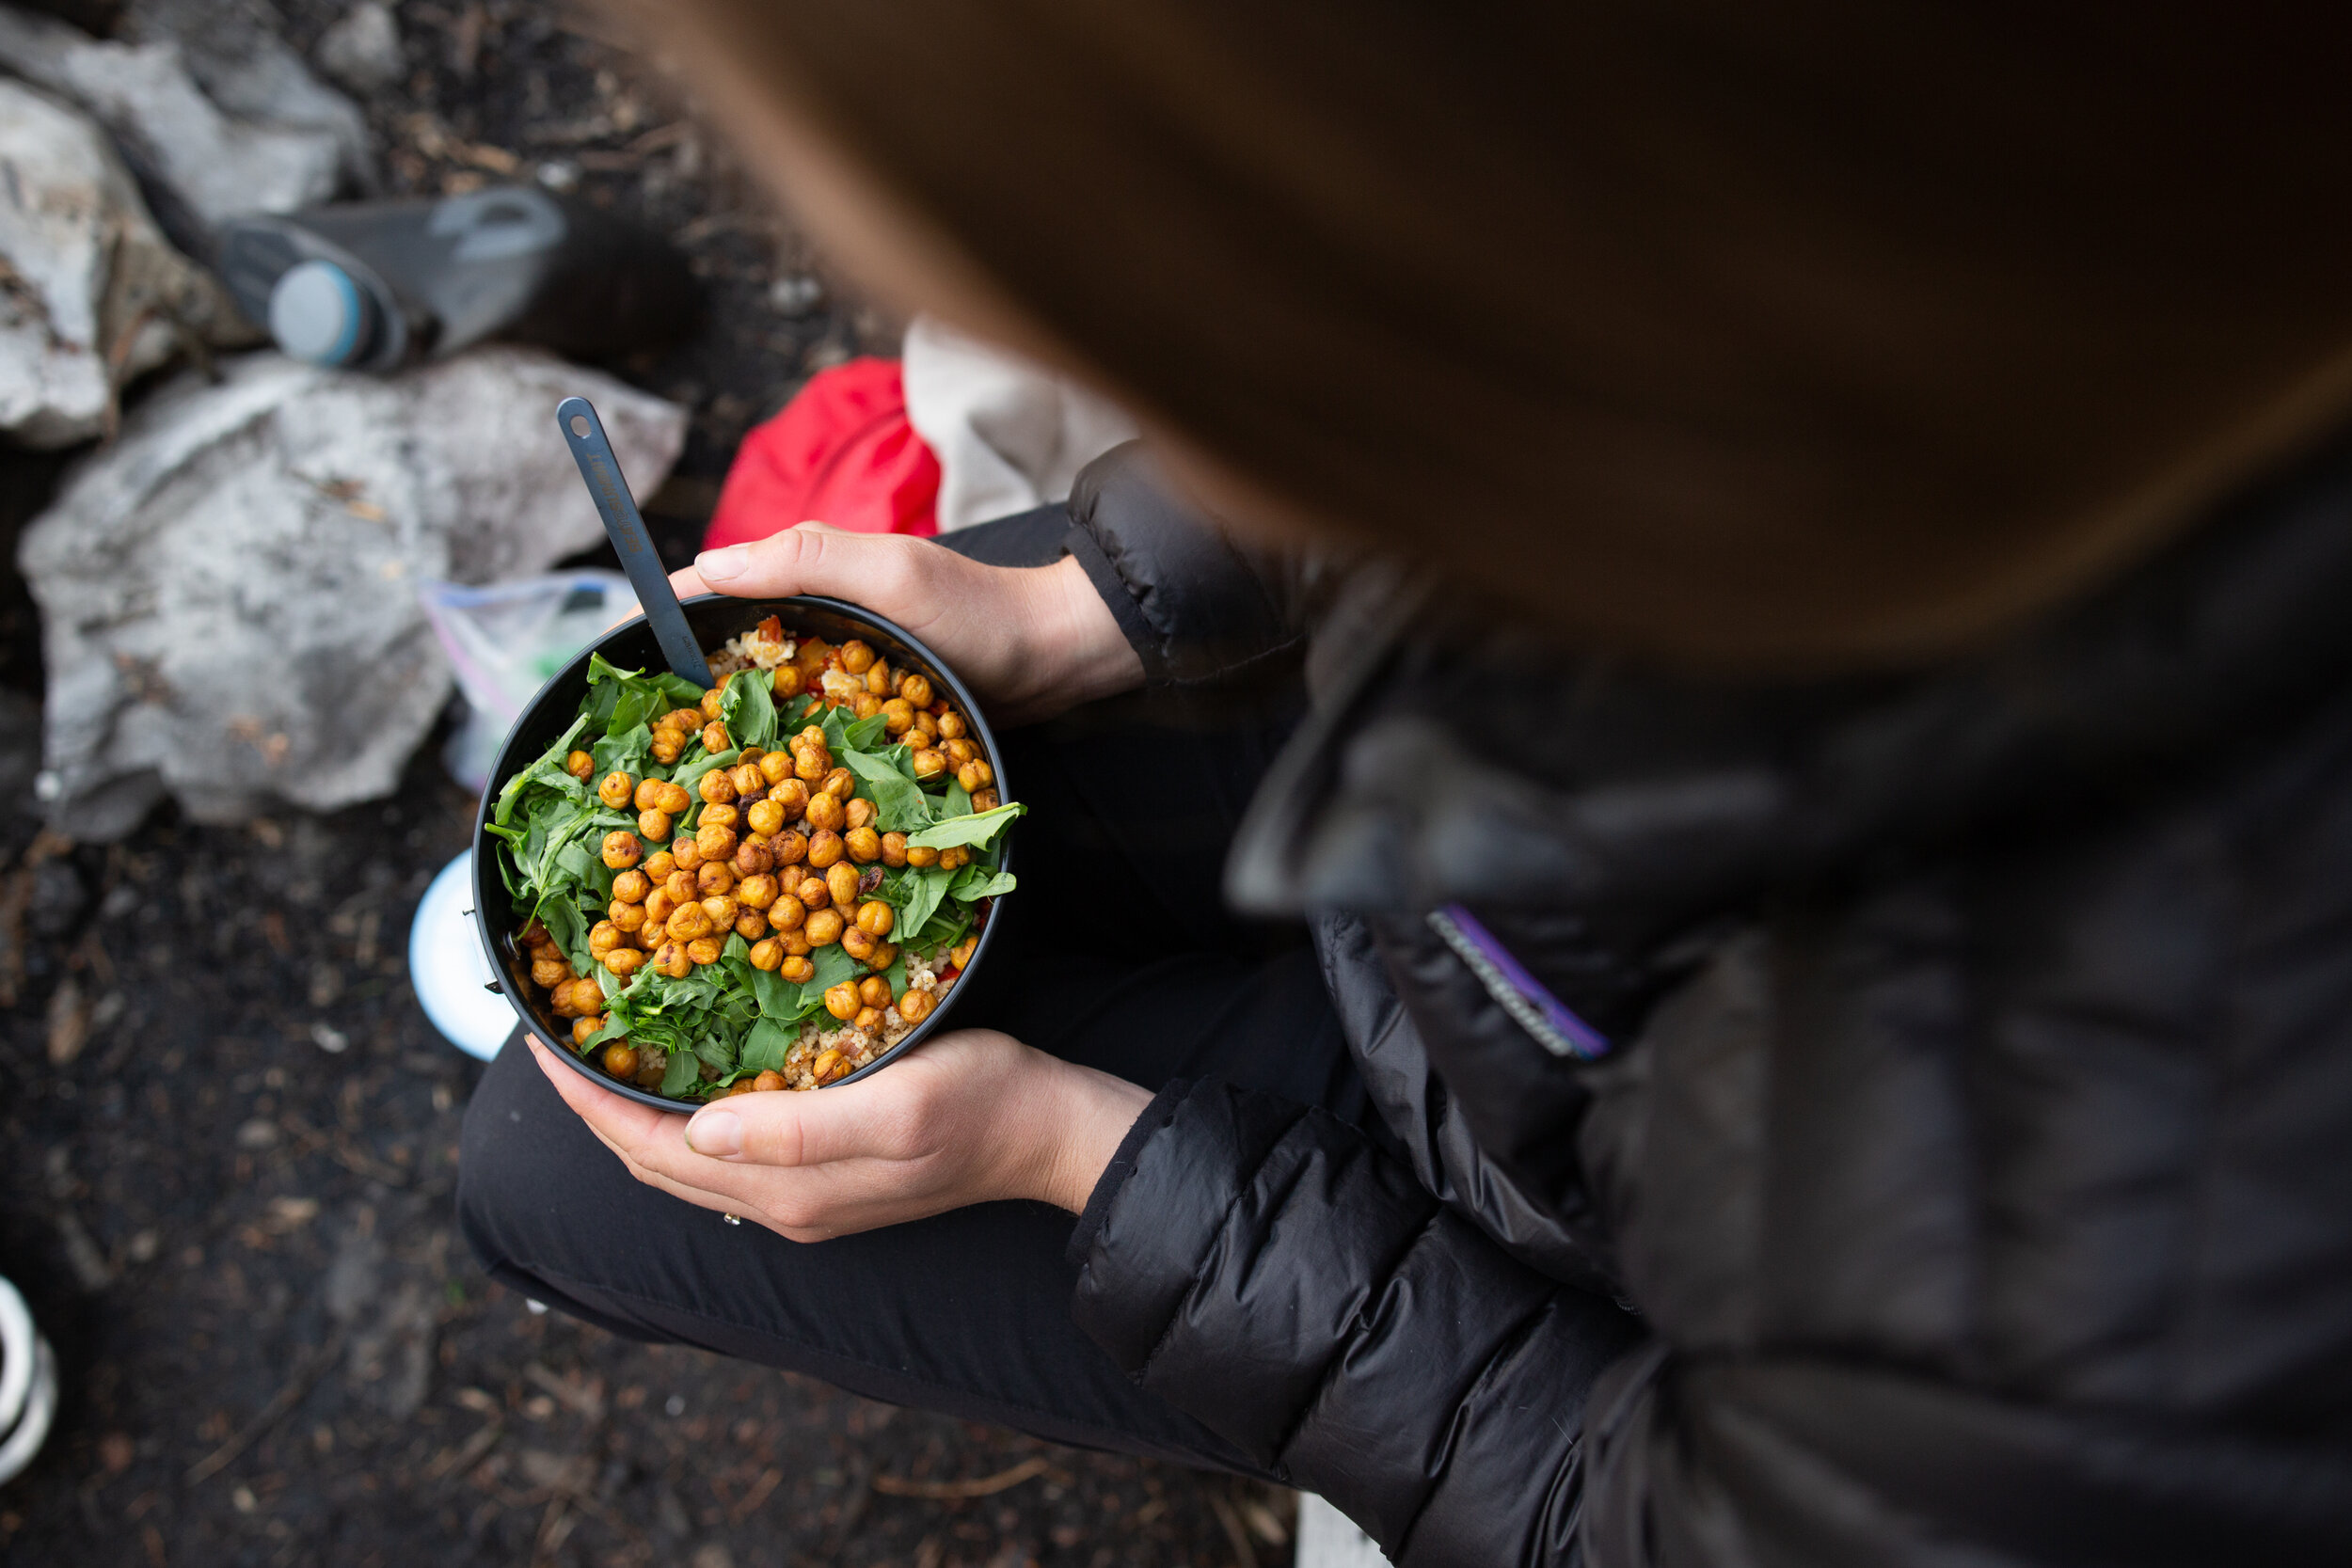
Couscous with veggies and crunchy chickpeas
Spicy Homemade Jerky


Did I miss anything? Have questions or comments? Leave a comment below and I’d be happy to get back to ya!


